So last time we found out what molding putty is and the very basics of how you use it. Now let’s get a little more in depth.
How can I make the molding putty into something I can use? How does the molding putty make a mold?
Well…let’s see…we left off with mixed molding putty ready to go so say hello my zoo…

I’m starting to hoard small cute plastic animals. Yes, I can’t help myself. But they make the perfect molding subject matter…let’s start with the big piggy there on the left…

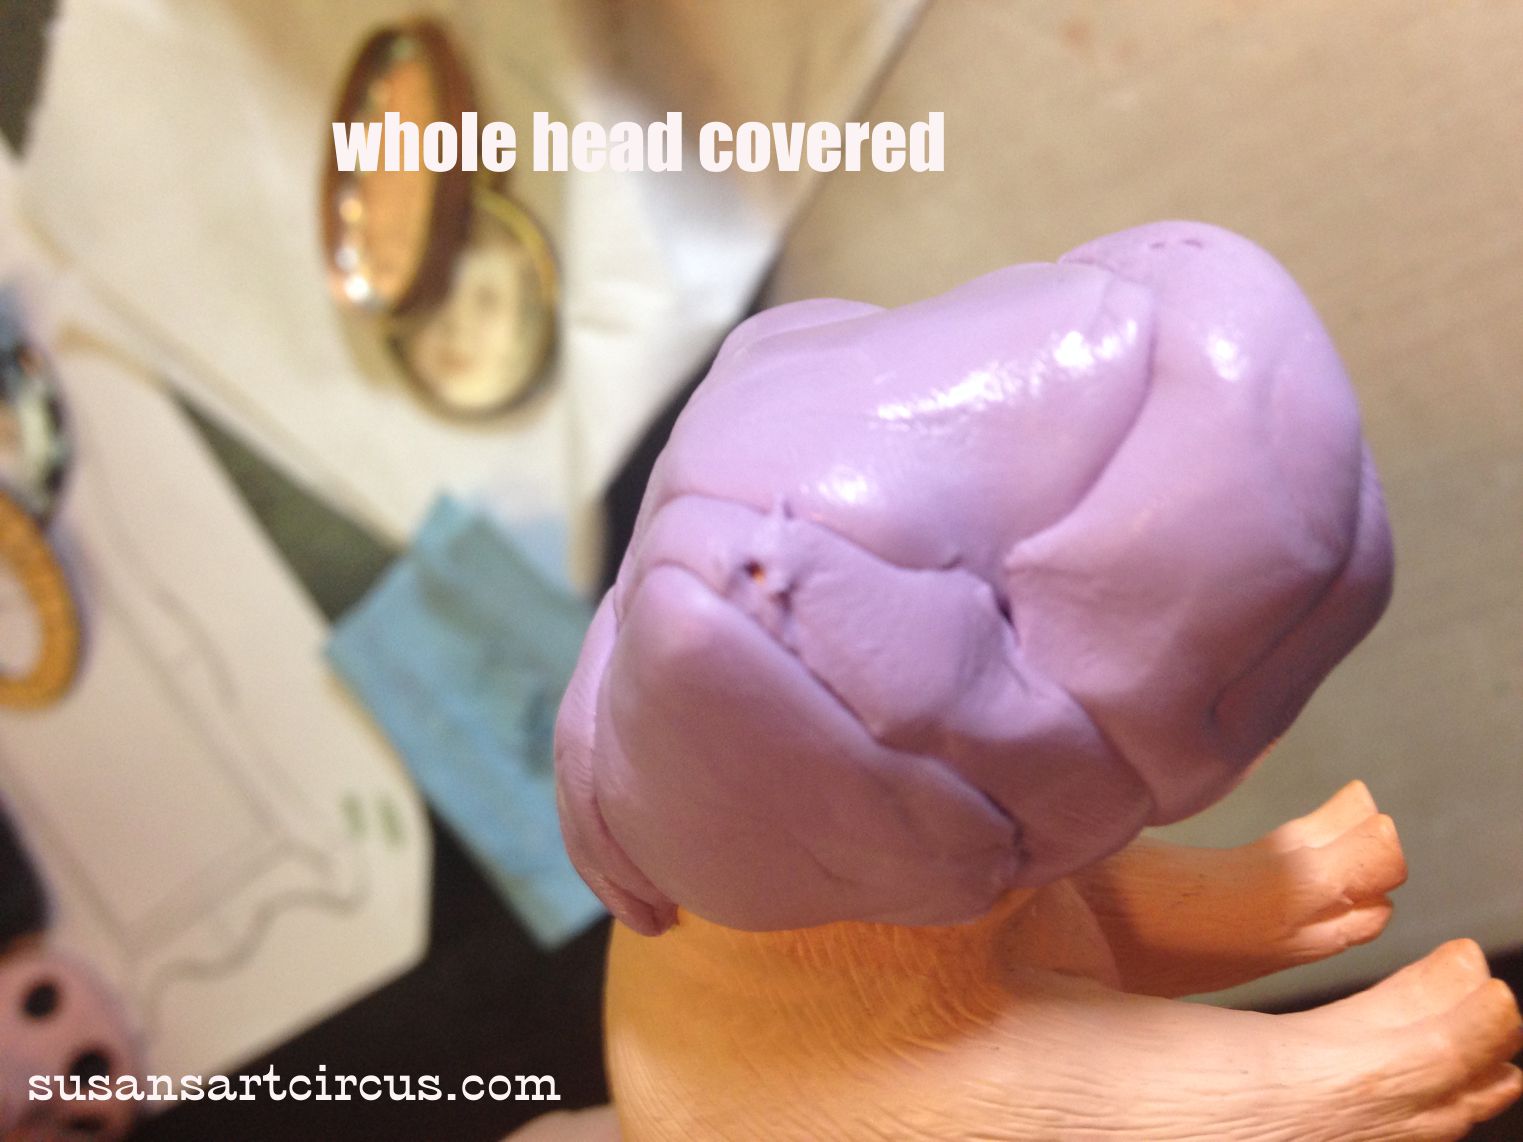
Now you have to work pretty fast but you also want to make sure that the parts of the animals, the ears and snout in this case, are covered well to get a good mold. The molding putty will adhere to itself as you go but, again, you have to work quickly.

Here is Mr. Piggy with his whole head covered and ready to cure.
…and my sheep was done in the same manner.

Now comes the hard part…you have to wait. Only about 15 minutes or once you can’t leave an imprint with a finger nail pressed into the molding putty. He’s curing so leave him alone!
After the time has passed just gently wiggle the molding putty to loosen it around the head. If necessary pull it back from the sides and slide it off around the ears and nose. Careful! You don’t want to tear the mold. I’ve done that from being too anxious to see what I’ve molded. And here is what my sheep mold look like!
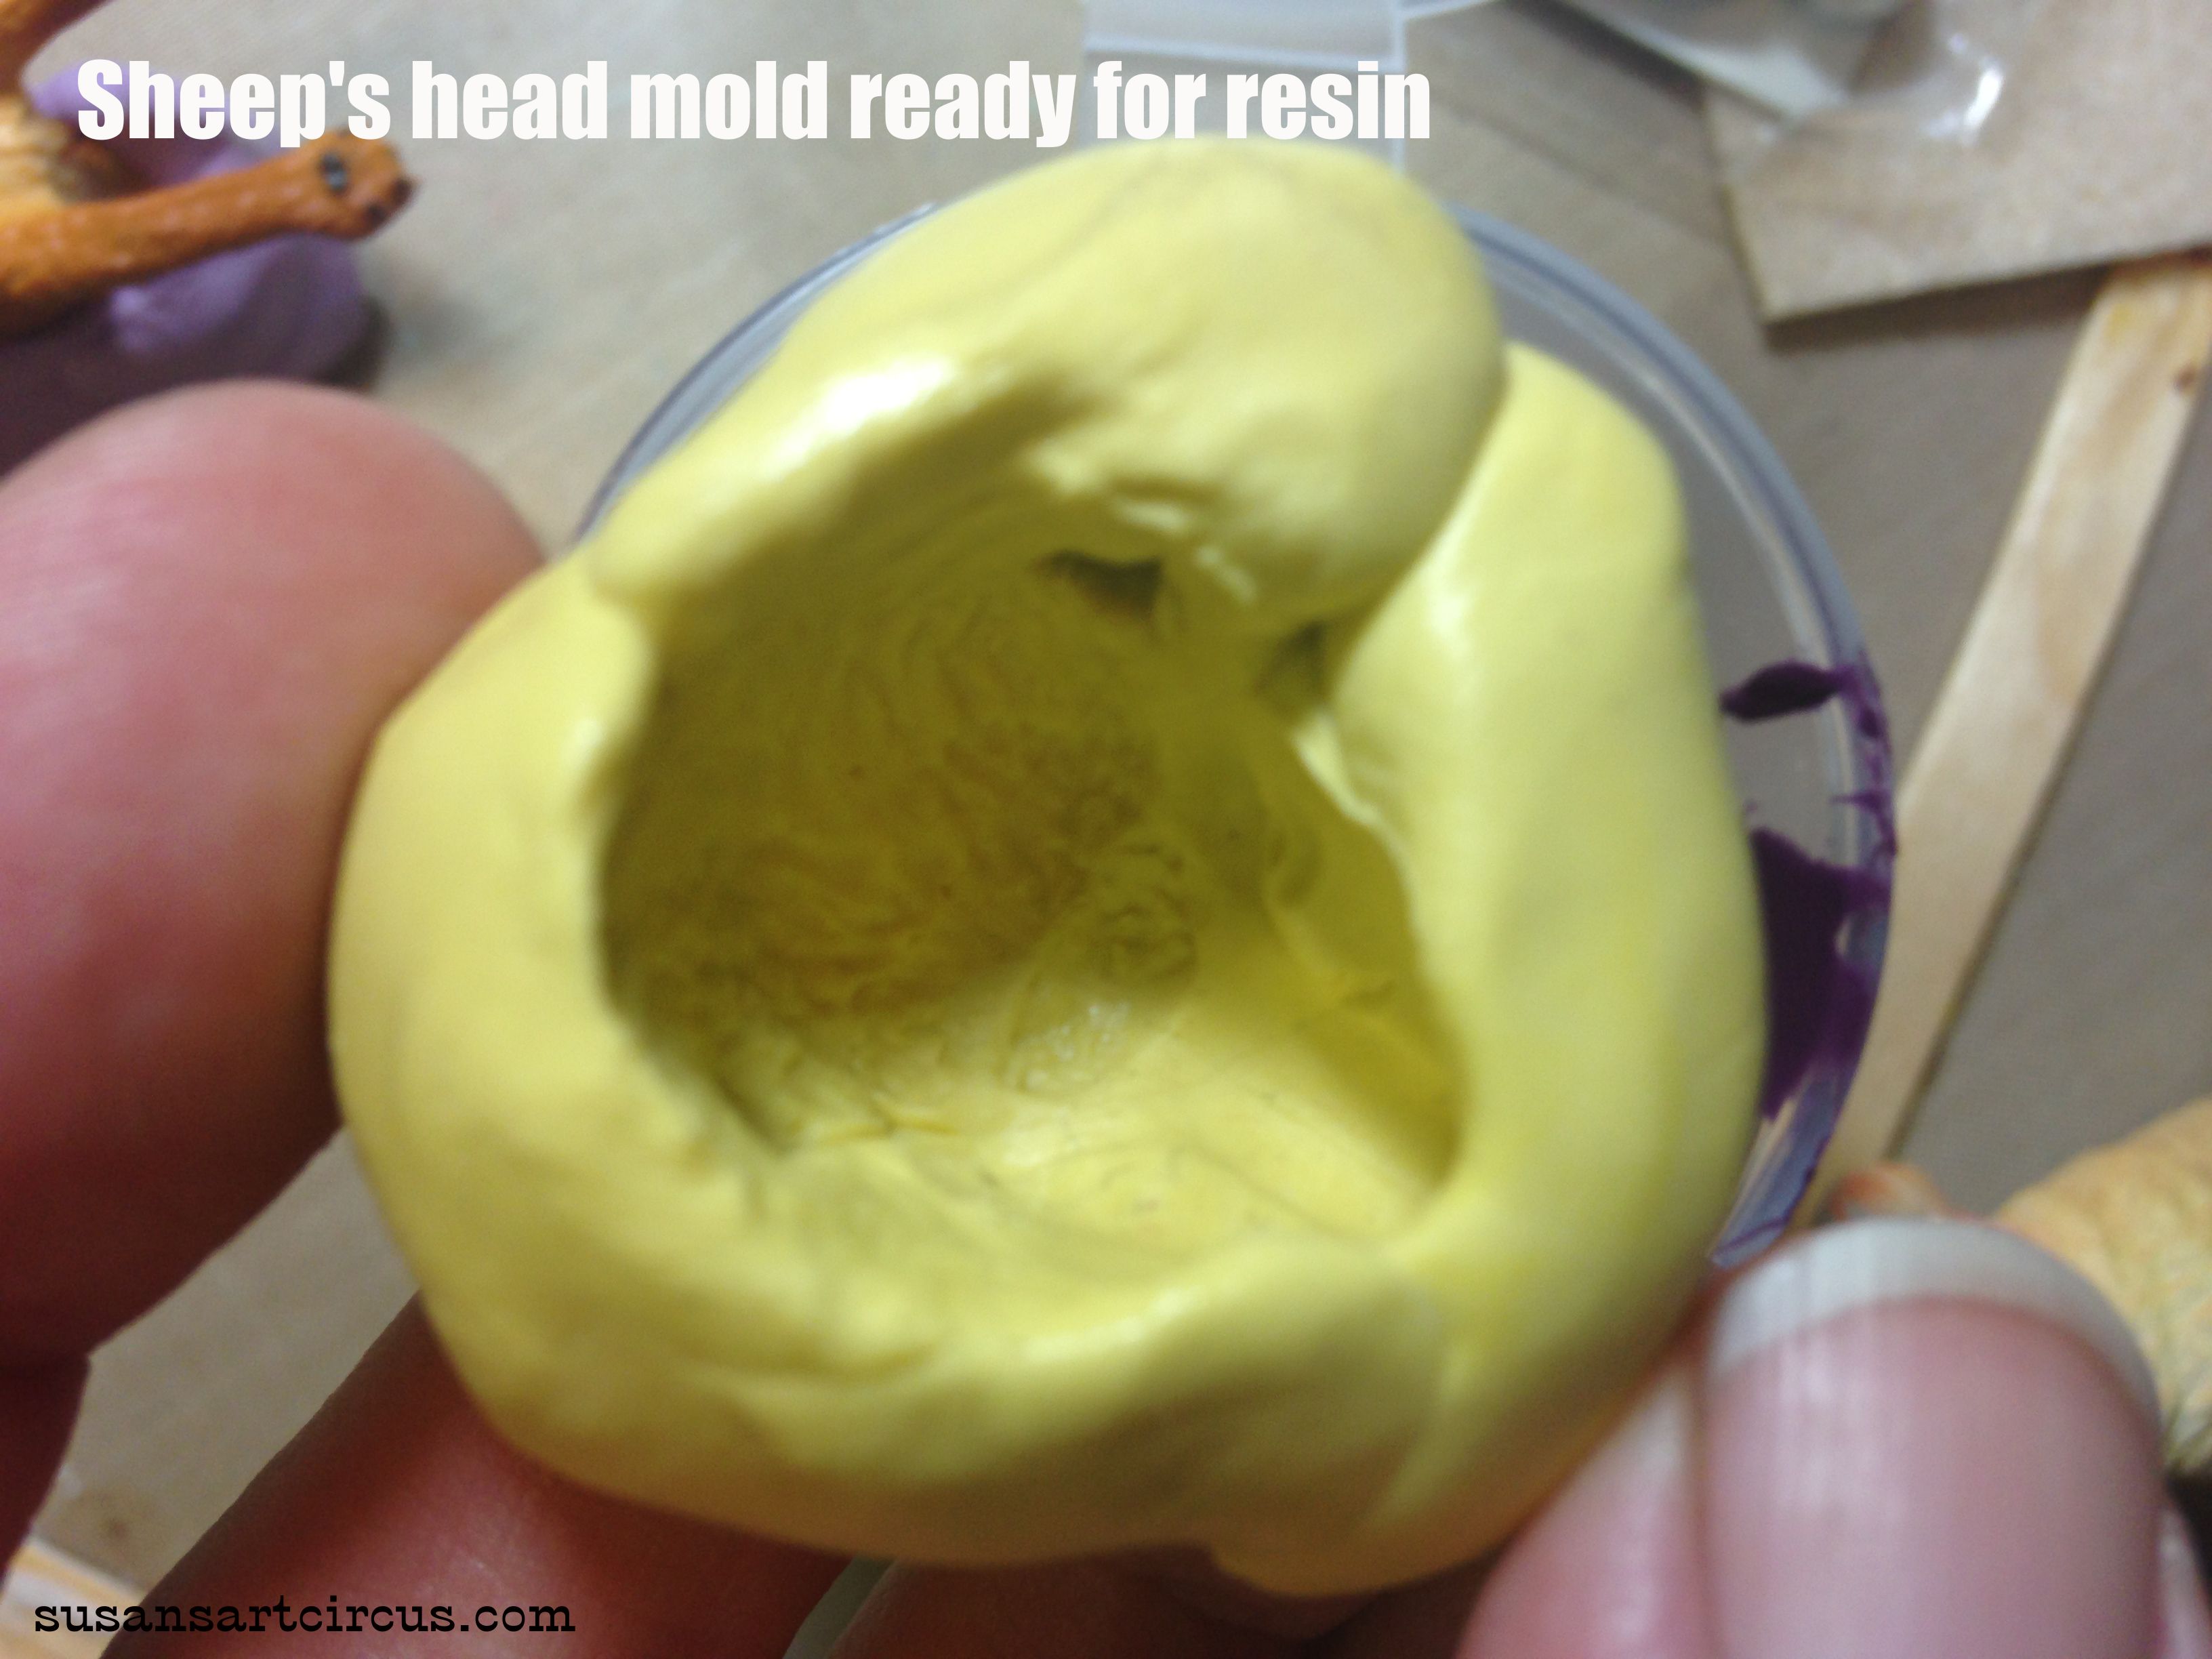
See all that detail? All the fur swirls and eyes? Next time we will pour some resin in it!
Happy cre8ing!!