Creative Schizophrenia: Let’s Talk

Sooo…anybody familiar with creative schizophrenia? Anyone have an artsy habit they can’t quite corral into one genre? Do you feel like your creative endeavors are wanting you to do everything…and nothing? Well…let’s talk.

This can get bad…like really bad. (and that makes me want to do this…)

Martinis are vegan!
Martinis are vegan!


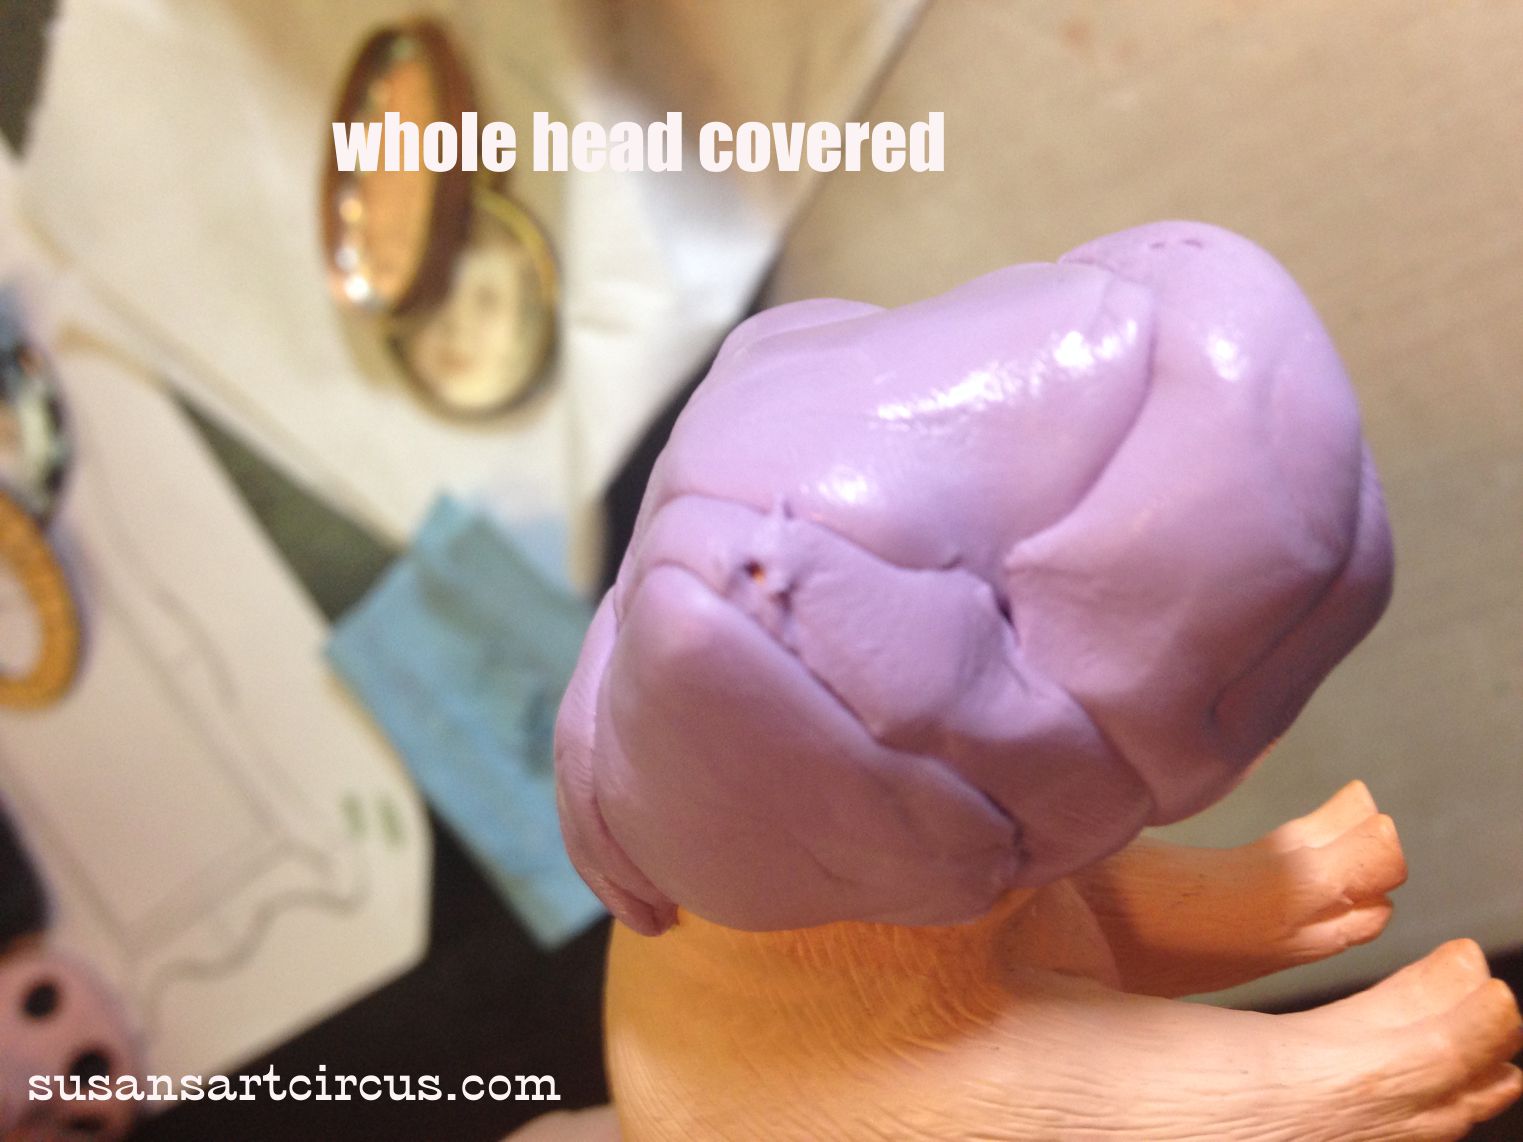
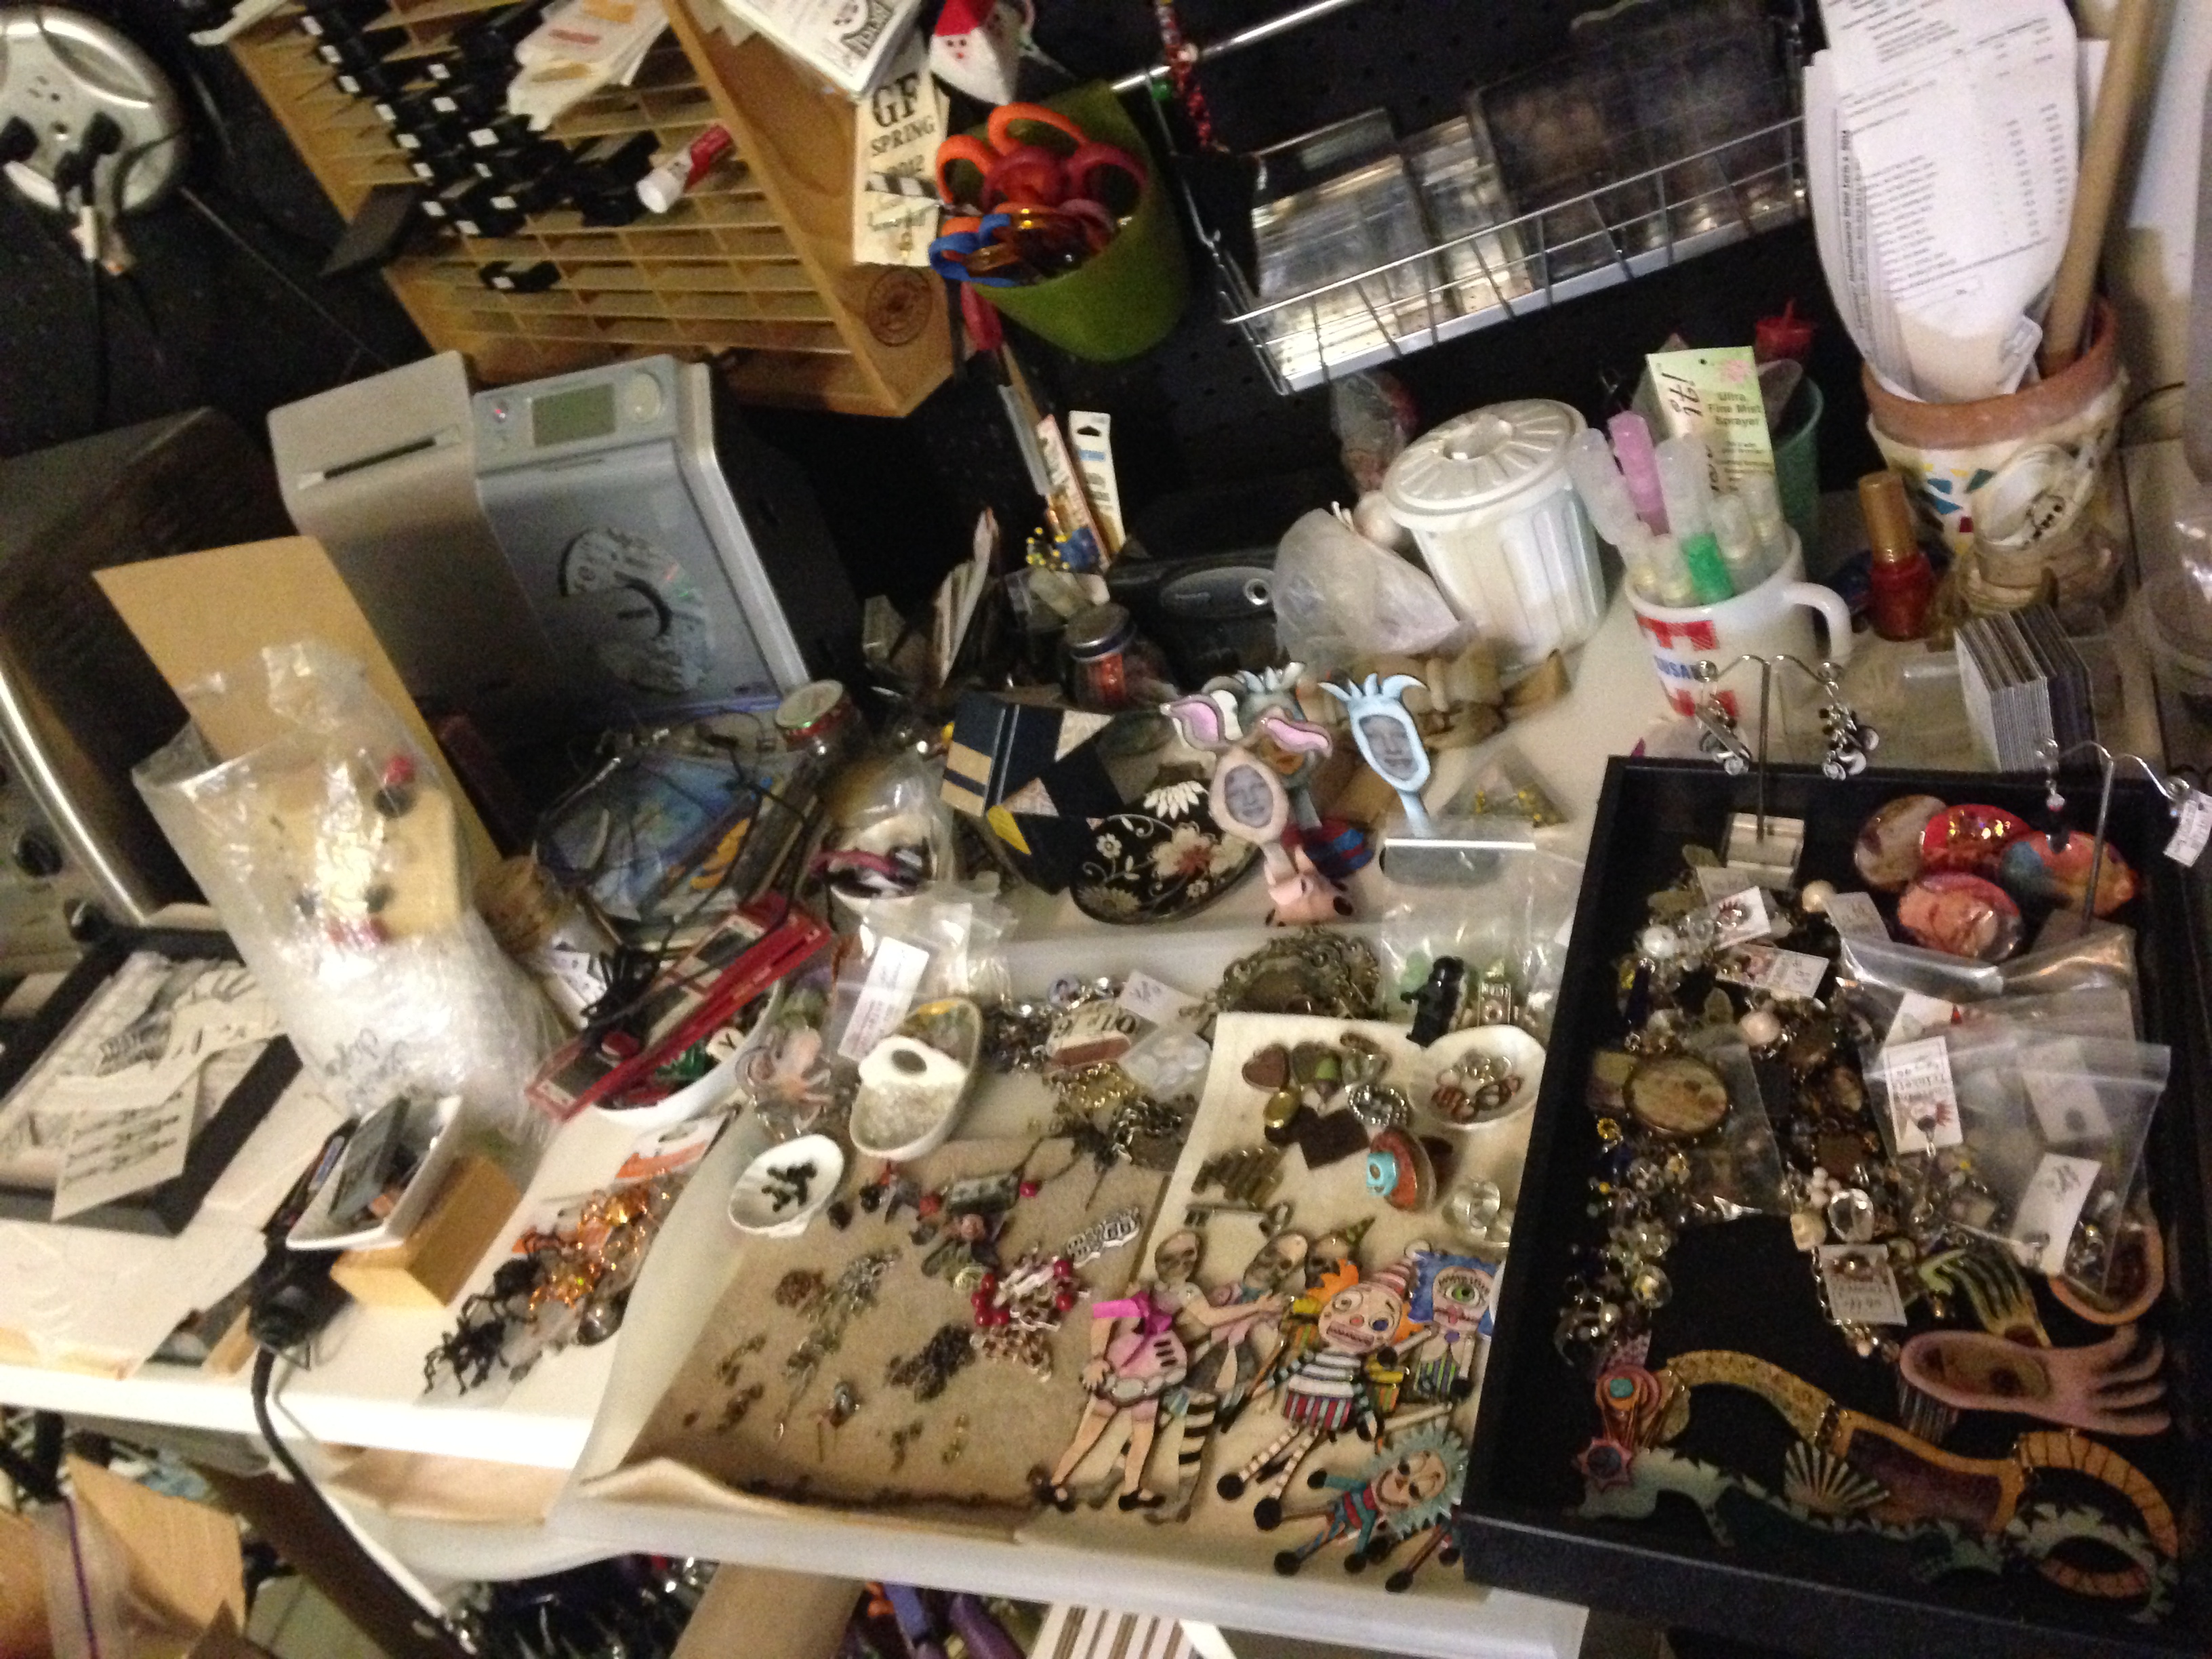
I find myself wanting to create for my jewelry line so off to the studio I go. I arrange my things, start with an idea, begin putting it together…and boom! All of a sudden my paint starts calling my name…what if when this thing is done I paint it? So I go get the paint out and start playing with that. Halfway through I notice there’s a piece of fabric on the floor…oooh! That might work too. Maybe I can sew it together for a packaging idea. So I play with that for awhile. Out comes the sketch book so I can see if my ideas will work together. What about ribbons? What if this thing had some tied onto it? And out comes some ribbon. Oooh…but maybe it needs resin? Maybe the pieces would look good glossy…and layered….and …and….and…

By this time I am working in four square inches of my table and not much is getting completed.


messy worktable 1


What is it with this? And what are your tried and true ways to keep your creative schizo self in check? Bah….

Here are a couple of things I find helpful when I cannot for the life of me get this under control…

  1. Set a timer and a simple goal…for instance I want to ready some of my shrink plastic. I set my phone timer for 20 minutes and that’s all I do until the timer rings. Guess what? I finished something!
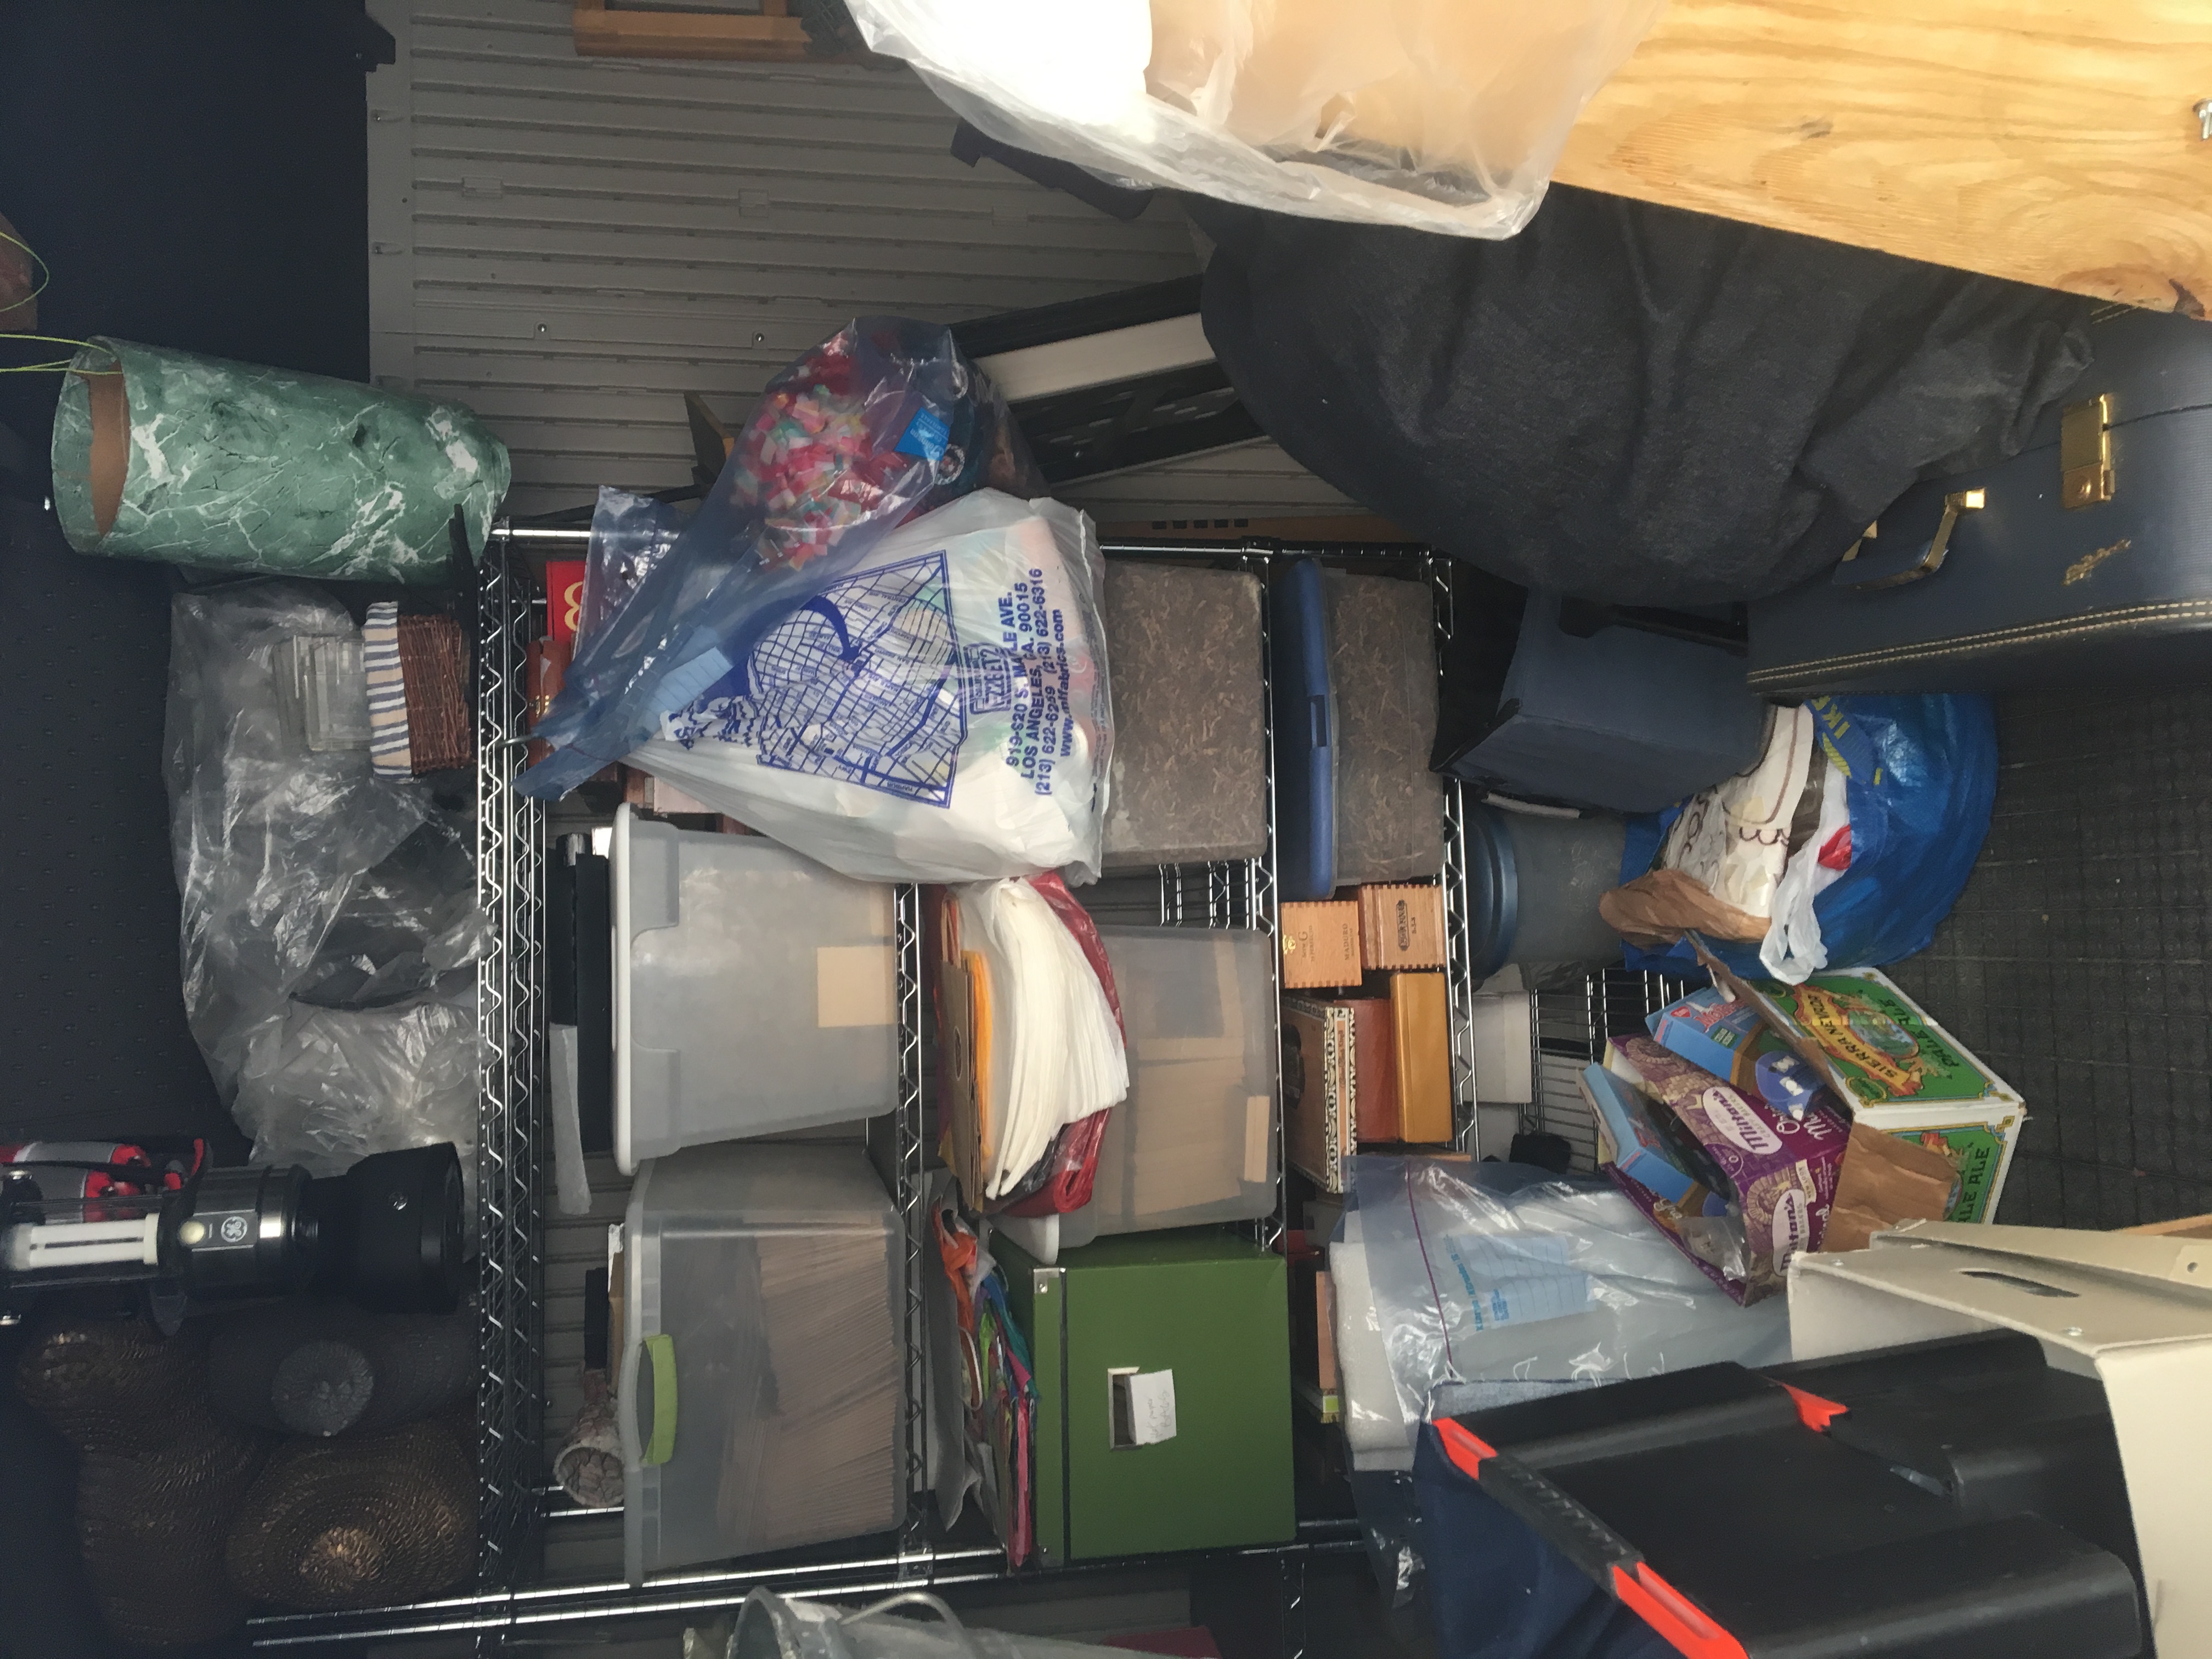
  2. Clean or organize. Again I might set my timer for this or just make note of the clock then find a spot to re-organize. Moving things into order allows me to clear my brain and do a sort of re-set. I do this for about half an hour and find that my brain is much more ready to focus on the task at hand.
  3. Go do something else! Maybe it’s time for lunch or a snack. Perhaps laundry needs some attention. Have you talked to your Mom lately? Choose anything that has nothing to do with whatever task you were having issues with.

Those are my three go to’s when I get stuck inside my creative schizophrenia brain. Inevitably one will work and I can get back to accomplishing things.

Try it and let me know how it works for you…or maybe you have a better idea? Would love to have you share it!

Until next time,

Susan


Two Shows in One Weekend: The Aftermath

So…I still feel like I am recovering from two shows in one weekend. Glitterfest and the Bernardo Winery show were both scheduled together. Oy…

This doesn’t happen every year. Only maybe once every three or four. No matter how you slice it it’s stressful.

I finally got my mojo in gear about a month beforehand and created like a maniac right up until the very last moment. Thursday night I packed my car for a Friday set up at the winery.

Cart full of junk

My husband helped out and we set up my booth plus a friend of mine who vends in the tent next door. Took us the better part of three hours to get it all together. Then home again, home again…only to unload the car and reload the car for Saturday’s Glitterfest.

More junk

Saturday we divided to conquer the show world. Boys to the Winery and girls to Glitterfest.

Glitterfest Girls

I have to admit I don’t have many pics from the Winery this time. First day the boys took maybe one picture and day two I spaced completely. Whoops….but both were a great success. Crazy to do but both worked out well.

And even with all the planning, making, and stresses it was over in a flash! All of a sudden it was Monday and all that was left was the mess!

...and more mess with junk!

Thank goodness everything is pretty much put away now. But I’m about to do one more show…so some things are still hanging out here and there. Last in person show for the year will be at the Irvine Fine Arts Center in Irvine California…maybe I will see you there…???

Until next time,

Susan


Two Shows the Same Weekend

Show prep is in full swing here at my very messy studio…this year I have two shows on the same weekend!

First there is the best mixed media show in southern California…

October 15, 2016
October 15, 2016

My daughter and I will be at Glitterfest (Anaheim, CA) from 10-am to 3pm in our best fall attire with all my goodies.

Also the same day and weekend is the 39th Annual Fall Bernardo Winery Art and Craft Fair (Rancho Bernardo, CA)…my son, Paul, will have his maiden solo voyage running my booth on Saturday from 10am to 5 pm! Please come say hello and spur him on! He’s a budding entrepreneur and has been working with me for the past three years. He can do it!!

So how does one prep for two shows on the same weekend? FURIOUSLY!

Stay tuned for some sneak peeks…

Until next time,
Susan

Ice Resin Play: Molding Putty Part 2

So last time we found out what molding putty is and the very basics of how you use it. Now let’s get a little more in depth.

How can I make the molding putty into something I can use? How does the molding putty make a mold?

Well…let’s see…we left off with mixed molding putty ready to go so say hello my zoo…

my animal zoo

I’m starting to hoard small cute plastic animals. Yes, I can’t help myself. But they make the perfect molding subject matter…let’s start with the big piggy there on the left…

pig ears and molding putty

Now you have to work pretty fast but you also want to make sure that the parts of the animals, the ears and snout in this case, are covered well to get a good mold. The molding putty will adhere to itself as you go but, again, you have to work quickly.

pigs ears covered

Here is Mr. Piggy with his whole head covered and ready to cure.

whole pig head covered

 …and my sheep was done in the same manner.

sheep head covered

Now comes the hard part…you have to wait. Only about 15 minutes or once you can’t leave an imprint with a finger nail pressed into the molding putty. He’s curing so leave him alone!

After the time has passed just gently wiggle the molding putty to loosen it around the head. If necessary pull it back from the sides and slide it off around the ears and nose. Careful! You don’t want to tear the mold. I’ve done that from being too anxious to see what I’ve molded. And here is what my sheep mold look like!

sheep mold

See all that detail? All the fur swirls and eyes? Next time we will pour some resin in it!

Happy cre8ing!!


Part 1 can be found here:

https://www.susansartcircus.com/ice-resin-play-molding-putty/ ‎

Ice Resin Play: Molding Putty Part 1

Have you played with silicone putty or molding putty? Do you know what that is? Ooh…you’re in for a fun surprise!

Silicone putty comes in two parts that you mix together to make one uniform color putty.  Sometimes it’s dark and light purple labelled part A and part B. Or it’s yellow and white like my favorite molding putty from Ice Resin.

molding putty

What you do take equal parts of the each color, no need to measure just eyeball it, and mix them to make a uniform blended color. It only takes about 30-45 seconds.

mixing the putty

Once the molding putty is blended together you can press just about any object you want into it…buttons, small dolls, utensils, vintage parts, beads, your finger, use your imagination. Wait 10-15 minutes and you have a mold that is an exact replica of whatever you stuck into the putty. Really…it’s that simple.

IMG_1621
The applications for this stuff are crazy! If you’re a mixed media artist your head will swim with ideas. I swear the first time I was introduced to this stuff I ran around the house and tried to mold everything that wasn’t alive!

If you haven’t tried it you need to! Come back by for another step in molding putty and see what I’m molding!!

Until then!

signature3button