Vegan in a House of Carnivores

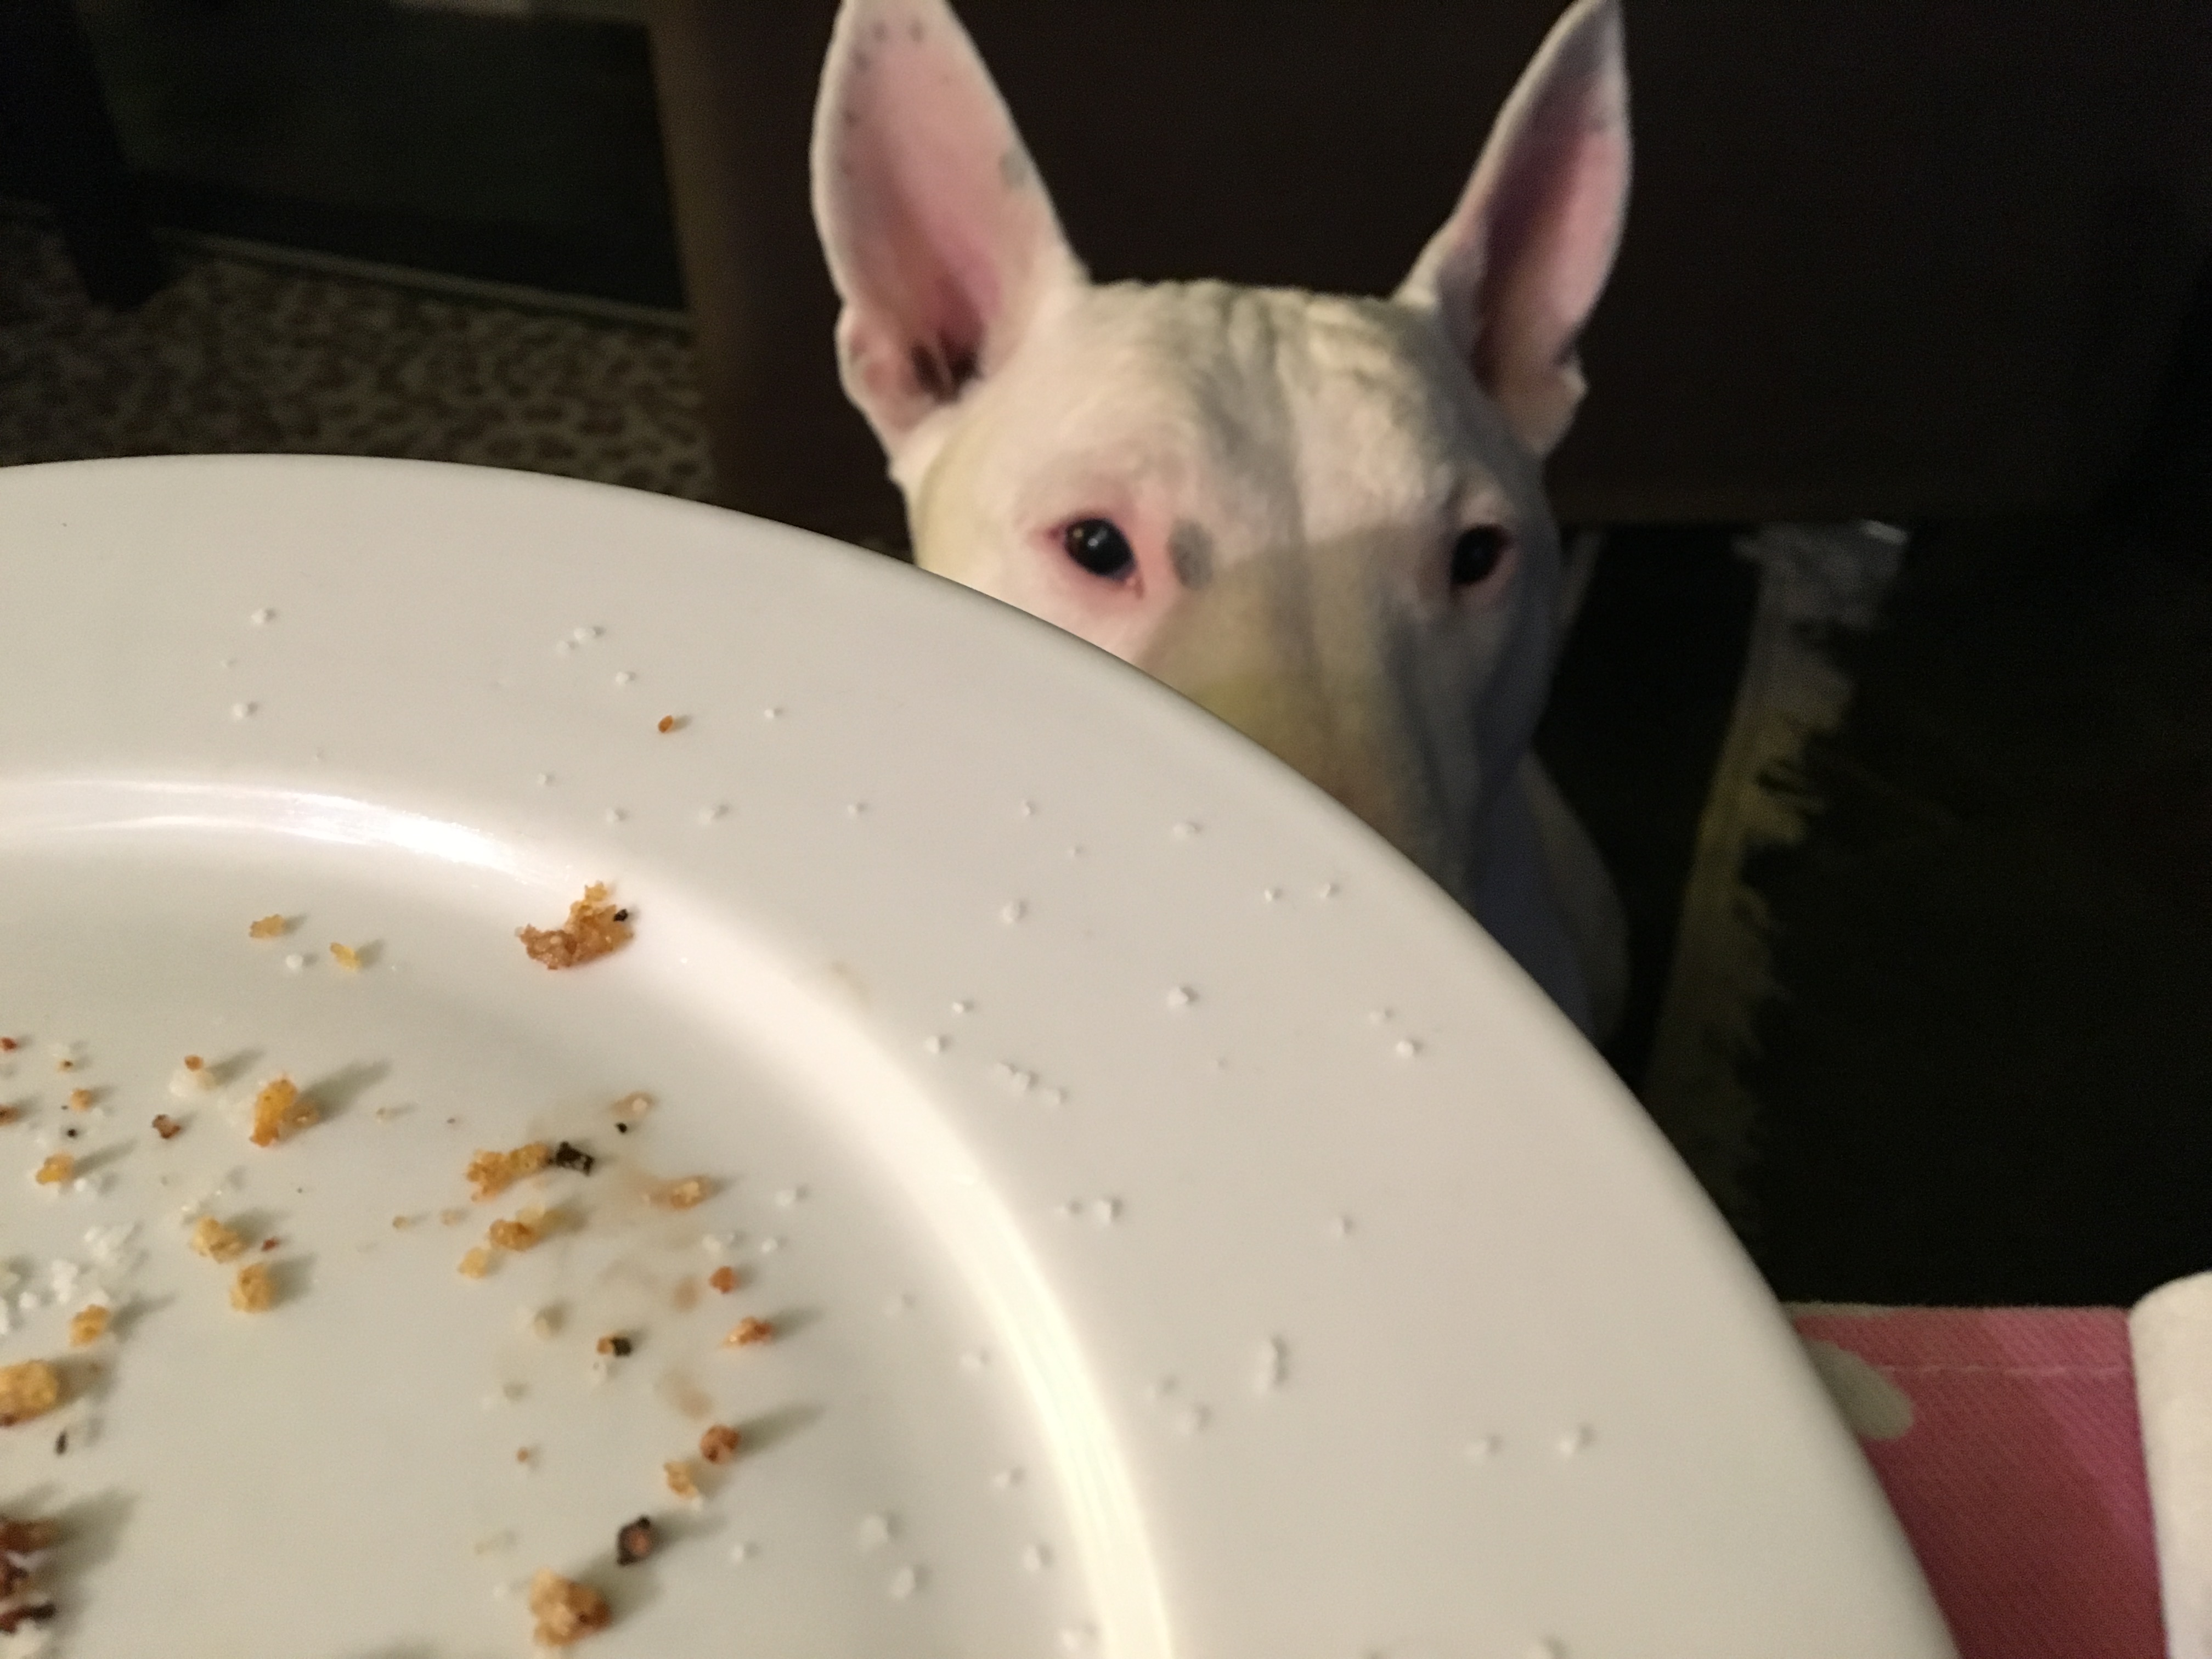
It’s been about 18 months since I made the plunge into a vegan diet. Not because I have an emotional attachment to animals, although I do on some level, and not necessarily to help save the planet, which I do think needs all the help it can get, but I did it for health reasons (menopause is no joke) and how it made me feel. That’s not to say, even though they all knew the reasons, that my family thought I’d lost it. (you can see how excited Paul is)

Thrilled!

All they could see was a life without bacon or hamburgers, no more steak on the grill or sausage sandwiches, and oh geez…no eggs! When I tried a two week trial vegan diet out for size on the entire family it lasted about ten days before my son came to me in tears. “Mom…(sniff, sniff) do you remember (tears, sniff, sniff) when you used to cook with meat?” True. True story.

What! No bacon??!
What! No bacon??!


So you have to come to grips with the fact that you live with a bunch of carnivores. How does that work if you don’t eat animal products and you do all the cooking, grocery shopping, etc.? One could say very carefully…but really it just takes creativity and extra hands when you have to deal with things you don’t want to deal with. Like cut up chicken for the gang and not touch it…you designate one of the carnivores.

Martinis are vegan!
Martinis are vegan!


Meals are planned (most of the time) so everyone can have what they like and I am not driven absolutely mad by cooking like a crazy diner chef. Things like mexican style spicy hamburger alongside a pan of black beans made with the same ingredients minus the obvious. Or Jerk chicken…again substituting beans for the bird stuff but using all the same ingredients in both.

Tyler eats vegan
Even Tyler likes vegan.


There are times that the whole family eats vegan. Do they always know it? No. Too many things are pretty good replicas so there’s no need to spill the beans (so to speak). Once I committed to this I found some great resources with recipes that work for all of us.

Samosa Style Potatoes


Let me share some. Maybe you’ll give it a try…

My absolute favorite and go to recipes are from  Isa Chandra Moskowitz

Another go to book, especially if time is tight, is from the Minimalist Baker (they also have a fabulous blog)

Minimalist Baker’s Everyday Cooking: 101 Entirely Plant-based, Mostly Gluten-Free, Easy and Delicious Recipes

Again great, easy recipes that pride themselves on being able to be done quick!

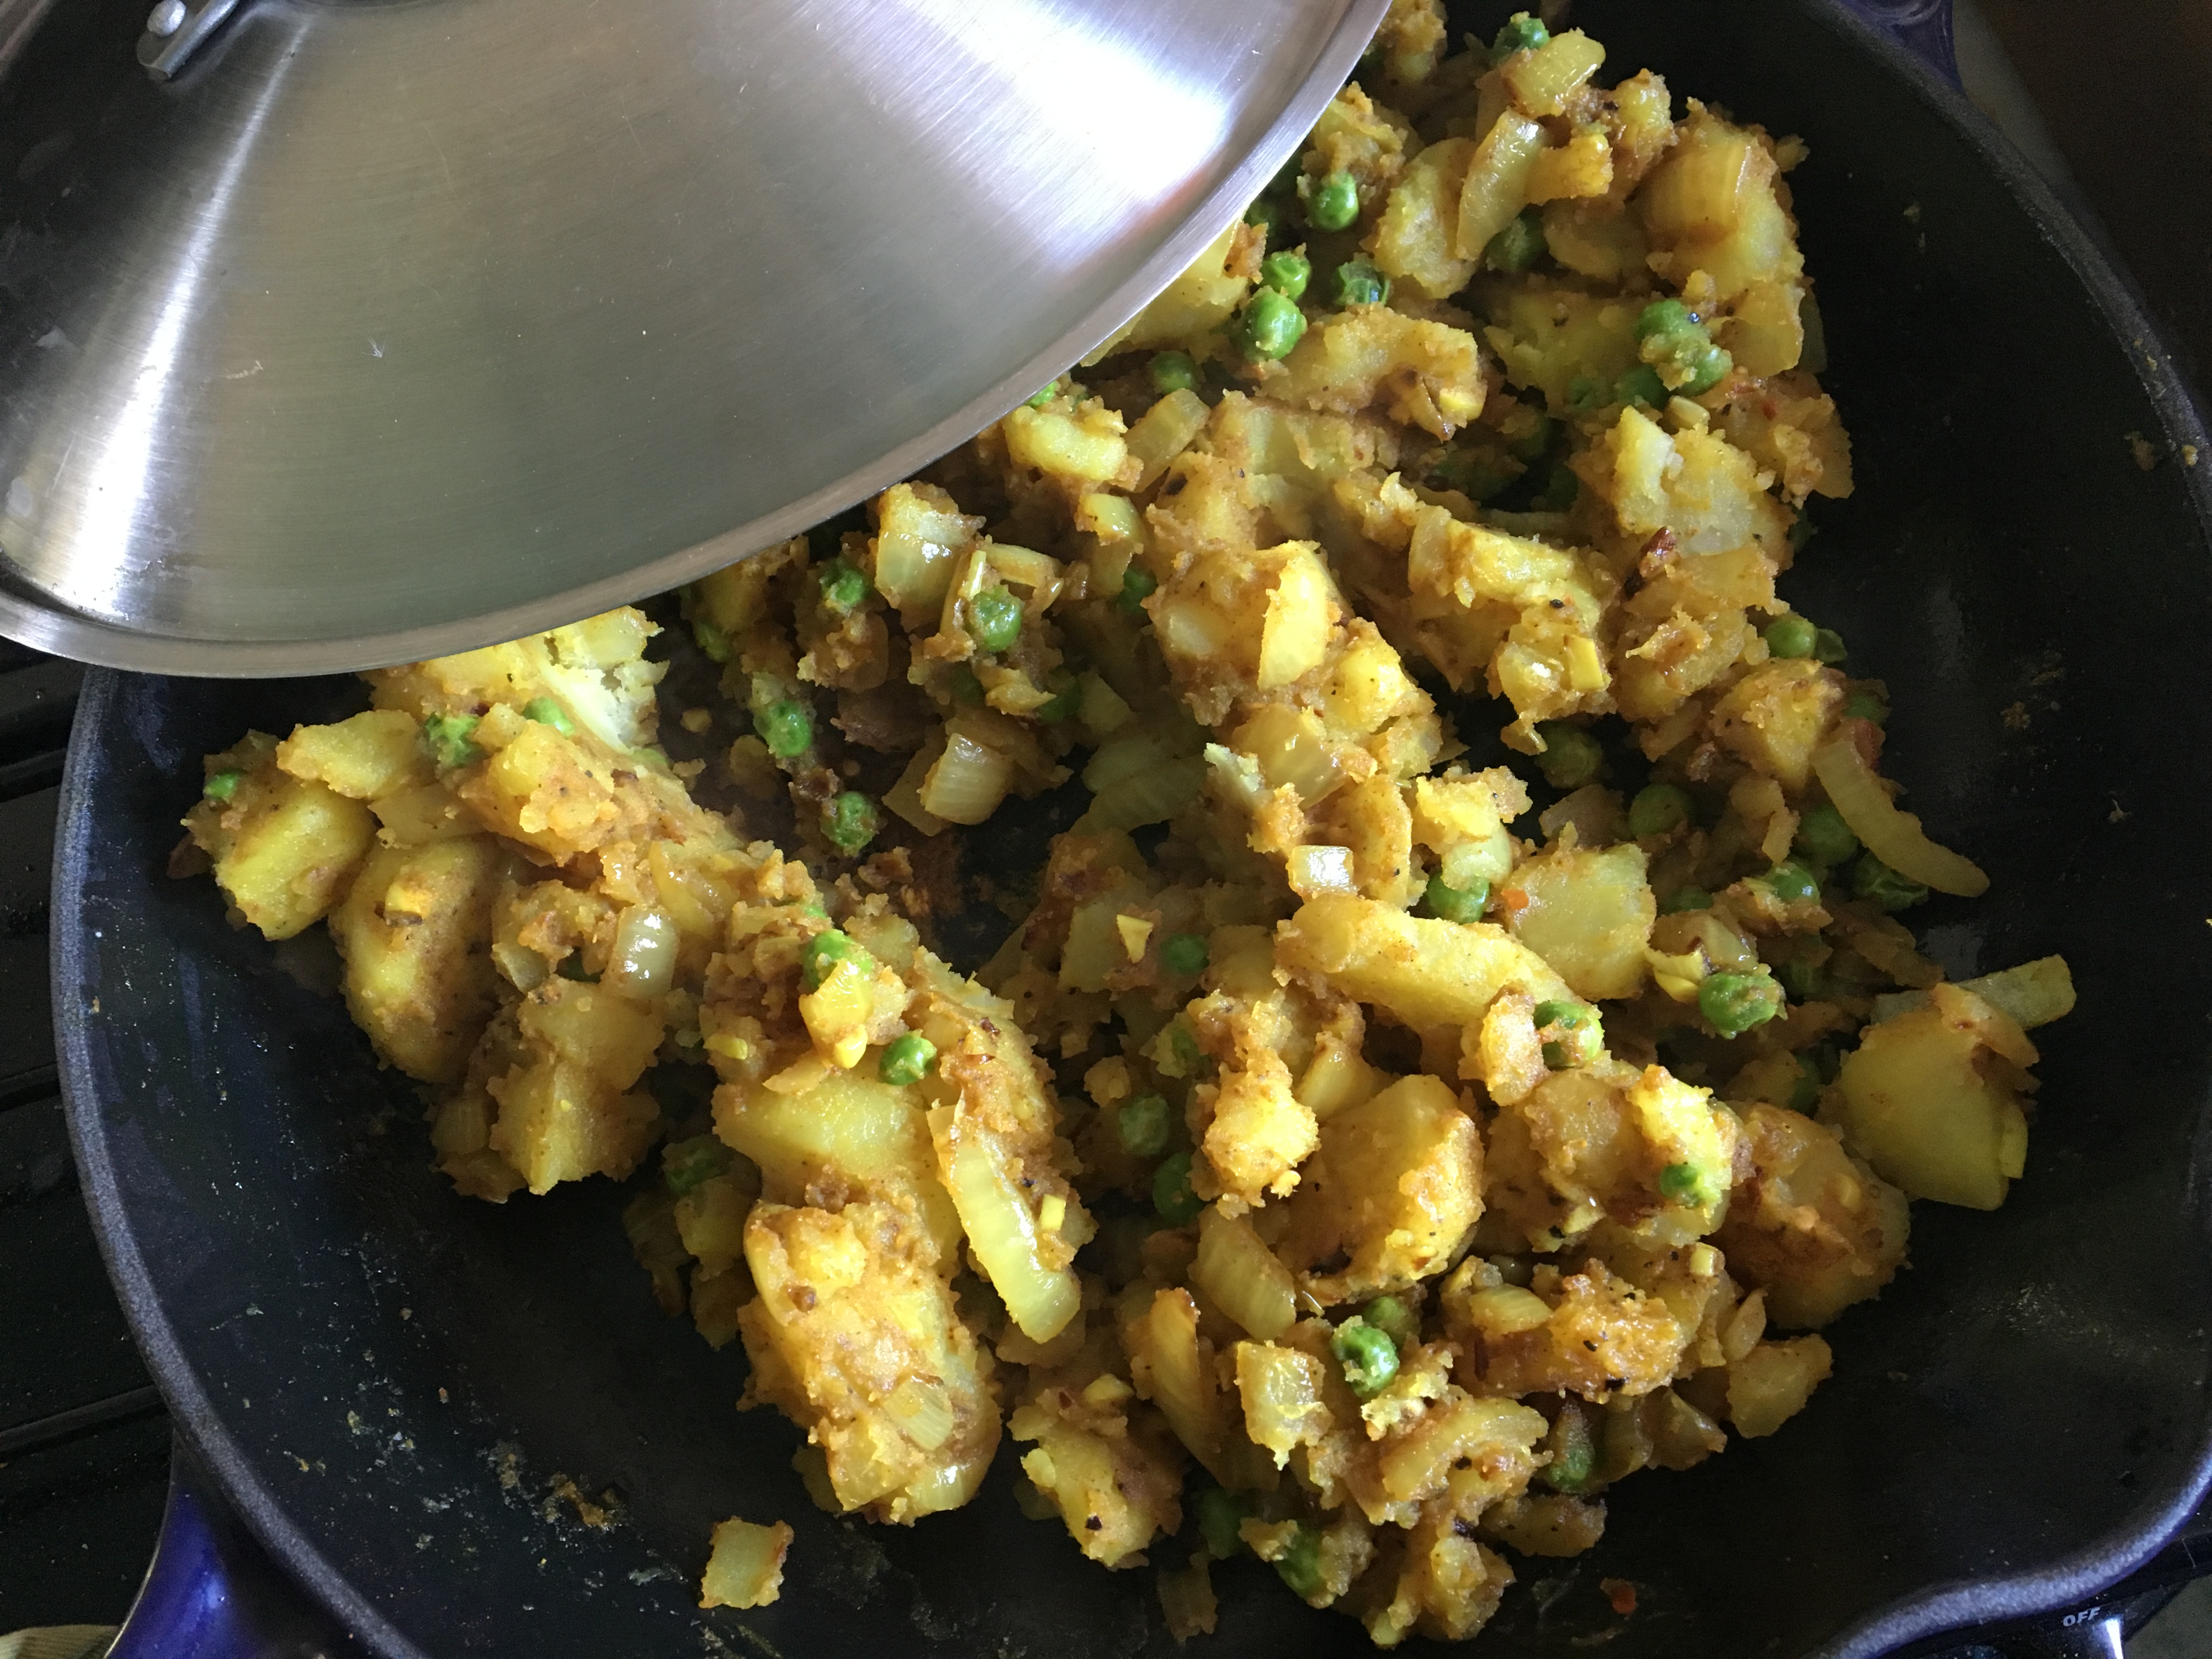
Third, but equally as good, is Vegan Richa’s Indian Kitchen: Traditional and Creative Recipes for the Home Cook

Now we happen to LOVE Indian cuisine and this gal translates all your favorites into vegan yumminess. I have this on my IPad because I cook from it so often.

There are many more that I’ve come to love and rely on. Next time let’s talk about baking. Sweet stuff…everybody’s favorite!

If you try any of these let me know what you think!


Until next time,

Susan


Decisions, decisions, decisions…

One of the things that keeps me from this blog is always some kind of decision. What should I talk about? What will anyone be interested in reading? How much should I show? Maybe a peek, a tutorial, a personal look at something? This goes on for long enough, and enough decisions are made on everything else, that I never get into the blog at all. Anybody else have this problem?
Addiemenose1
Then there’s always the “to do” list. Finish designing the stuff on my desk, prep for this weekend’s show, run errands, get change at the bank, order supplies, fill out your calendar, re-arrange your desk, mail out your orders, check social media, schedule social media, delete 900 e-mails, try to put out a newsletter, do tomorrow’s to do list, etc, etc, etc…
Then there’s the family “to do” list…collect all the laundry, call the Doctor, cook breakfast, go grocery shopping, wash the dog, advise child #1, clean the bathroom, wash the car, take a shower, drop the kids at sports, call your Mother, sweep the floor, wash the other dog…ad nauseum..
Gigantic bears at Costco
…you get the picture. More decisions. On everything.
But do you see “write on the blog” anywhere? Blog doesn’t show up, does it?
Not first…or in the middle…or at the end. Too many decisions and I can’t decide where to put it.
Sooo….time to make one more decision…what the hell am I finally doing here? Well…I guess I decided it was long enough. That I needed to try this again.
For how long and how often? No clue and I don’t know.
What will I bring my self to write about? Well…art…creativity…daily life stuff…basically I will be winging it and post things that tickle my fancy dependent on what day it is.
So about those decisions…I think I just made one.
To quit.
Until next time,
Susan

Ice Resin Play: Molding Putty Part 2

So last time we found out what molding putty is and the very basics of how you use it. Now let’s get a little more in depth.

How can I make the molding putty into something I can use? How does the molding putty make a mold?

Well…let’s see…we left off with mixed molding putty ready to go so say hello my zoo…

my animal zoo

I’m starting to hoard small cute plastic animals. Yes, I can’t help myself. But they make the perfect molding subject matter…let’s start with the big piggy there on the left…

pig ears and molding putty

Now you have to work pretty fast but you also want to make sure that the parts of the animals, the ears and snout in this case, are covered well to get a good mold. The molding putty will adhere to itself as you go but, again, you have to work quickly.

pigs ears covered

Here is Mr. Piggy with his whole head covered and ready to cure.

whole pig head covered

 …and my sheep was done in the same manner.

sheep head covered

Now comes the hard part…you have to wait. Only about 15 minutes or once you can’t leave an imprint with a finger nail pressed into the molding putty. He’s curing so leave him alone!

After the time has passed just gently wiggle the molding putty to loosen it around the head. If necessary pull it back from the sides and slide it off around the ears and nose. Careful! You don’t want to tear the mold. I’ve done that from being too anxious to see what I’ve molded. And here is what my sheep mold look like!

sheep mold

See all that detail? All the fur swirls and eyes? Next time we will pour some resin in it!

Happy cre8ing!!


Part 1 can be found here:

https://www.susansartcircus.com/ice-resin-play-molding-putty/ ‎

Ice Resin Play: Molding Putty Part 1

Have you played with silicone putty or molding putty? Do you know what that is? Ooh…you’re in for a fun surprise!

Silicone putty comes in two parts that you mix together to make one uniform color putty.  Sometimes it’s dark and light purple labelled part A and part B. Or it’s yellow and white like my favorite molding putty from Ice Resin.

molding putty

What you do take equal parts of the each color, no need to measure just eyeball it, and mix them to make a uniform blended color. It only takes about 30-45 seconds.

mixing the putty

Once the molding putty is blended together you can press just about any object you want into it…buttons, small dolls, utensils, vintage parts, beads, your finger, use your imagination. Wait 10-15 minutes and you have a mold that is an exact replica of whatever you stuck into the putty. Really…it’s that simple.

IMG_1621
The applications for this stuff are crazy! If you’re a mixed media artist your head will swim with ideas. I swear the first time I was introduced to this stuff I ran around the house and tried to mold everything that wasn’t alive!

If you haven’t tried it you need to! Come back by for another step in molding putty and see what I’m molding!!

Until then!

signature3button

My Turn At The Wheel

Today i want to introduce everyone here to my new project and maybe you’ll learn a little bit about me along the way.

This project started as an idea to try to keep creativity flowing and gather the like minded to help do so. An opportunity to spread that creative spirit through out busy lives make new connections, online and off. A way to use the power of many to gain a better foothold over all the tasks it takes to be a self employed artist. I mulled this over for a year or more before spilling it all to my online friend, Lori Leissner of Leissnerart. After several chats we approached another online art gal friend, Ursula Smith of Easy Scraps. That brought us to today and a like minded group of 20+ self employed women artists from three continents.


I invite you to visit our fledgling blog at the Cre8ive Klatch.

www.cre8iveklatch.blogspot.com

or please come join us for cre8ive conversation at our FaceBook group, www.facebook.com/groups/Cre8iveKlatch/


Today i’m up! My bio and the questioning are all mine today! Please go take a peek…you may find out something about me that you didn’t know before.

Graffiti Susan
Graffiti Susan


I’m so excited about this collaboration i could scream…loudly!!


Continuing over the next weeks we will be introducing the crew members of the Klatch. Each was asked a set of fun, insightful questions so you can get to know them better. Mixed with that will be great artsy projects, a re-affirming gratitude component, and some creative surprises. Our goal is to connect to you through creativity and give you a spot to come when you need a pause from your busy life.


Join us and connect with the Cre8ive Klatch!

Always,

Susan