Here is a list of all the bio’s and the artsy members of the ICE® Resin design team for 2015!
Don’t miss any of them! All of the design team members are crazy talented, have unique points of view, and include interesting tidbits about themselves.
Until next time,
Susan
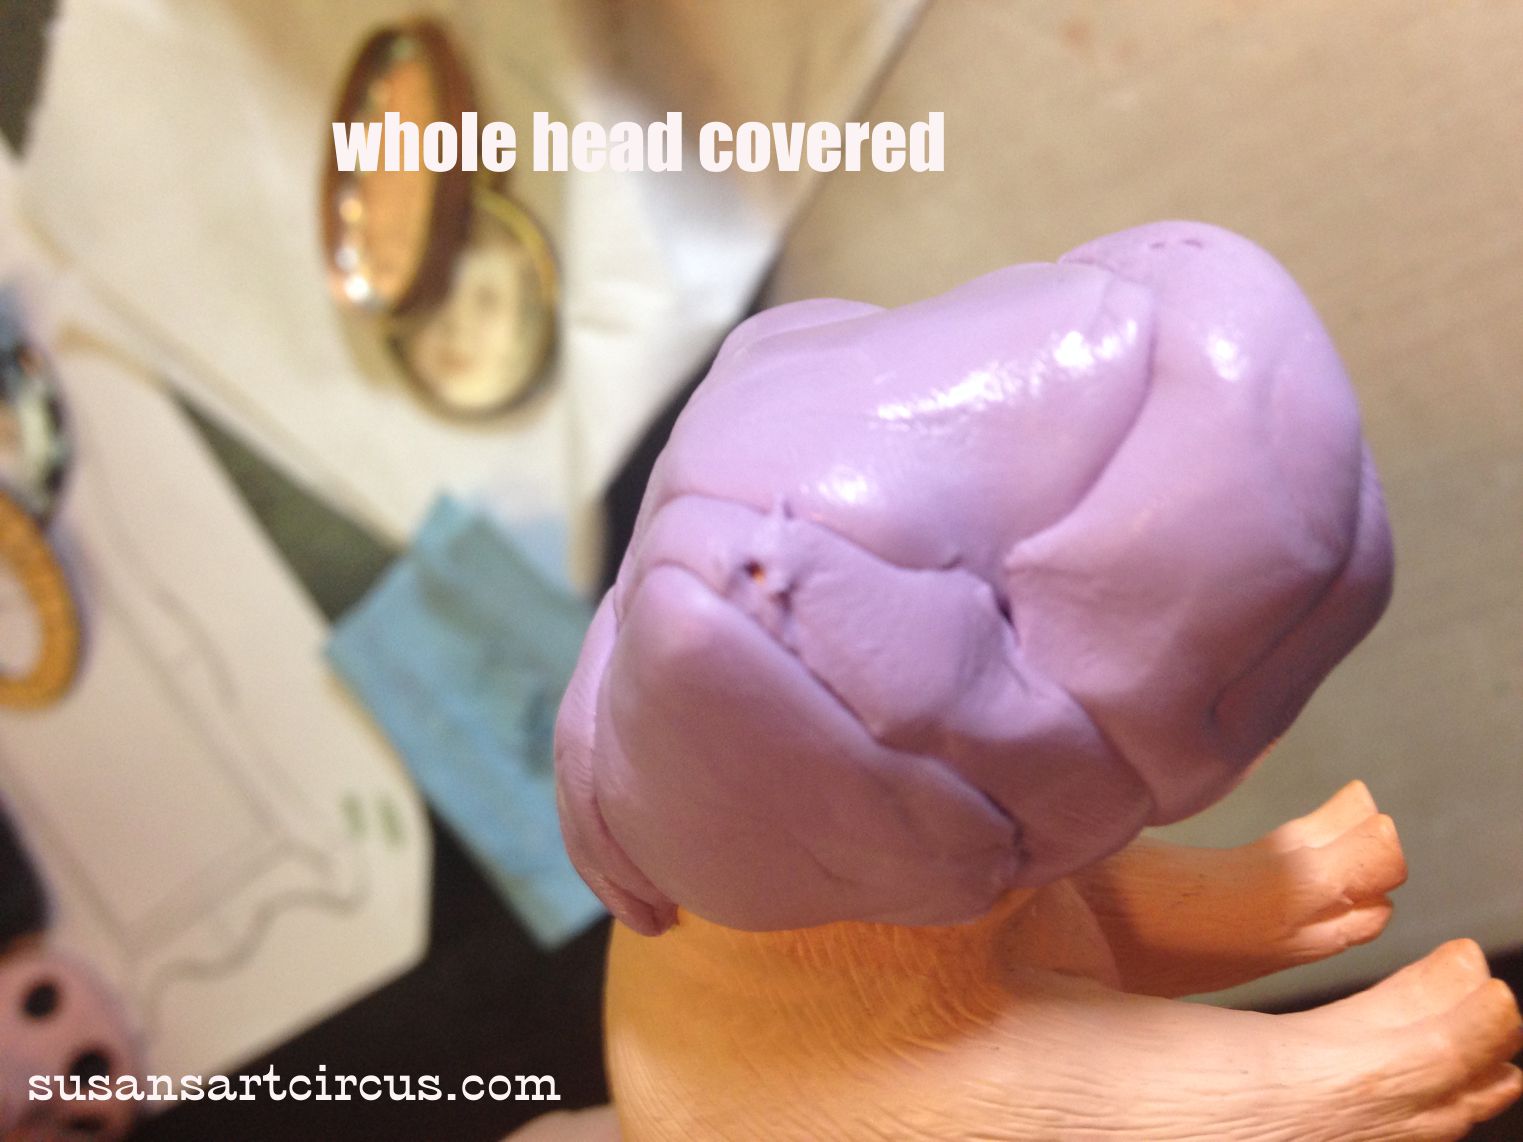
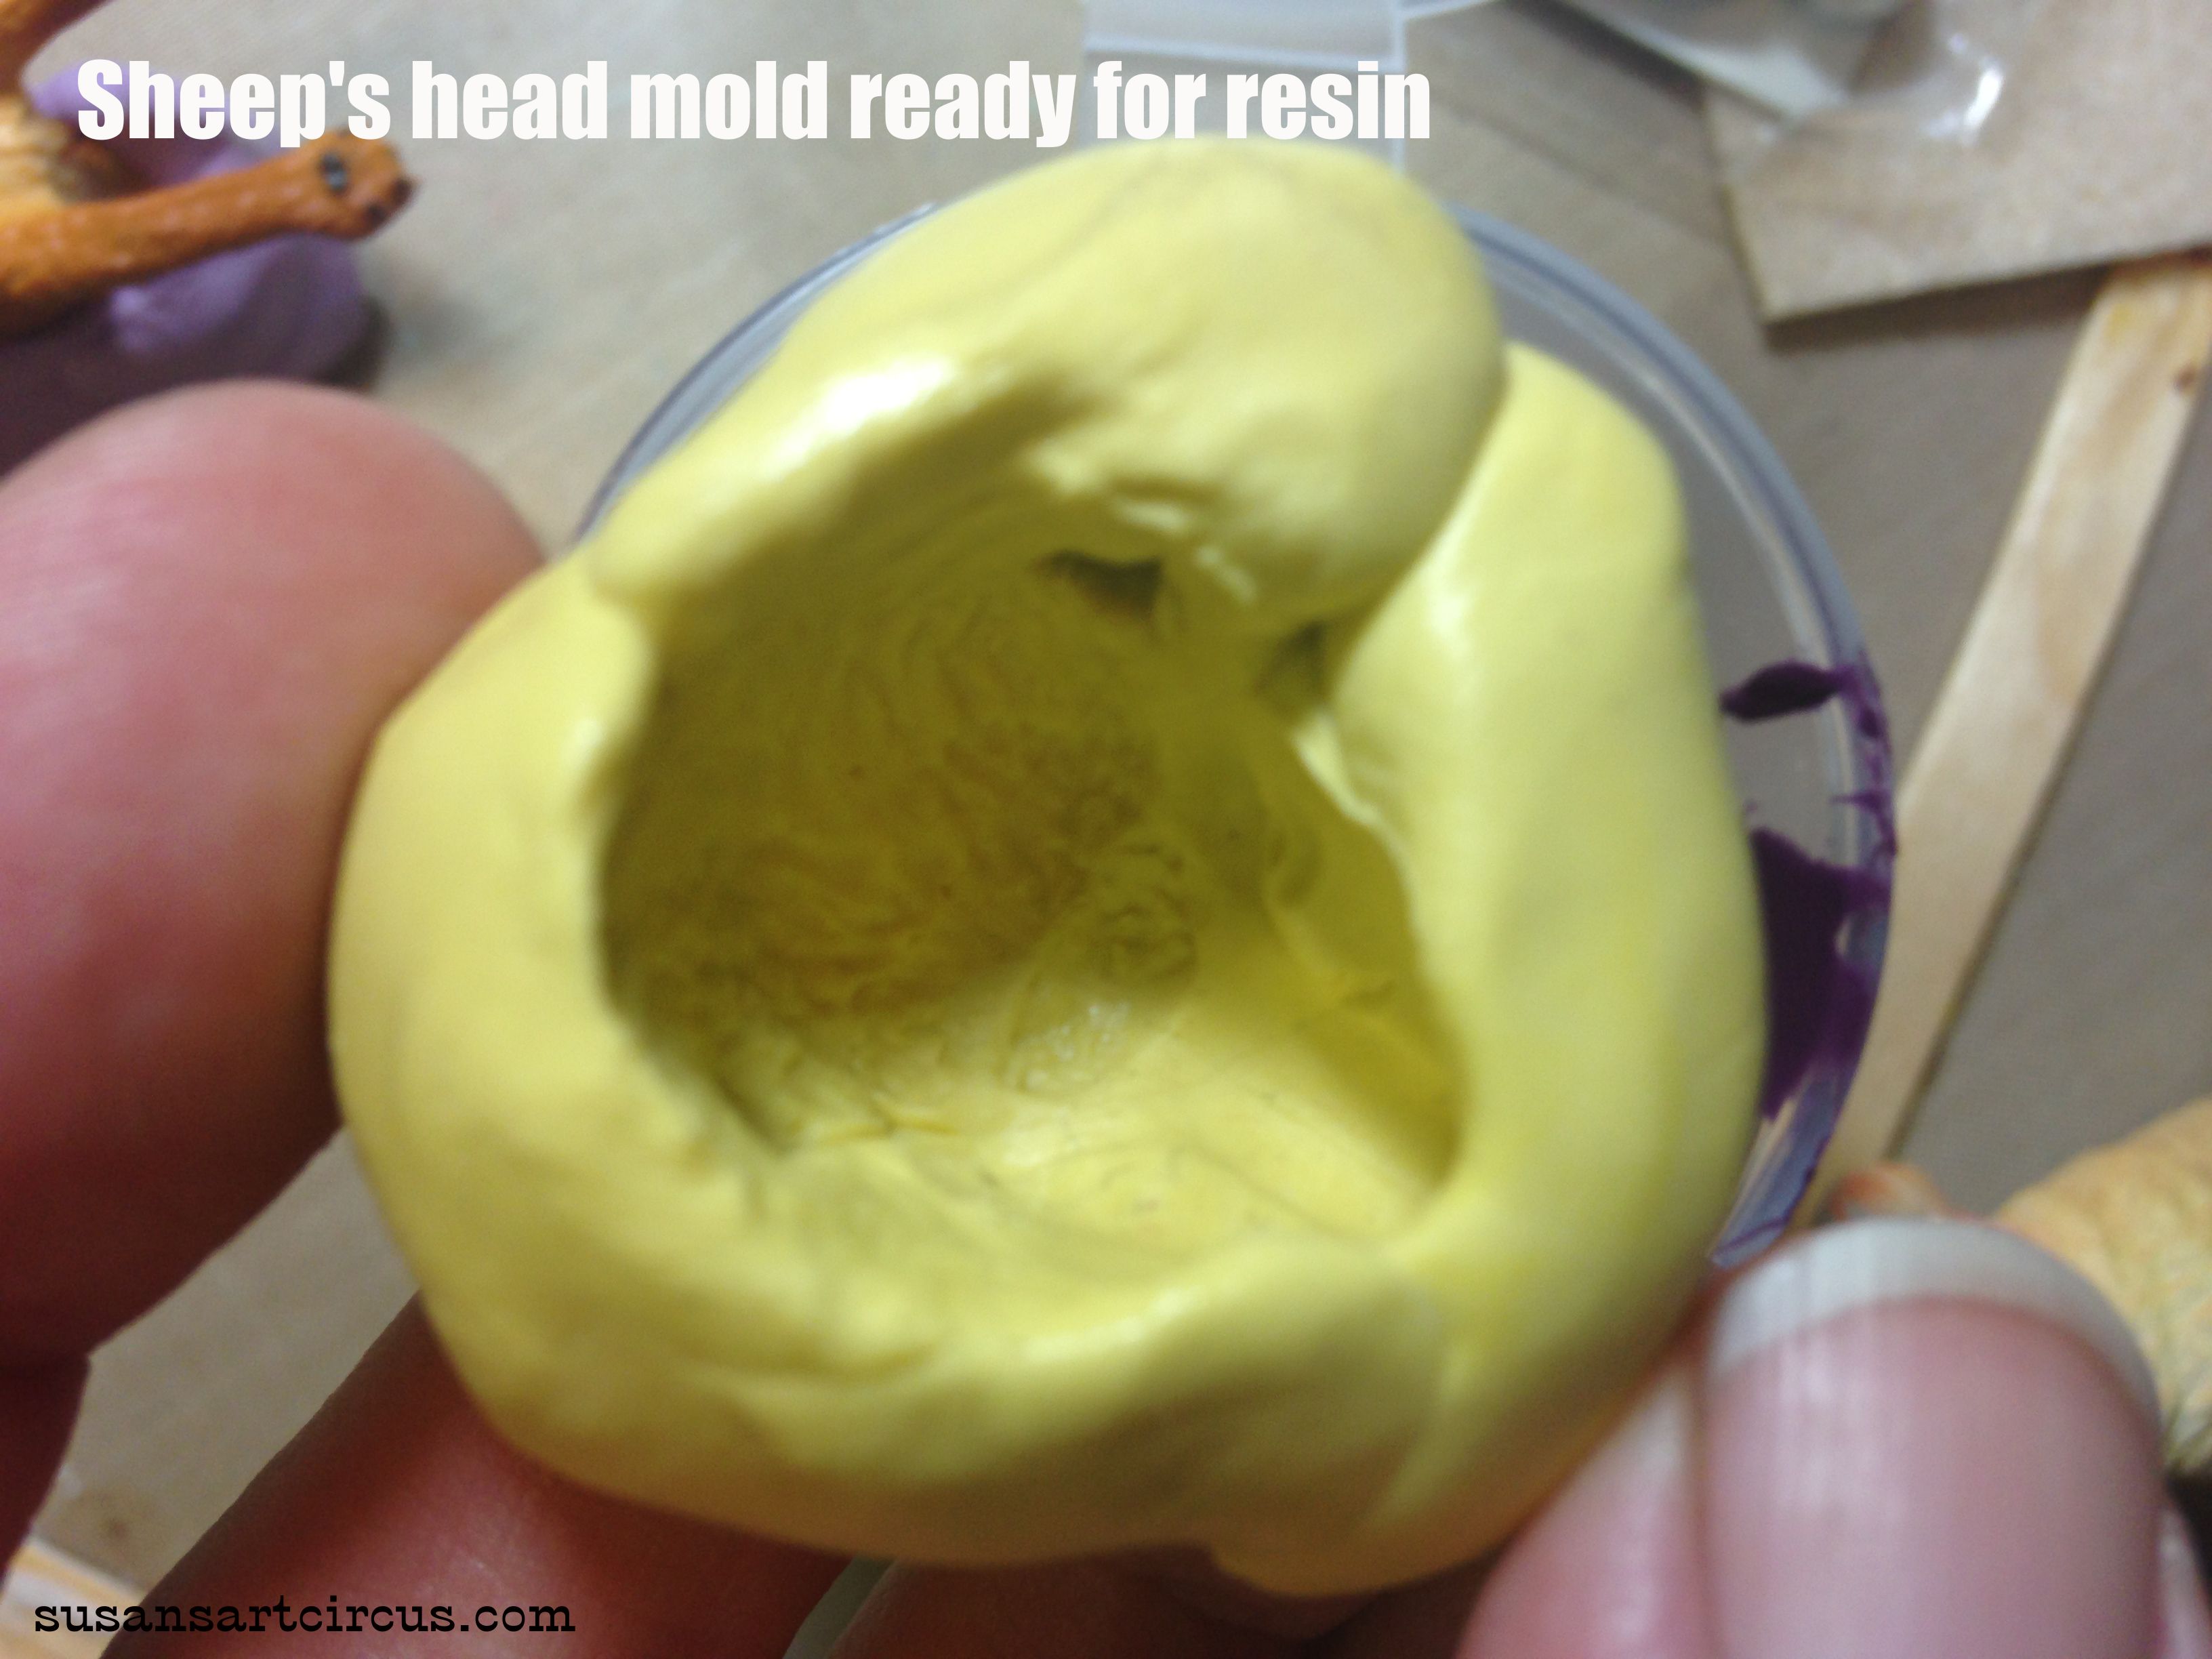
During this last few months I have literally been casting a resin zoo. I’ve shown you guys with my posts resin and casting materials. This is the culmination of some (operative word some) of the cast pieces.
Needless to say I keep a bowl full of small plastic kids animals that are my casting resin muses. There’s just something about them…
I can’t get enough of these…

And you’re saying to yourself…”so this is what you do after you cast a zoo!” I (I feel like Dr. Suess)

My absolute favorite…the Rhino!

There are only about 100 more to make into something.
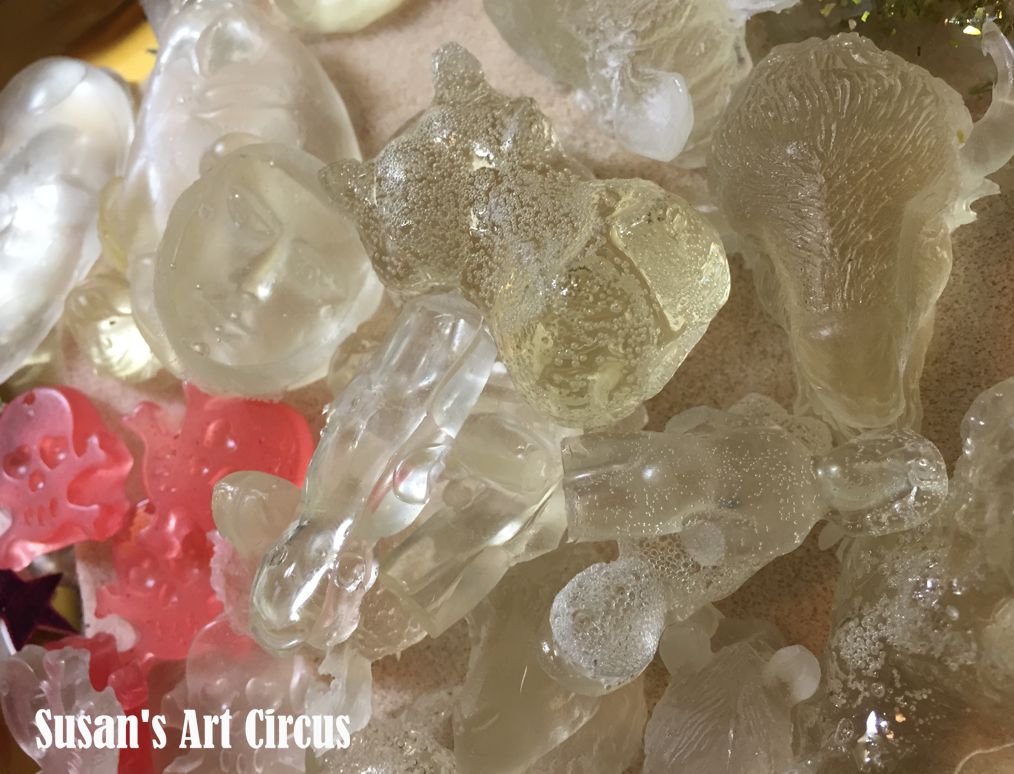
Don’t ask how many other animals are around the studio. It would take me an hour to show them all to you. Once you start casting resin it becomes obsessive. Oh well…it’s fun…
Here are the links to my series Ice Resin Play and casting resin:
I’ll be back with more resin adventures soon…
Until then,
Susan
Last week’s Ice Resin Play was with rings and some other things.
This week I can show you how Ice Resin changes everything you saw in that post. Beautiful changes!
Here is the before of what you are about to see. The two top circles of color are the beginnings of the druzzy. Coarse glitter glued down before resin.
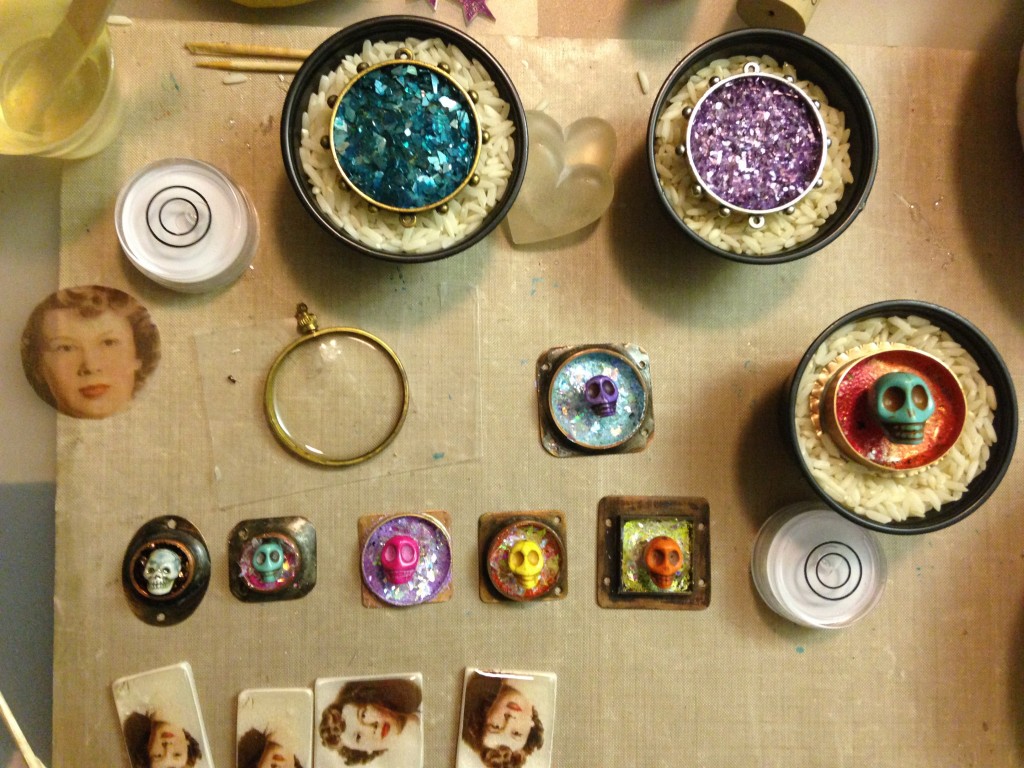
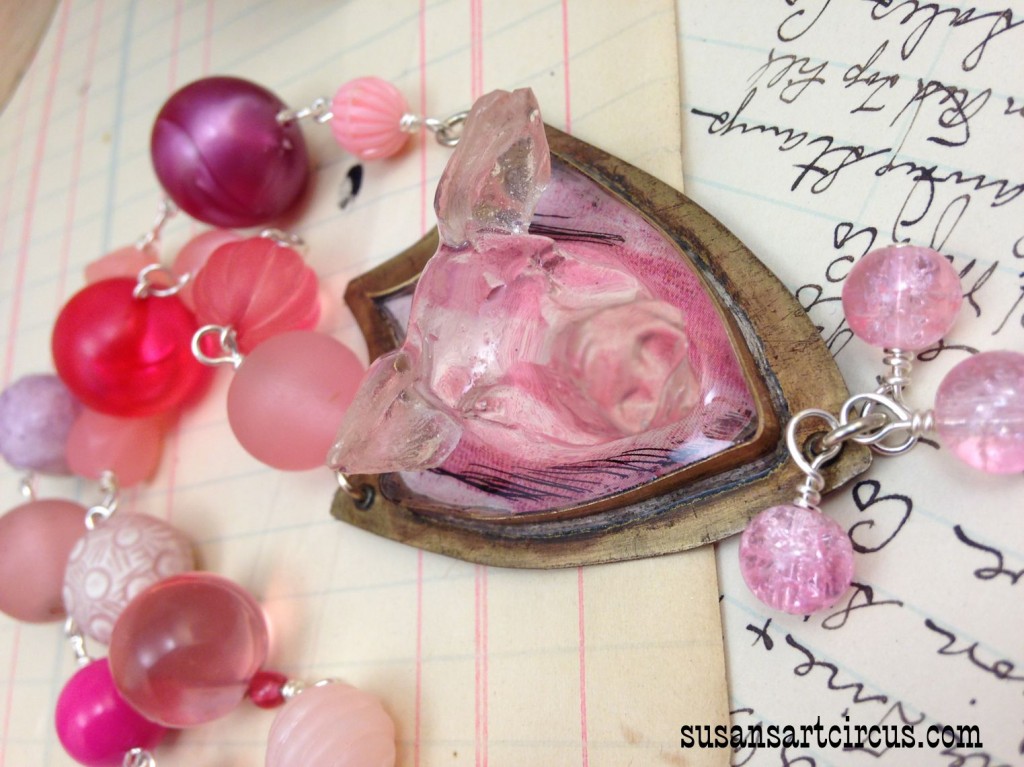
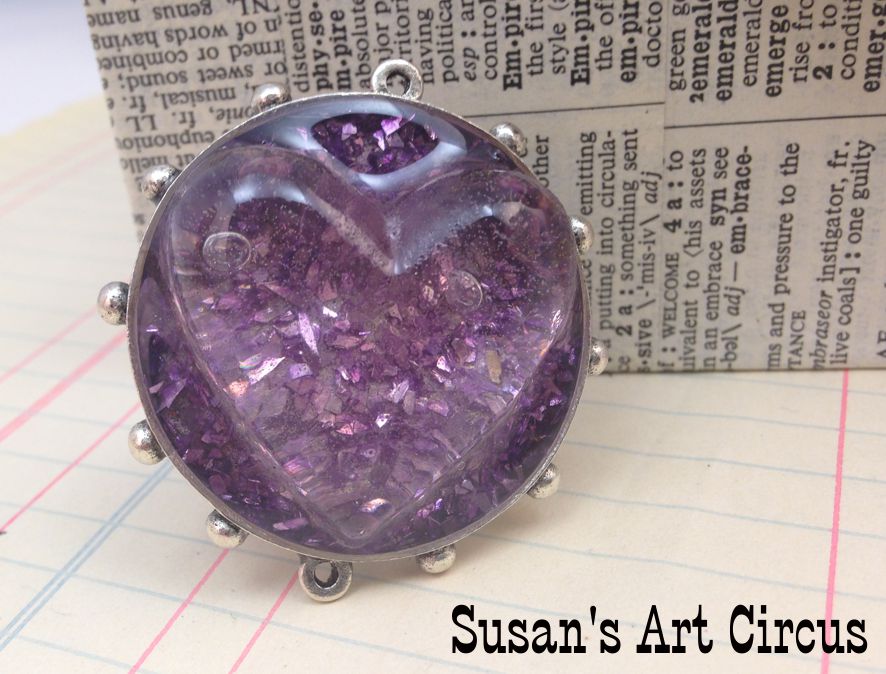
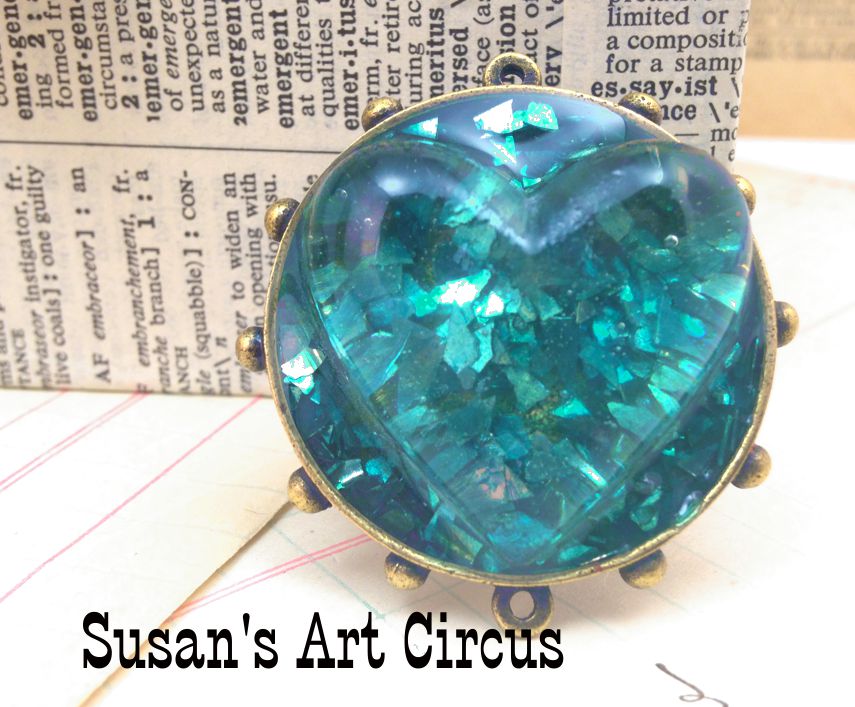 After seeing a few Ice resin samples of faux druzzy (naturally forming crystal) techniques I had to try it out. Using the chunky turquoise glitter I glued it thickly to the bottom of the bezel. Over that poured the Ice resin to make a smooth top and placed a previously cast heart on top of that. Yum! I love it. Also made on in purple.
You can see where the cast heart caught two air bubbles underneath it…but I don’t care. It’s really pretty anyway.
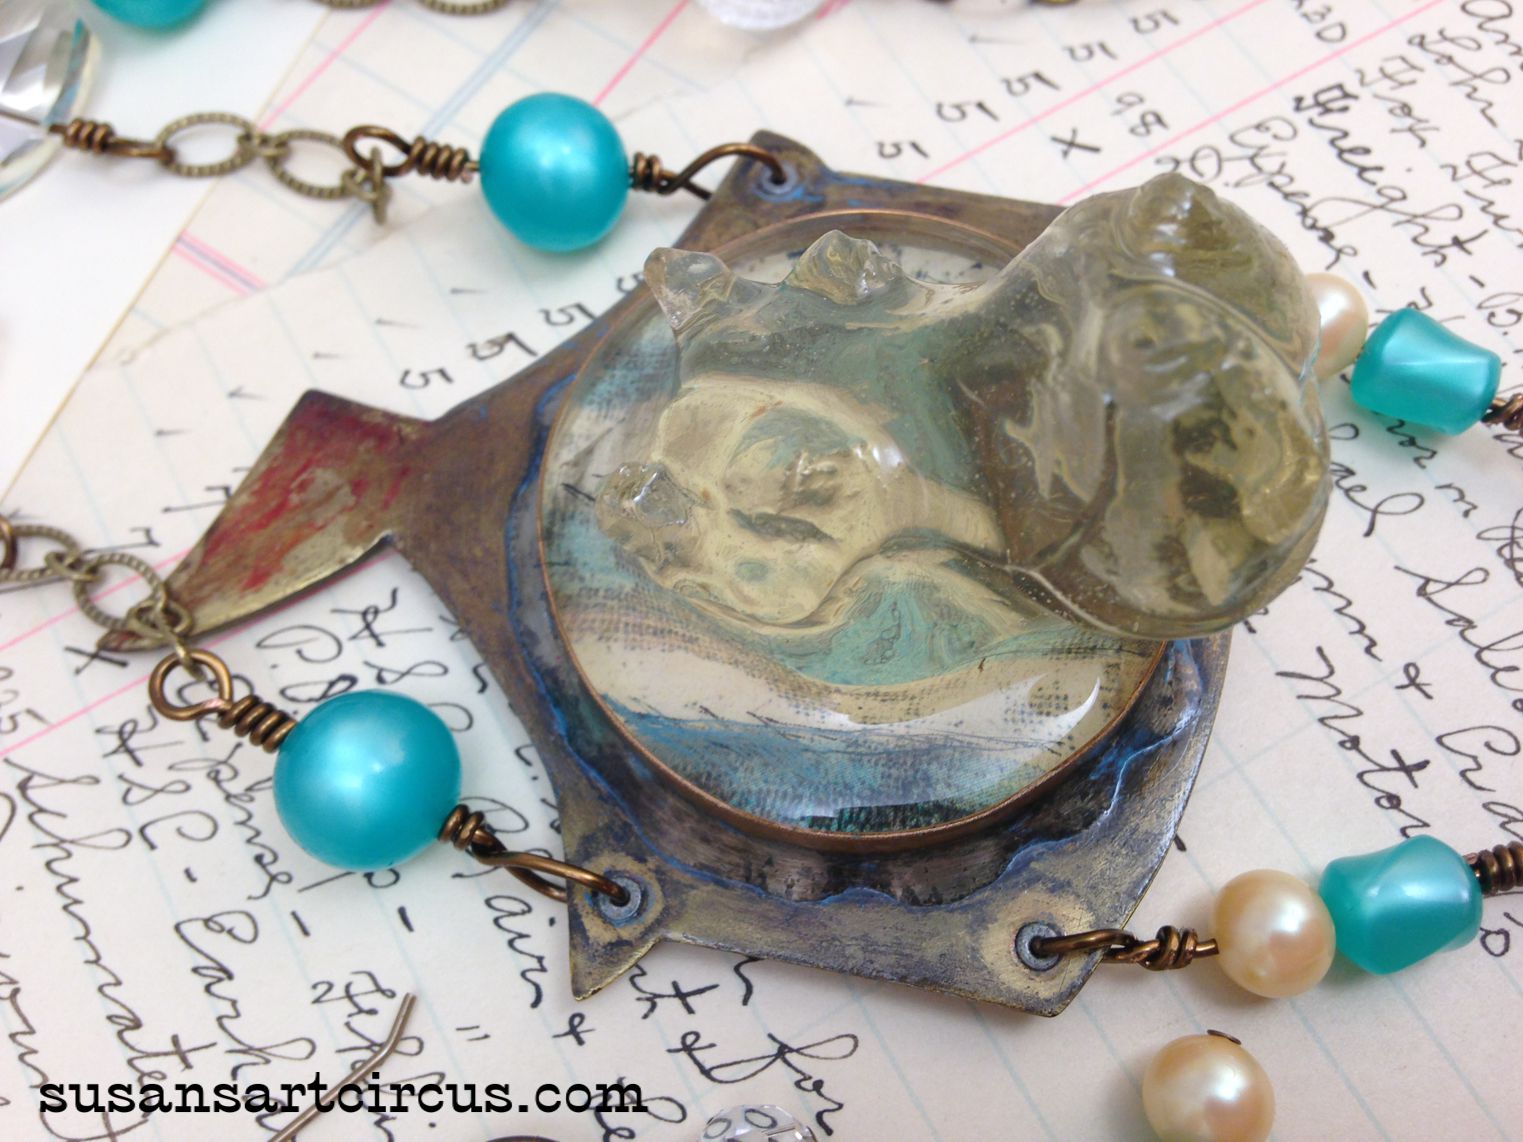
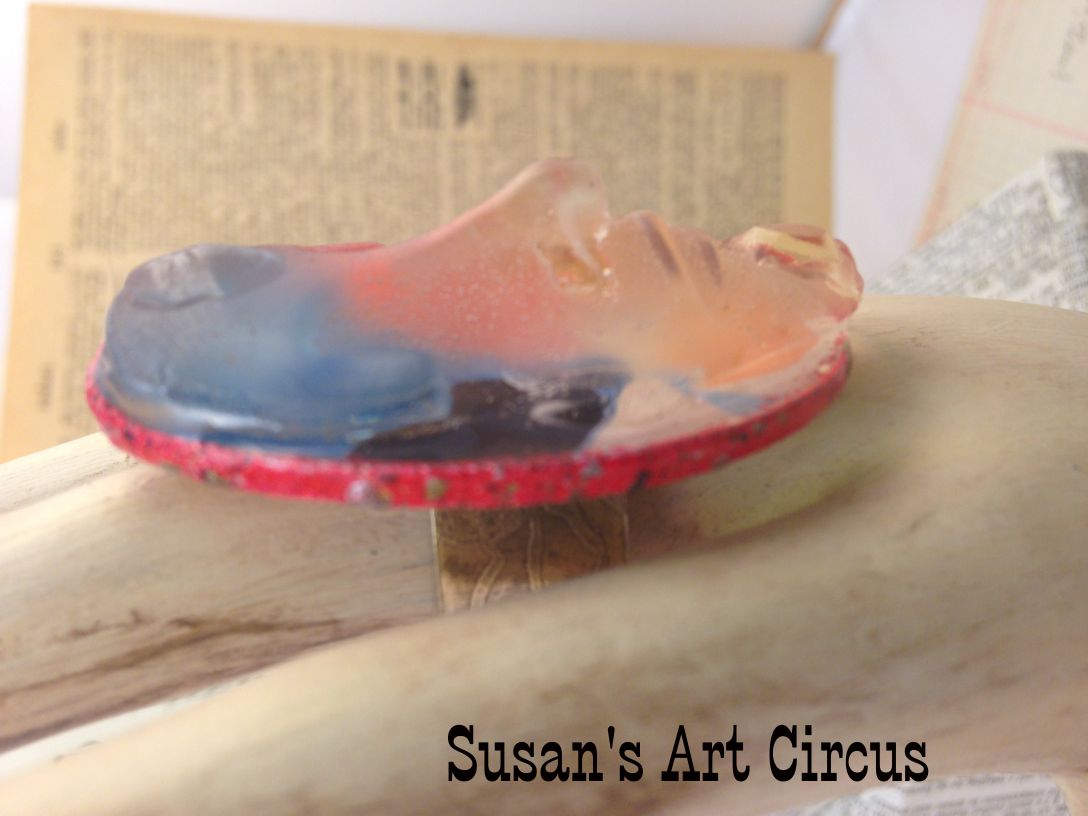
And here is another you’ve only seen before the resin was poured..now afterwards!
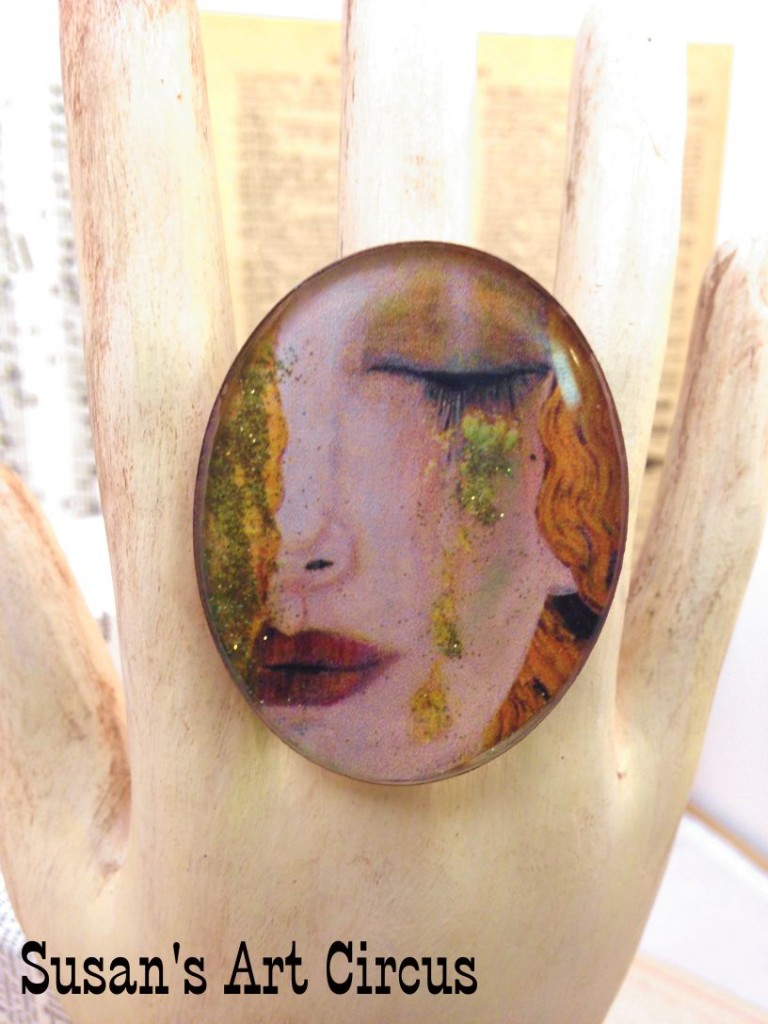
This is inspired by a Klimt painting and I embellished it with gold glitter throughout her tears. Everyone should cry in gold glitter…don’t you think?
One more…here’s the before…
The bezel on the top that is just color went into the piece below.

The background here was from a mixed media painting which was then enameled around the edges. The cast face was placed after a thin coat of resin was applied in the bezel.

I love that it’s raised and this piece is quite large. Oval in shape probably about 2 inches from chin to forehead.
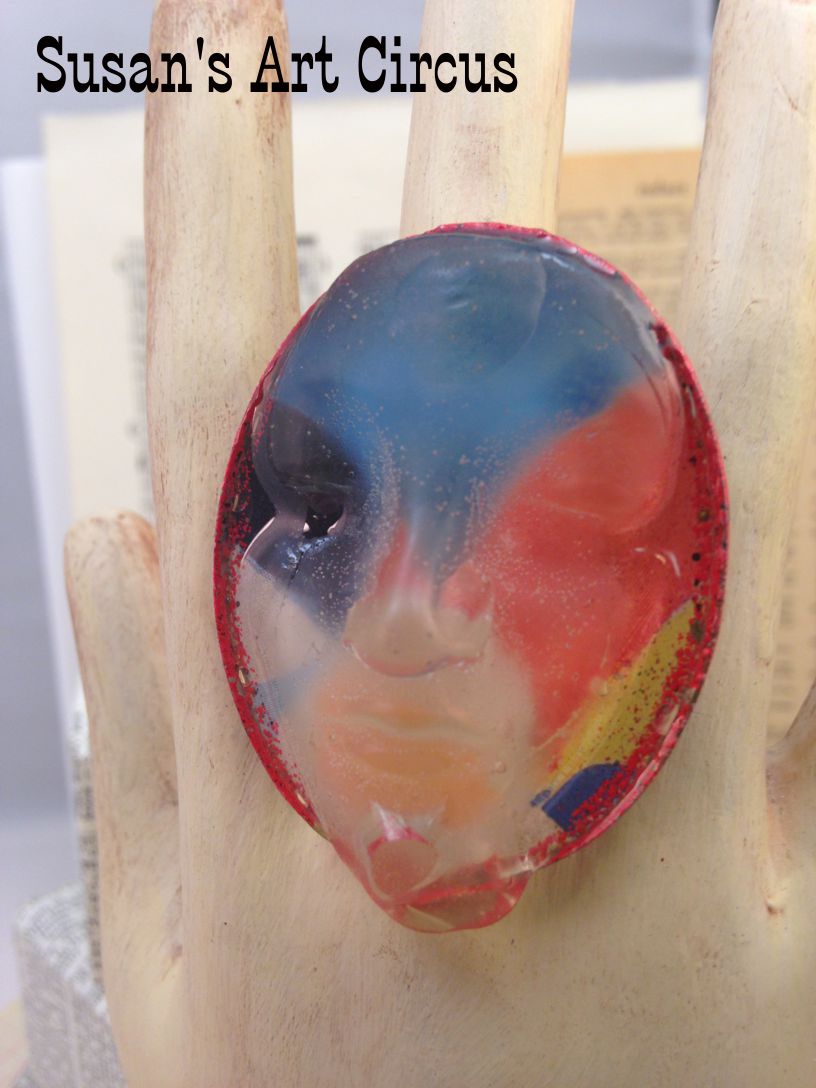
Okay…one more! Here is the skull from the top picture after pouring the resin.
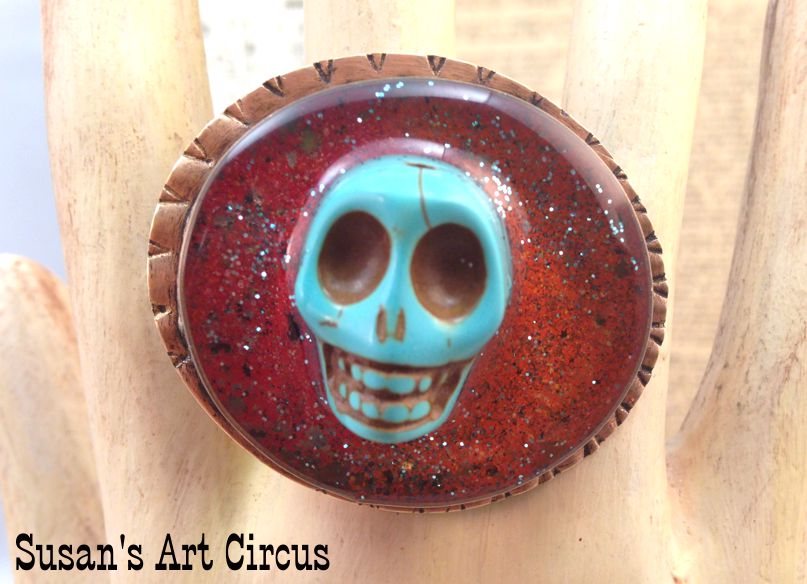
He’s just good old fashioned fun!
Until next time!

On the ever present train ride that is the artistic journey one tries to do things that are different…intriquing…maybe with a twist…?
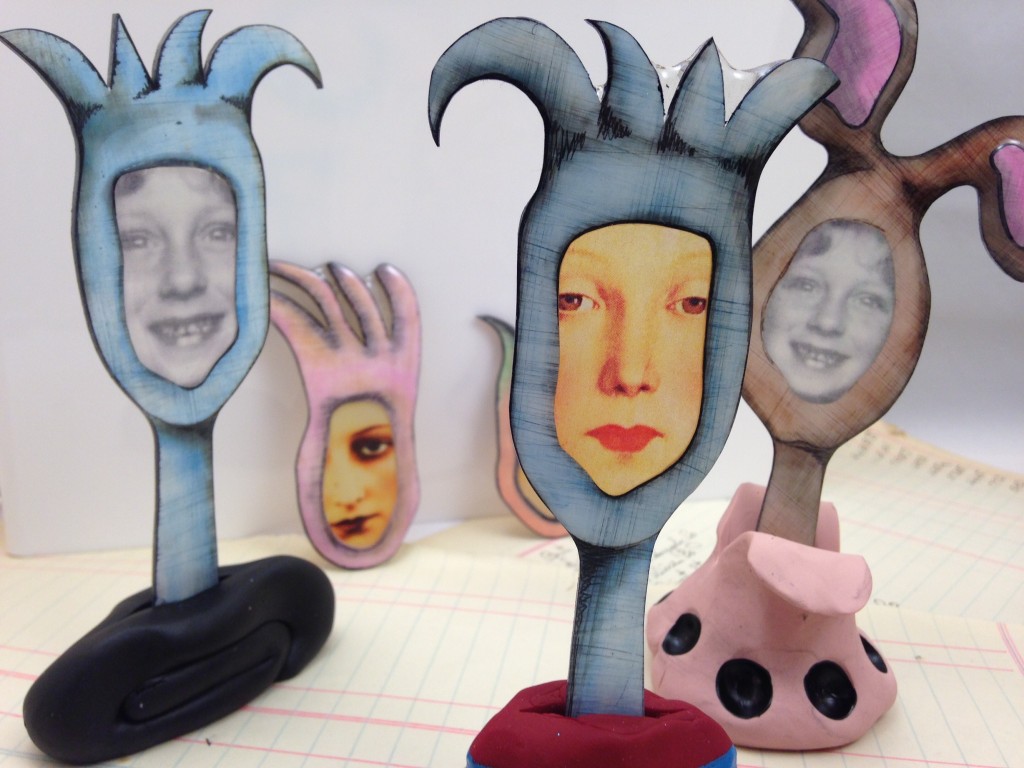
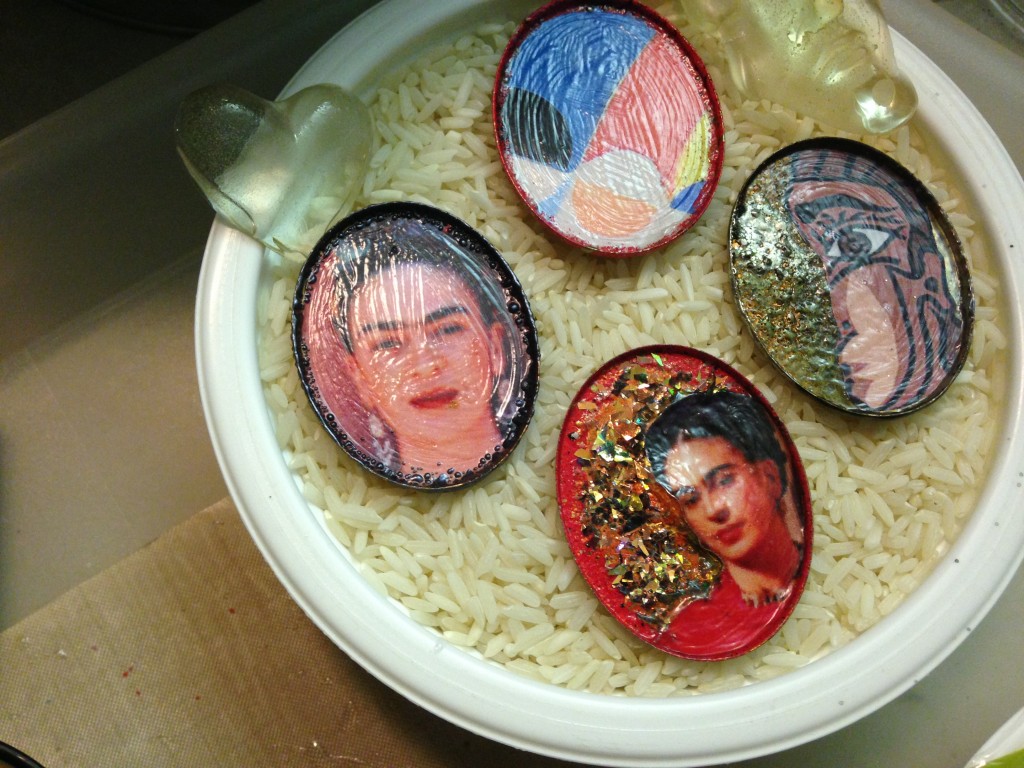
Forgetting that the universe includes something called the K.I.S.S. (keep it simple stupid) principle i seem to forge ahead most days achieving close intimacy with the complicated. Seems i needed to come up with a class proposal. A new idea, a fun idea. To say i labored over this would be a gross understatement. I pulled out all the supplies, drew a bunch of templates, created a couple dozen pieces of God knows what, resin’d, shrunk, journaled, sculpted, painted, trimmed, and cut. For about three weeks. Everyday. The pictures are the result of my efforts.
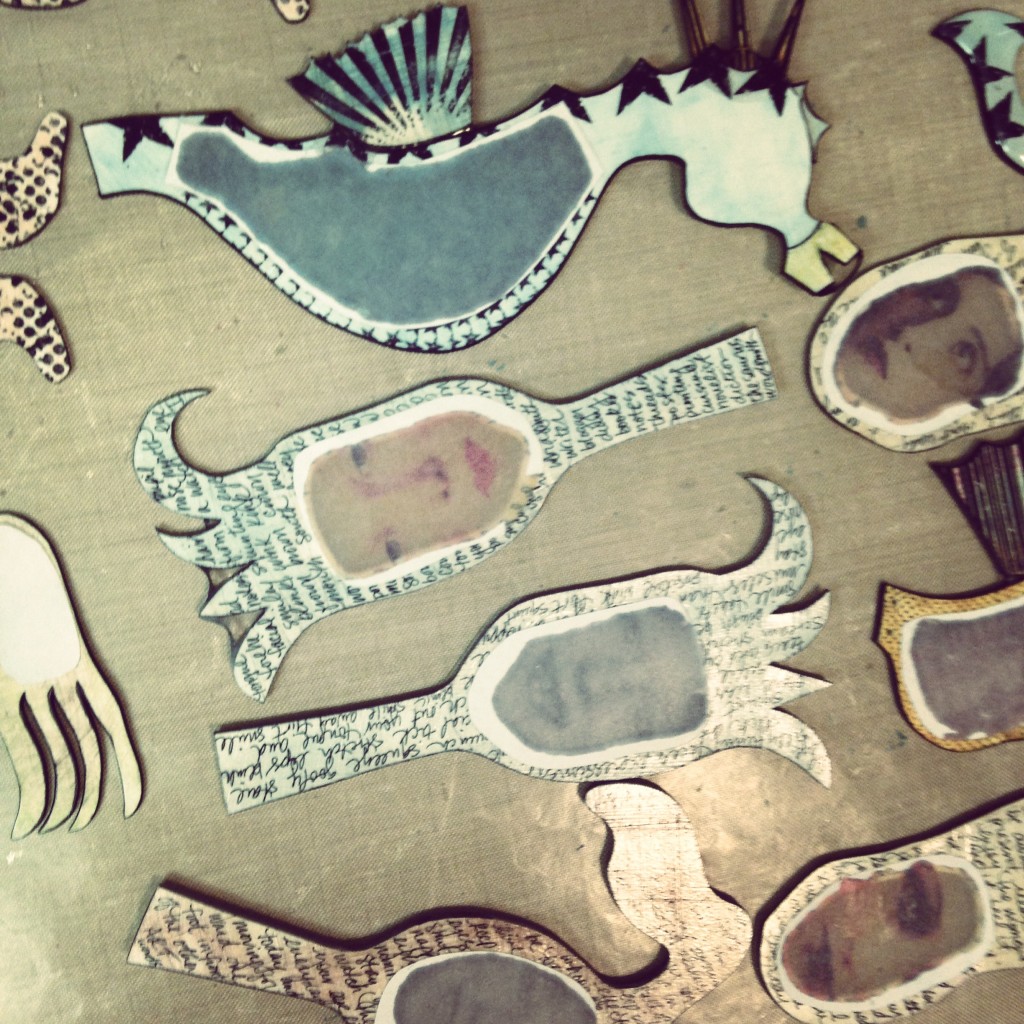
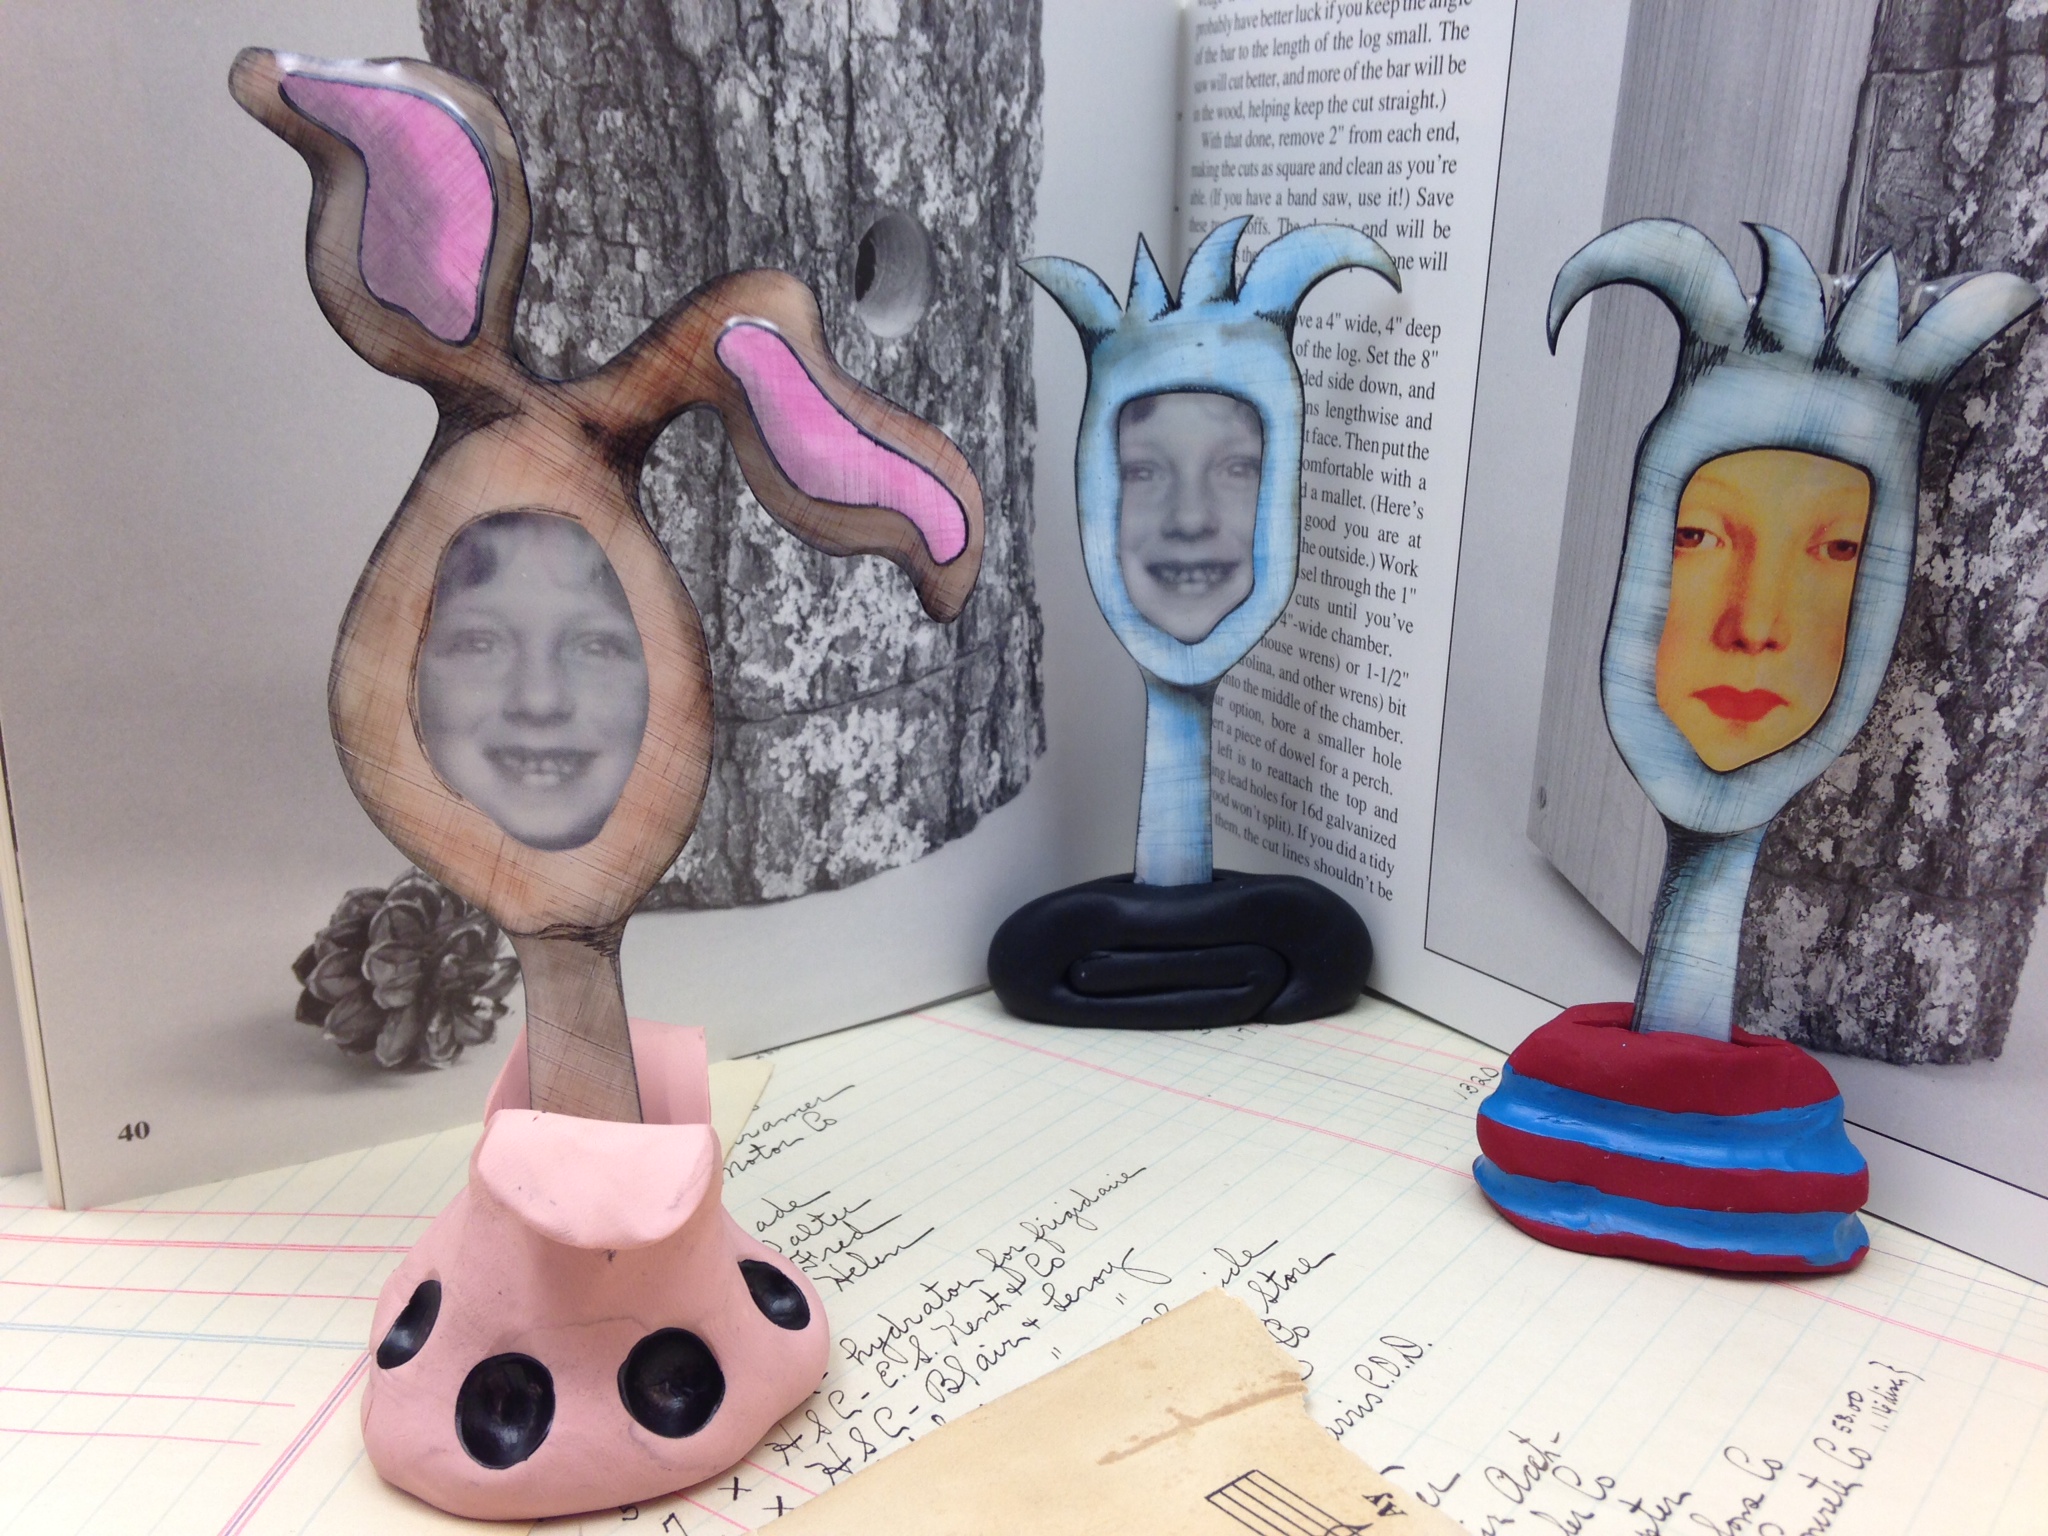
Lets see if i can explain what these would be in a class situation. First, what i hope would be, a group would learn how to do some doodling to come up with a template which would then be cut out of shrink plastic. One side we color the other we journal on…random words. While these are in the oven we pull out the pictures or, my original idea, was to have the group take selfies (the black and white photos are me, i was about six), which we would cut to fit the shrink frames. Then we glue, then we resin…then we play with polymer clay for bases, bake again, paint them in funky patterns, insert bunny eared and crowned semi sculptures of shrink with selfies…and admire. Maybe not quite that fast but….

So…once finished i submitted the class proposal and thought, “ah, good work done!” About two days later i got a “thanks but no thanks” note. (Not really that abrupt but they let me know it wasn’t an idea their clients would enjoy) At first i was upset…all that work and an end product i thought was quite fun. Ahhhh….back to the drawing board.
And another 24 hours, i re-arranged the class practicing the K.I.S.S. principle and the second one they liked. All was not lost.
The moral of the story…stop overthinking, obsessing, hyper-focusing about your artwork. Let it flow…go with it…allow it to run freely from you. Stop doubting your ability and over doing your work. Everything you do is worthy and wonderful.
And always apply the K.I.S.S. Principle…
(Anybody want to take a crazy class? I have some ideas…)