ICE® Resin Design Team Everyone!

Here is a list of all the bio’s and the artsy members of the ICE® Resin design team for 2015!

Creative Team 2015

Don’t miss any of them! All of the design team members are crazy talented, have unique points of view, and include interesting tidbits about themselves.

Chantal Johnson

Heather Widener

Sandy Martin

Clare Horner

John Creighton-Petersen

and ME!


 Until next time,

Susan

Ice Resin Play: Molding Putty Part 2

So last time we found out what molding putty is and the very basics of how you use it. Now let’s get a little more in depth.

How can I make the molding putty into something I can use? How does the molding putty make a mold?

Well…let’s see…we left off with mixed molding putty ready to go so say hello my zoo…

my animal zoo

I’m starting to hoard small cute plastic animals. Yes, I can’t help myself. But they make the perfect molding subject matter…let’s start with the big piggy there on the left…

pig ears and molding putty

Now you have to work pretty fast but you also want to make sure that the parts of the animals, the ears and snout in this case, are covered well to get a good mold. The molding putty will adhere to itself as you go but, again, you have to work quickly.

pigs ears covered

Here is Mr. Piggy with his whole head covered and ready to cure.

whole pig head covered

 …and my sheep was done in the same manner.

sheep head covered

Now comes the hard part…you have to wait. Only about 15 minutes or once you can’t leave an imprint with a finger nail pressed into the molding putty. He’s curing so leave him alone!

After the time has passed just gently wiggle the molding putty to loosen it around the head. If necessary pull it back from the sides and slide it off around the ears and nose. Careful! You don’t want to tear the mold. I’ve done that from being too anxious to see what I’ve molded. And here is what my sheep mold look like!

sheep mold

See all that detail? All the fur swirls and eyes? Next time we will pour some resin in it!

Happy cre8ing!!


Part 1 can be found here:

https://www.susansartcircus.com/ice-resin-play-molding-putty/

Ice Resin Play: Casting Resin Into A Zoo

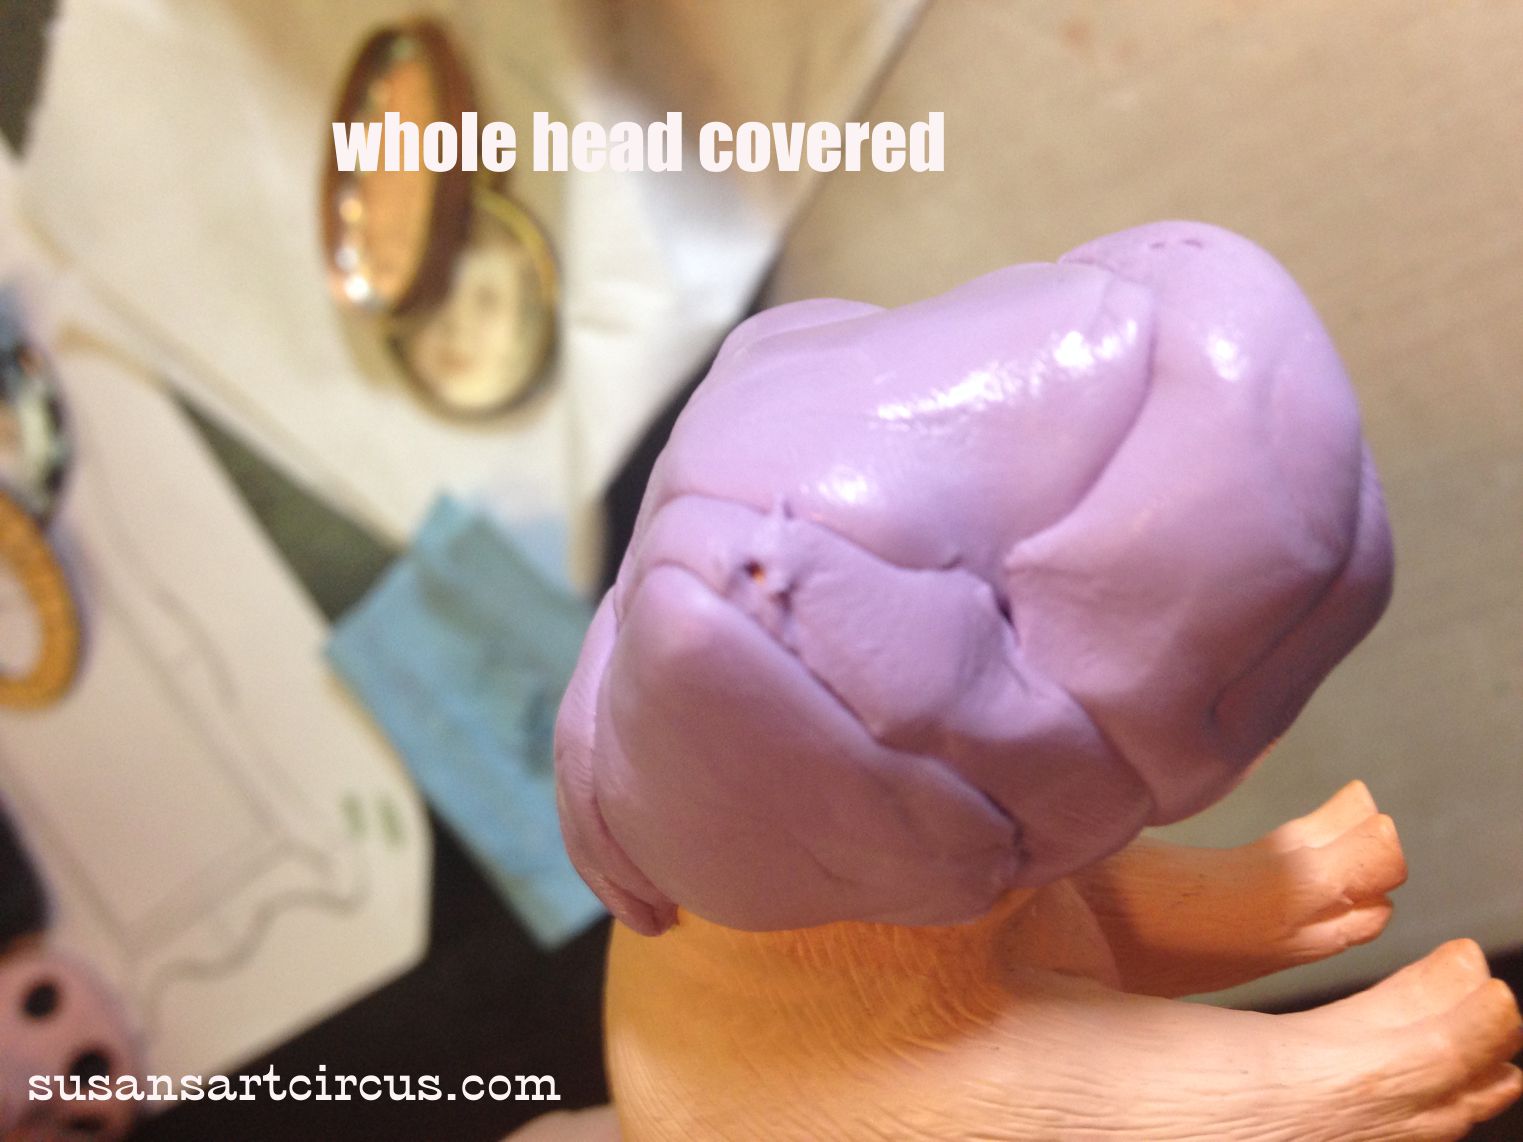
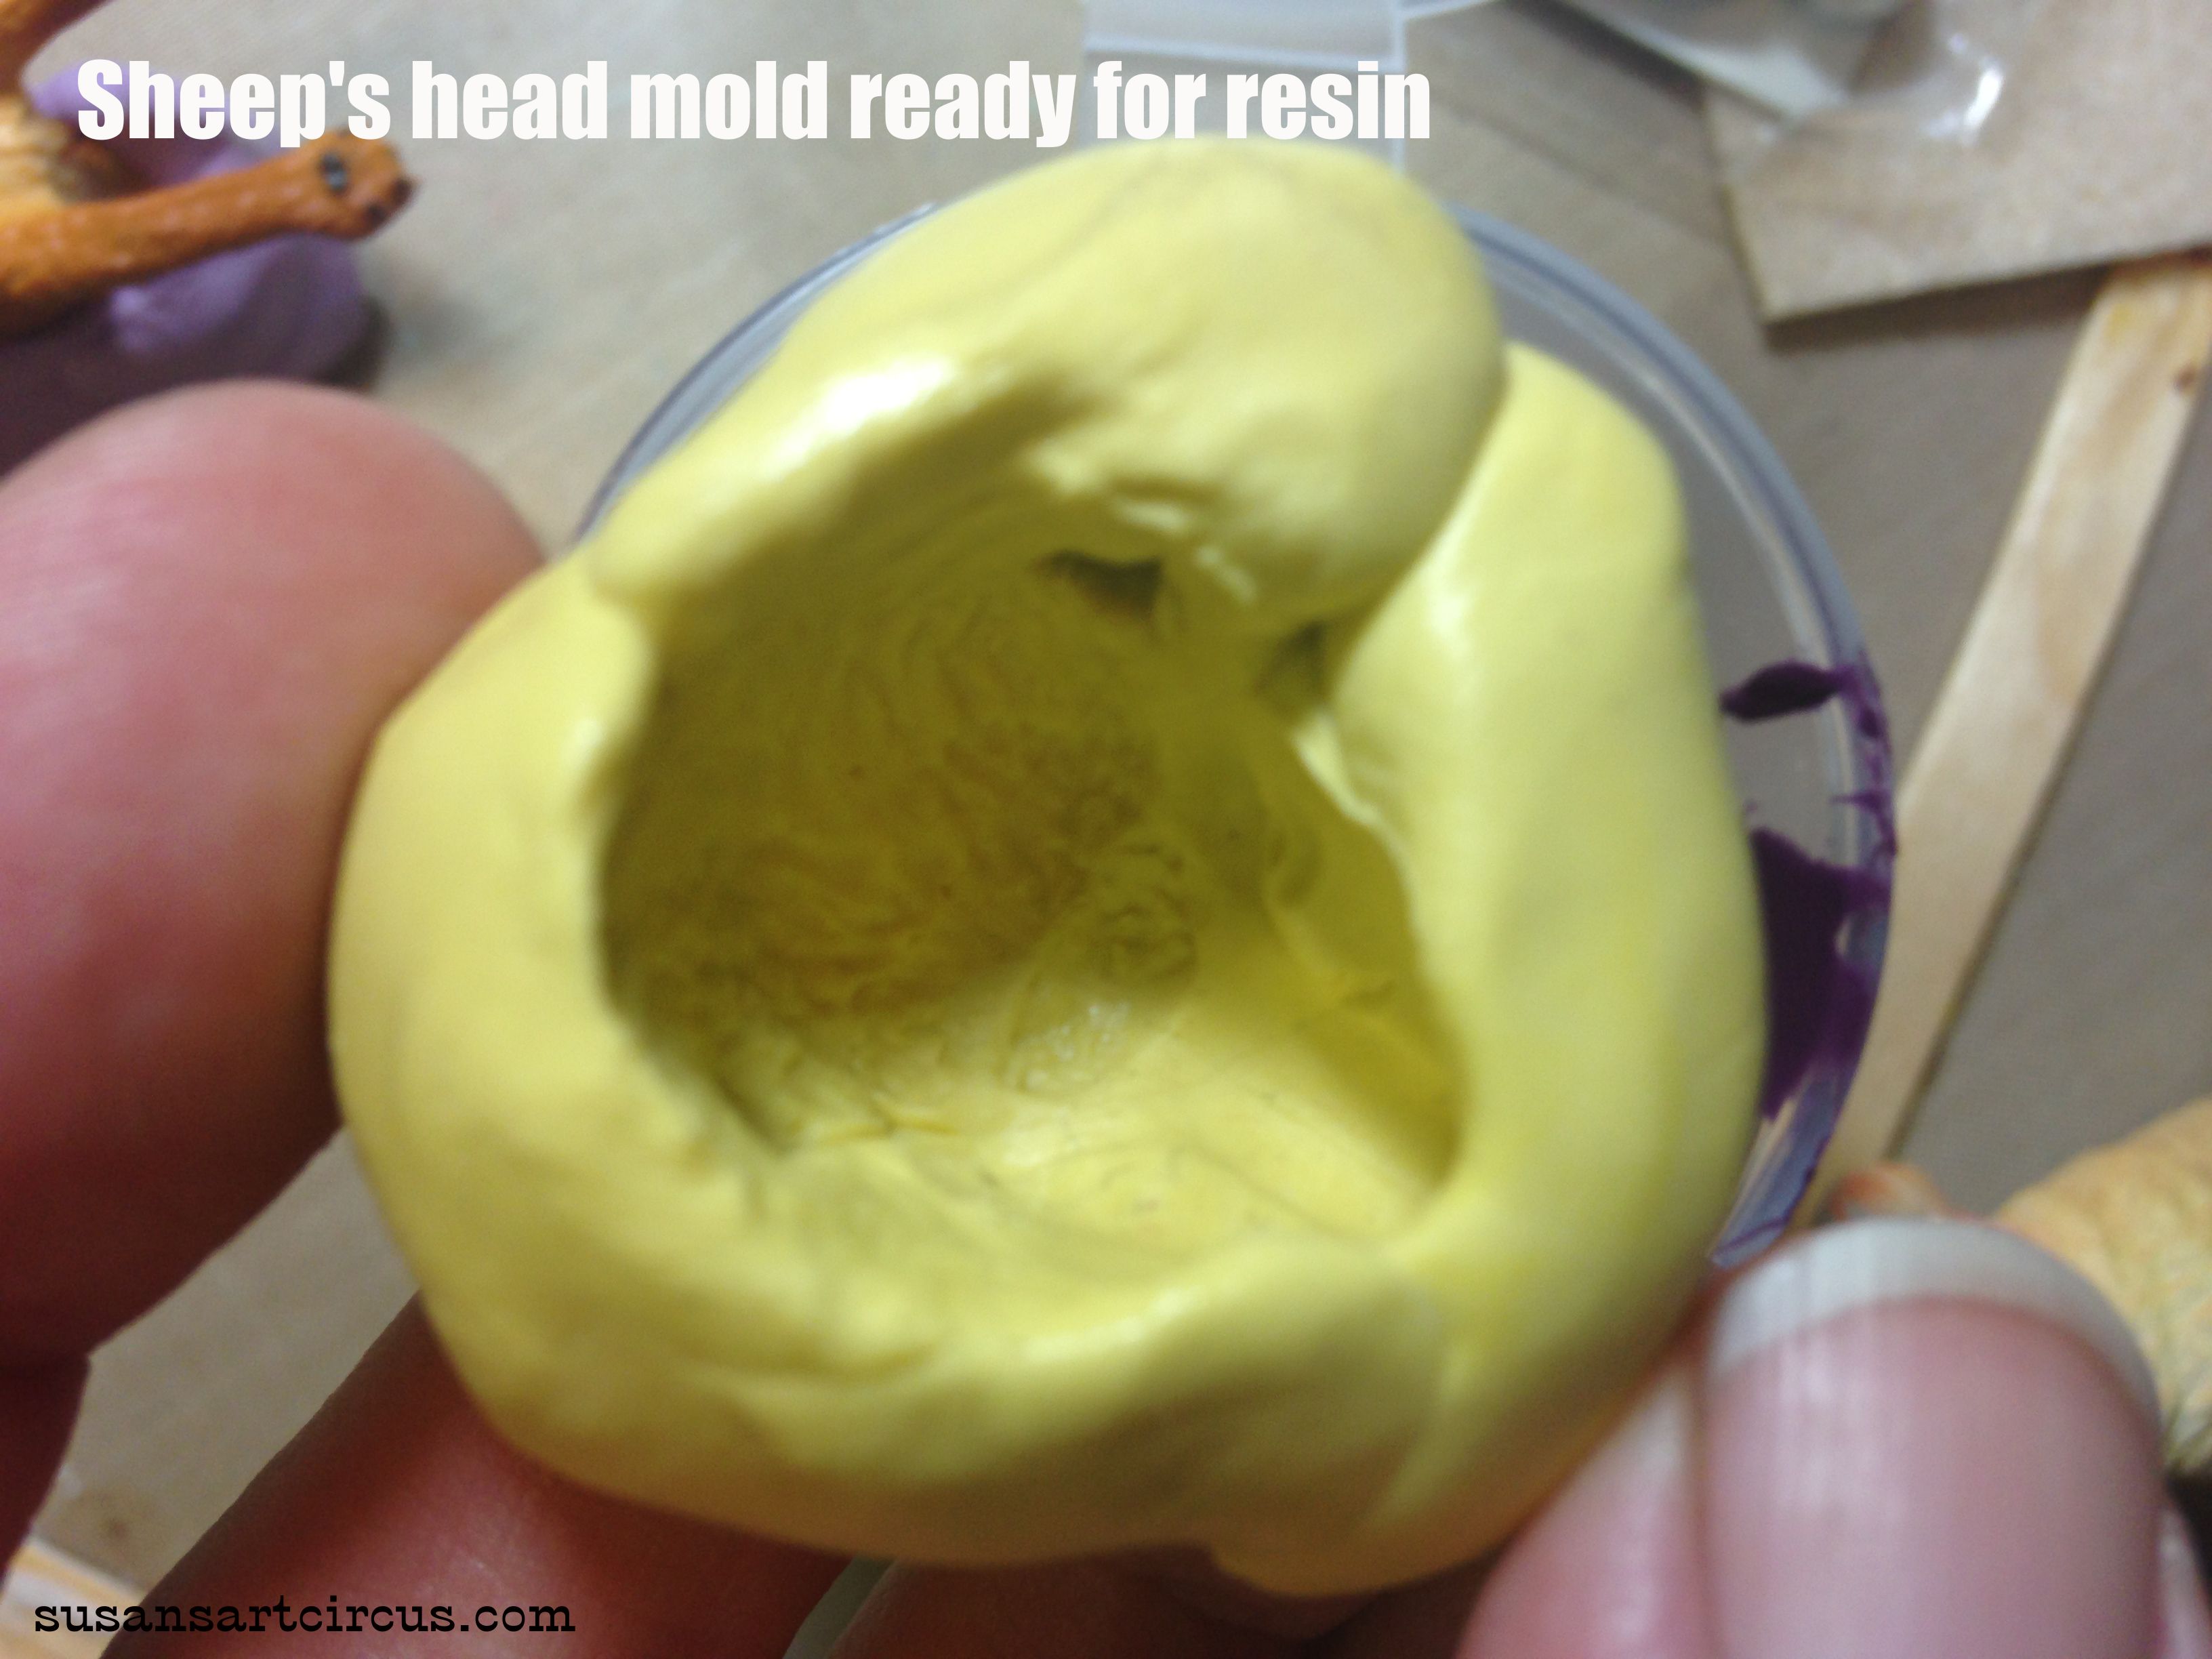
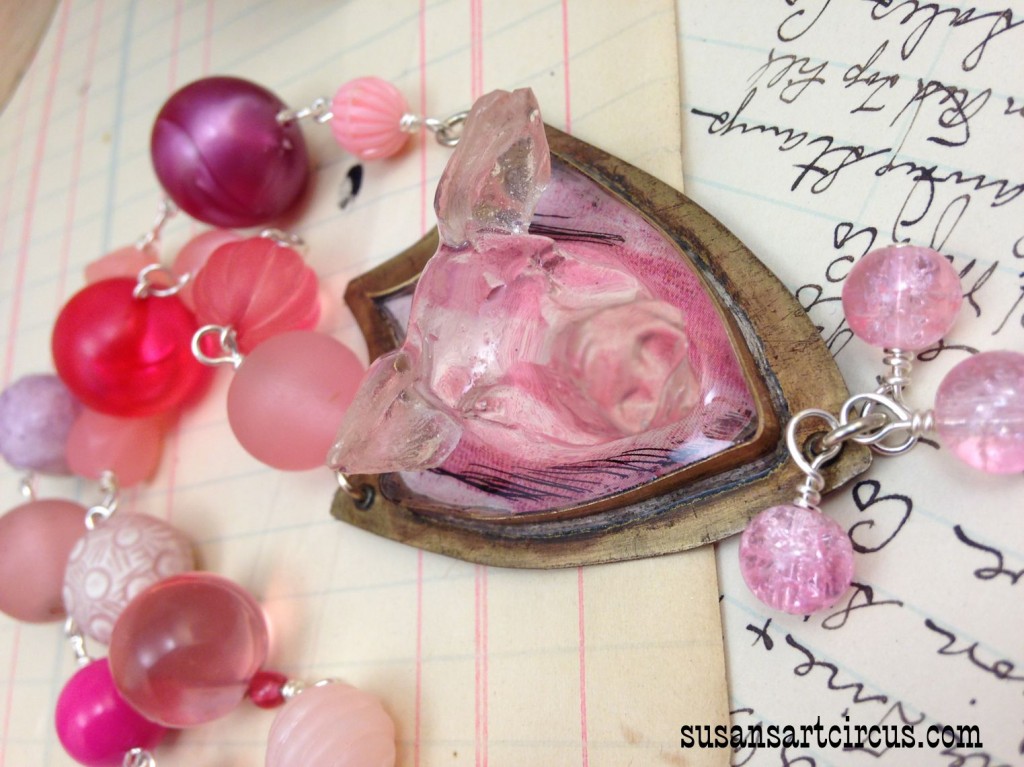
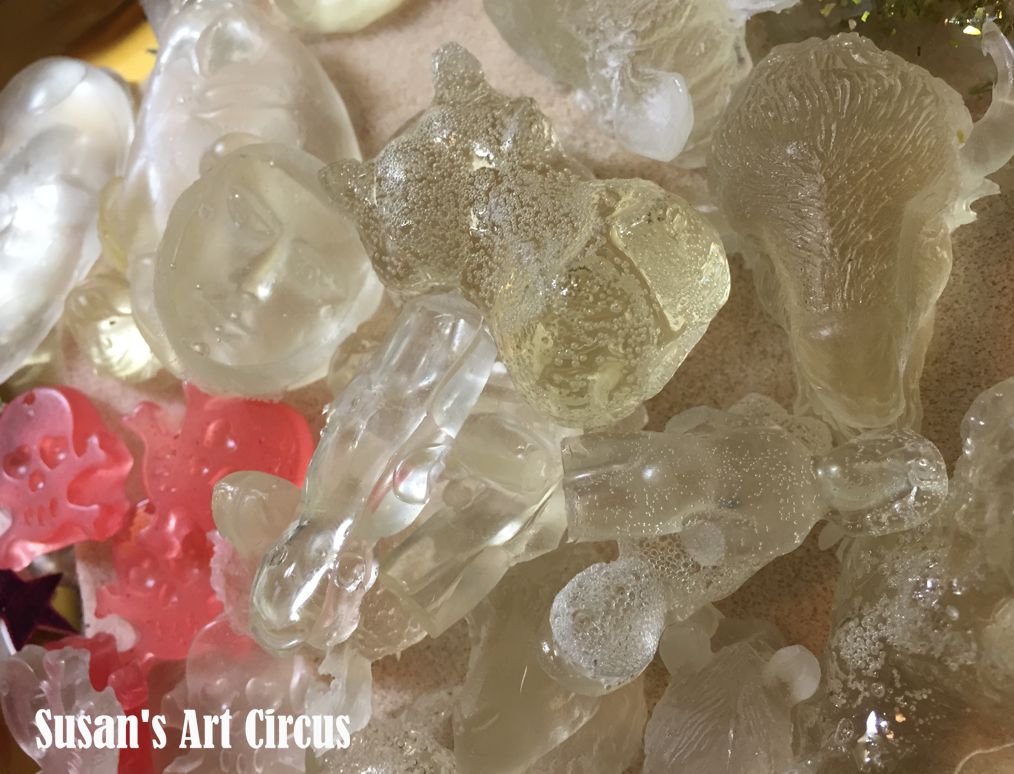
During this last few months I have literally been casting a resin zoo.  I’ve shown you guys with my posts resin and casting materials. This is the culmination of some (operative word some) of the cast pieces.

Needless to say I keep a bowl full of small plastic kids animals that are my casting resin muses. There’s just something about them…

Piggie

I can’t get enough of these…

Hippo

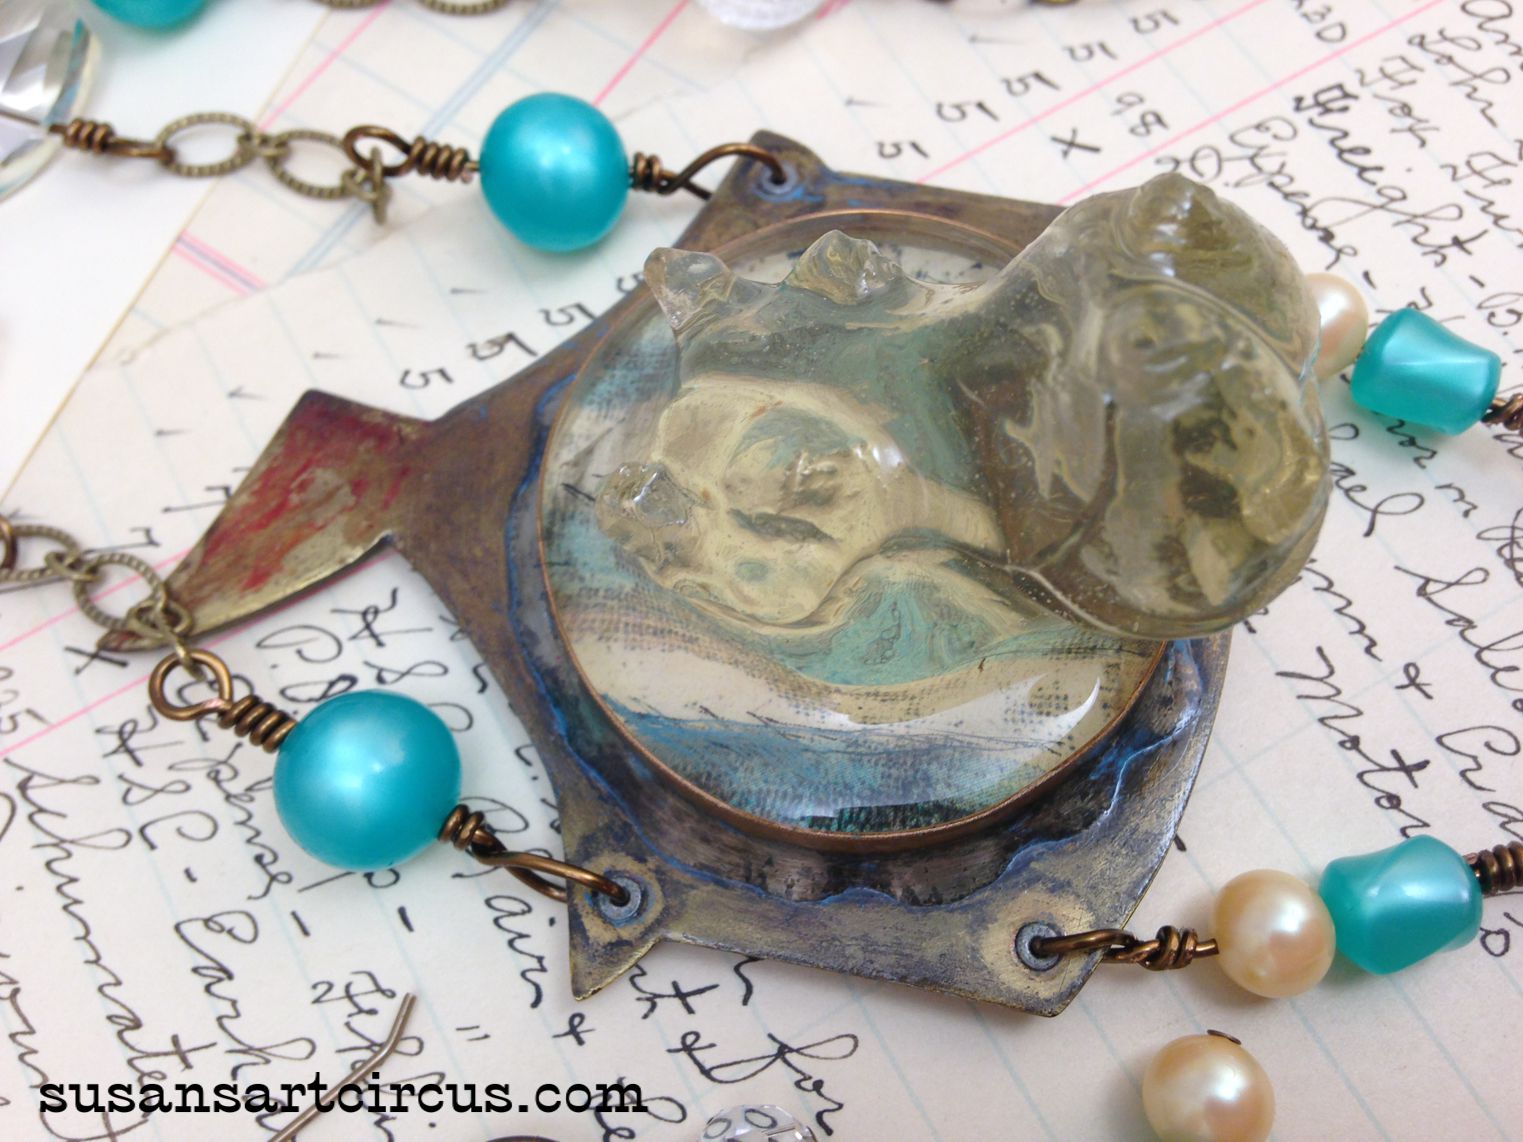
 And you’re saying to yourself…”so this is what you do after you cast a zoo!” I (I feel like Dr. Suess)

Horse

My absolute favorite…the Rhino!

Rhino

 There are only about 100 more to make into something.

resinanimaltray1res

Don’t ask how many other animals are around the studio. It would take me an hour to show them all to you. Once you start casting resin it becomes obsessive. Oh well…it’s fun…

Here are the links to my series Ice Resin Play and casting resin:

Molding Putty: Part 1

I’ll be back with more resin adventures soon…

Until then,

Susan

Show Ready: The Season Of Crazy

So it’s October. The days are getting shorter and the nights have a certain chill in the breeze that wasn’t noticeable a month ago.

For me this time of year means it’s  almost show season…the season of crazy and high gear! 15 hour days. 7 days a week. All the way through December.

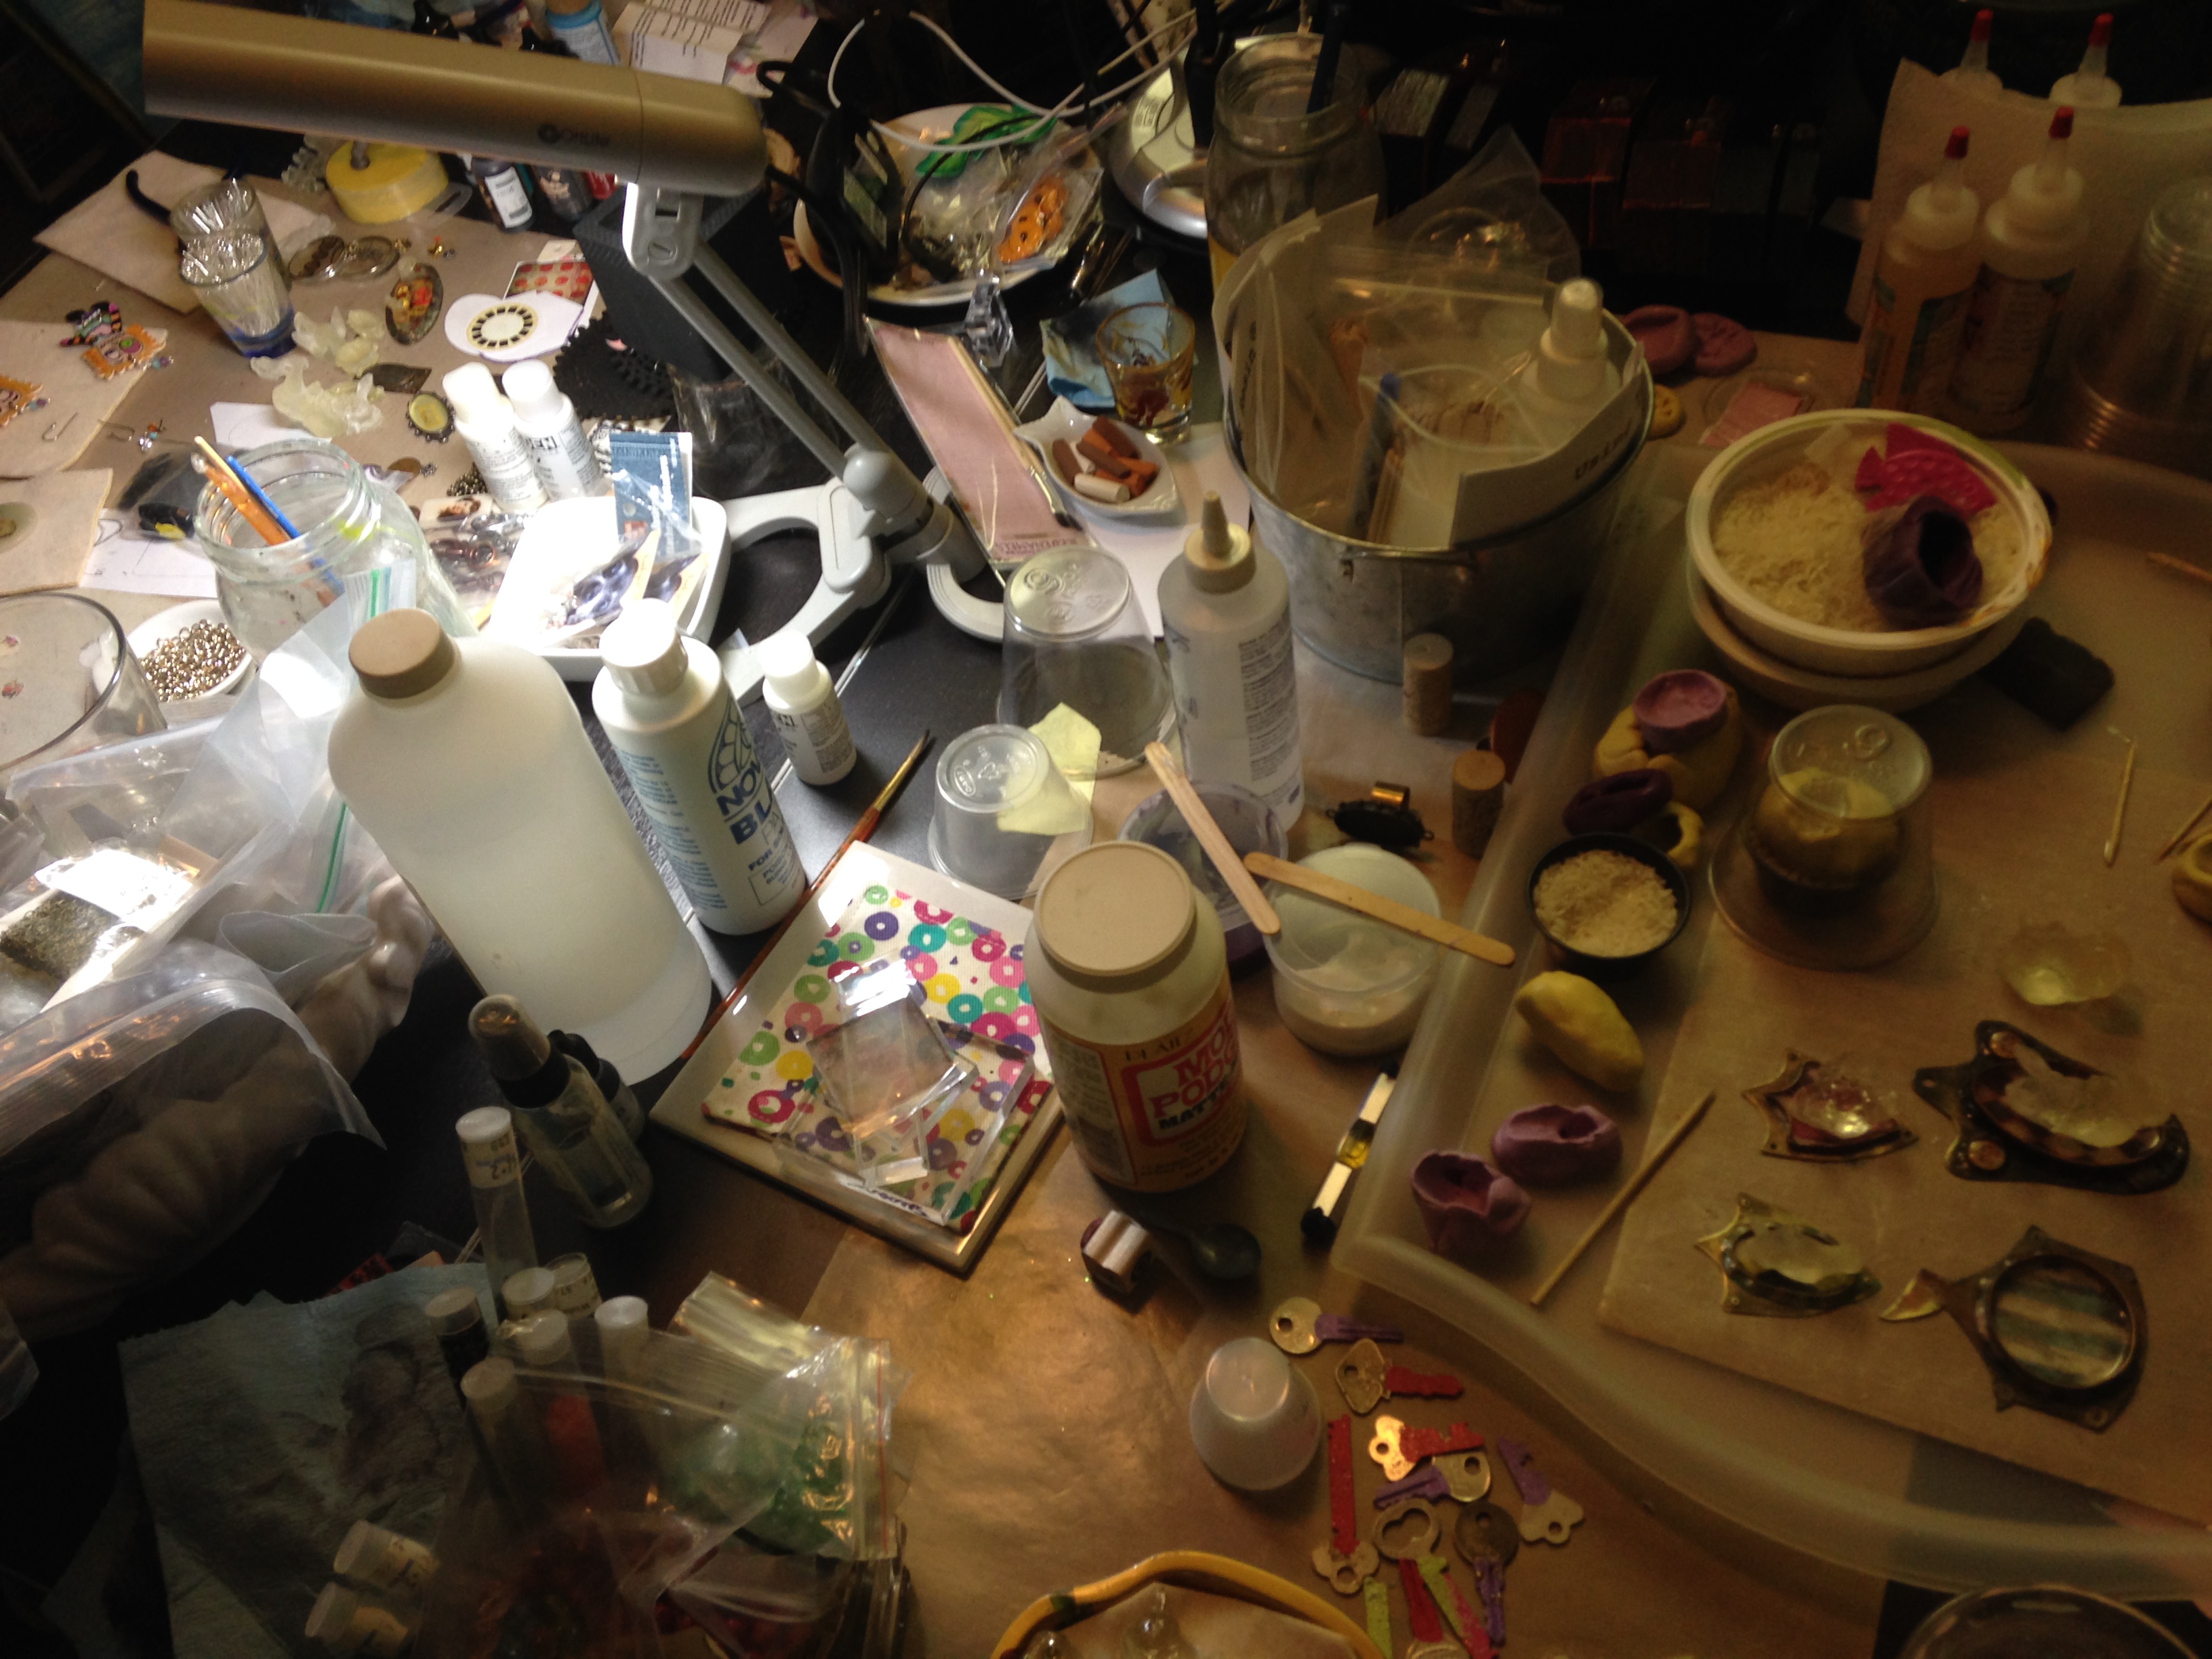
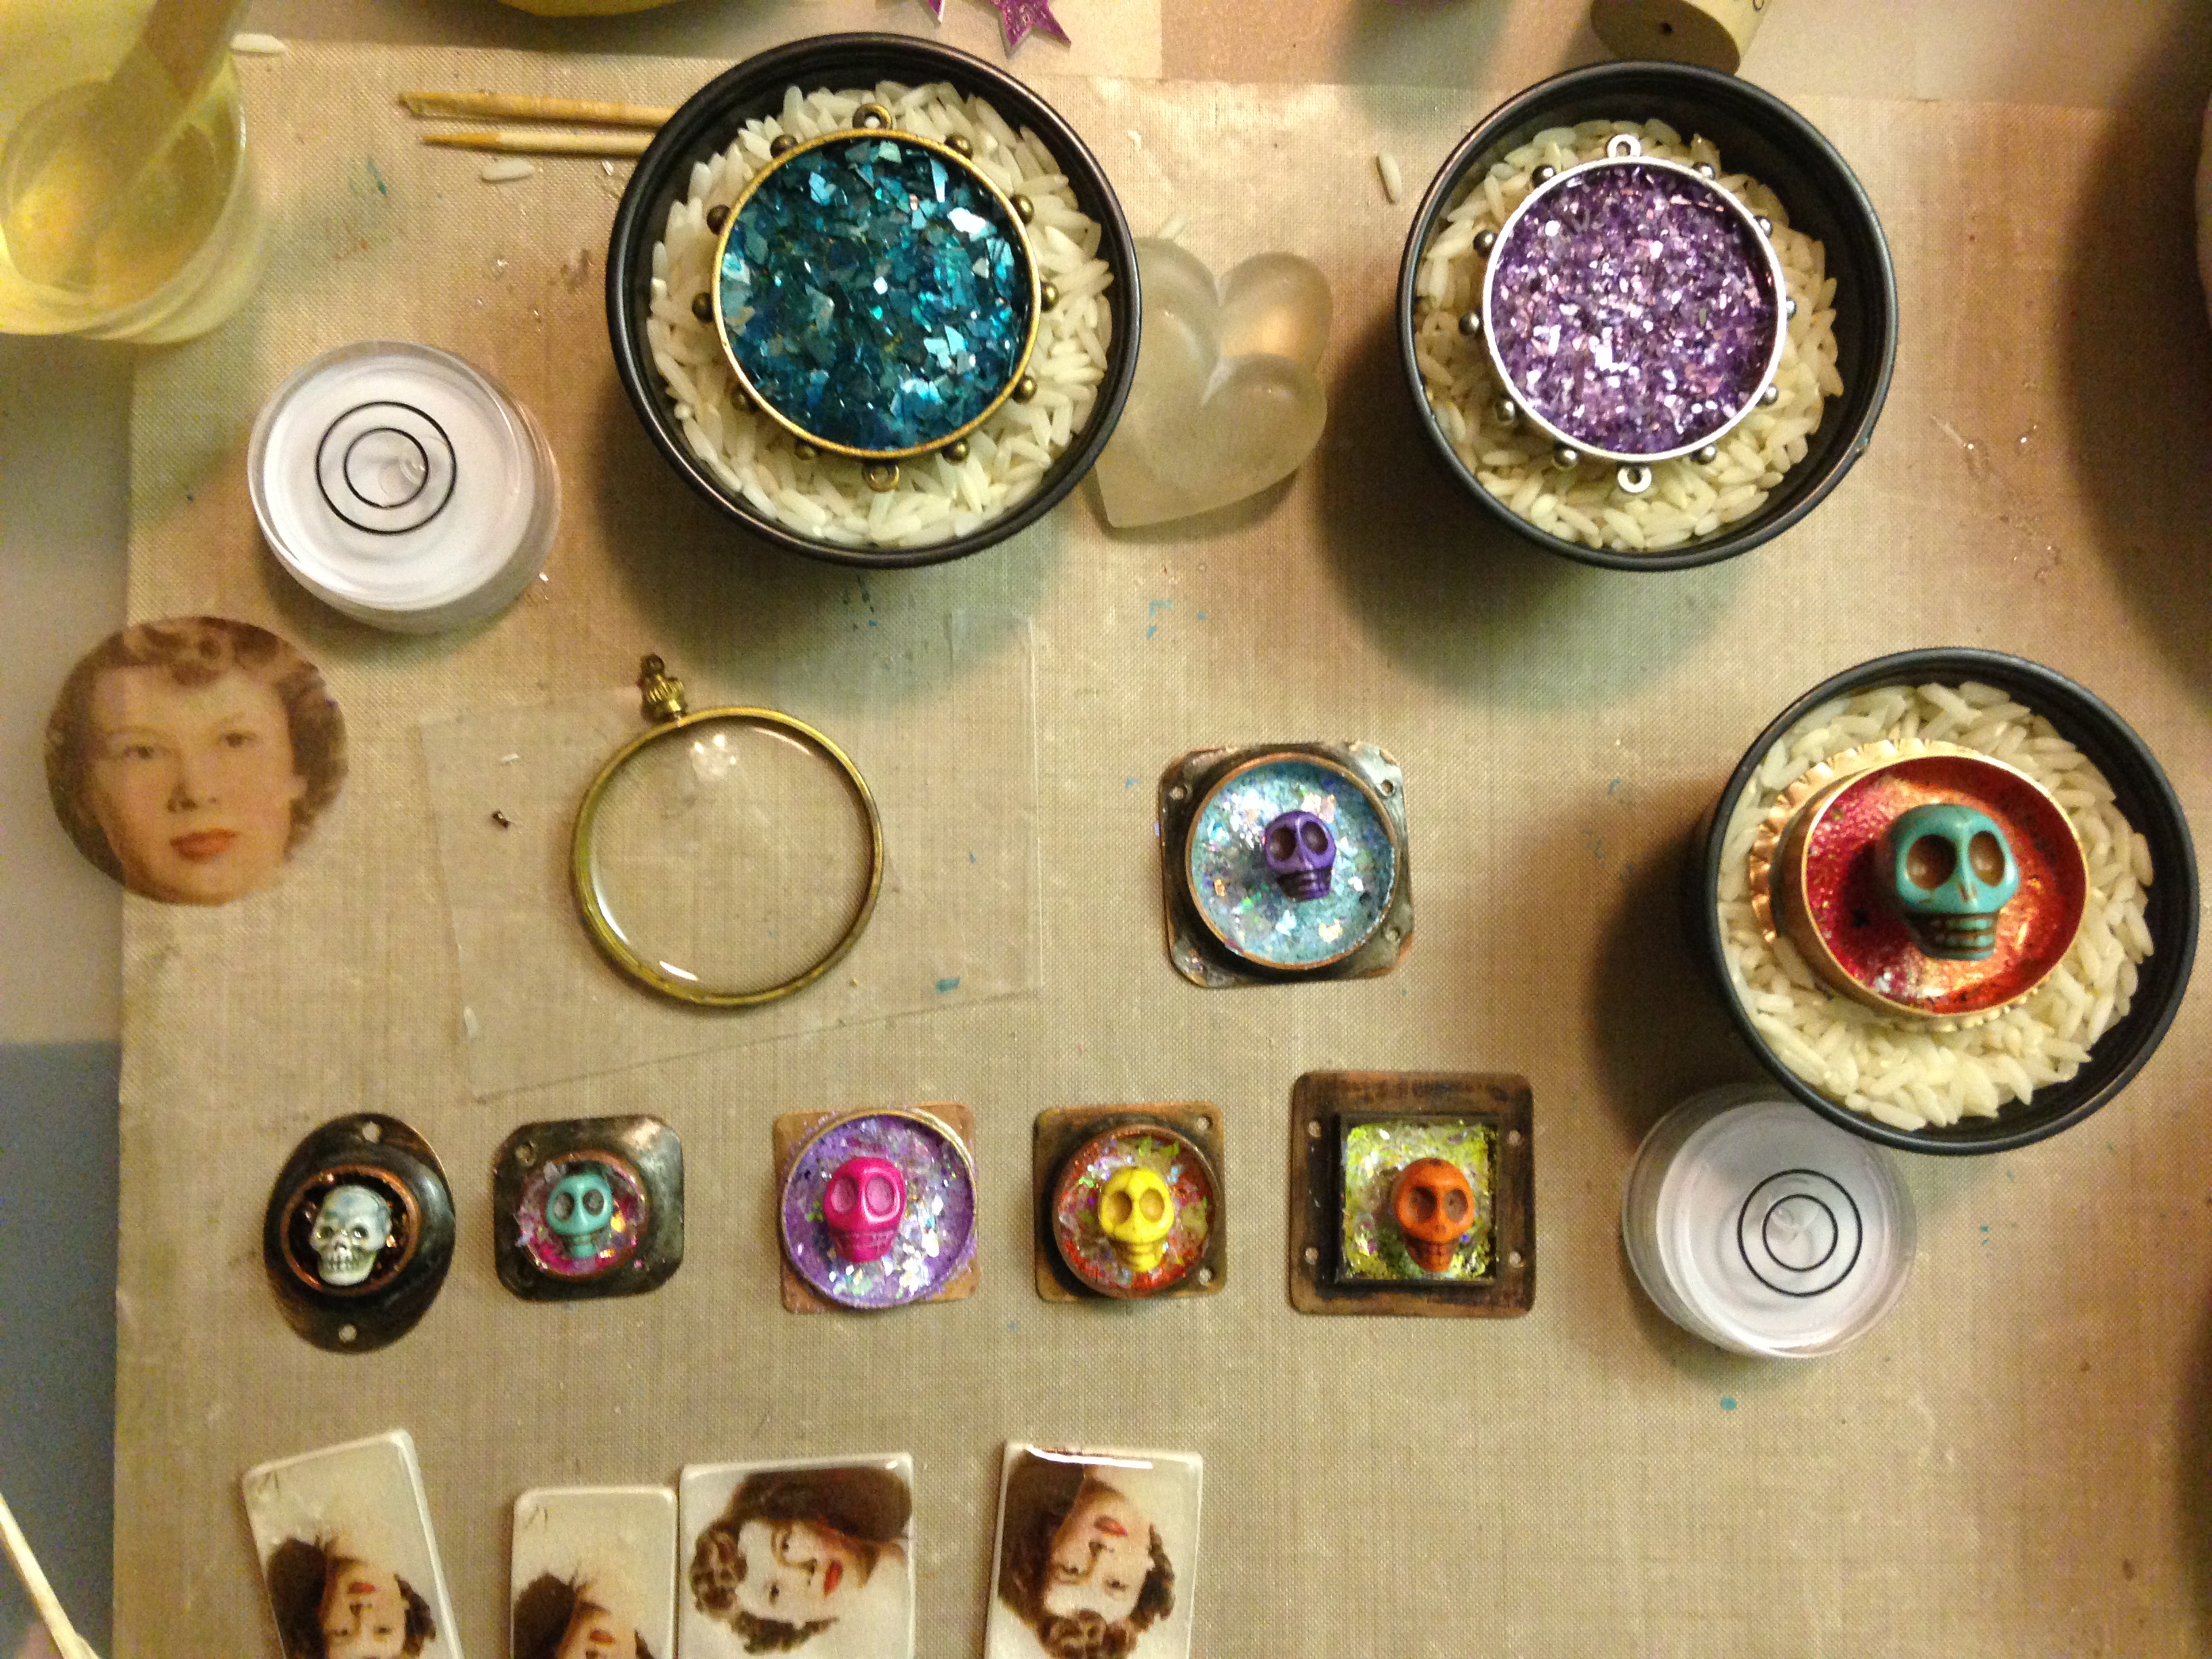
I thought you might like a peek into how I get show ready and how crazy it can be. Let’s start with the state of my studio…

Seth Apter messy worktable 1
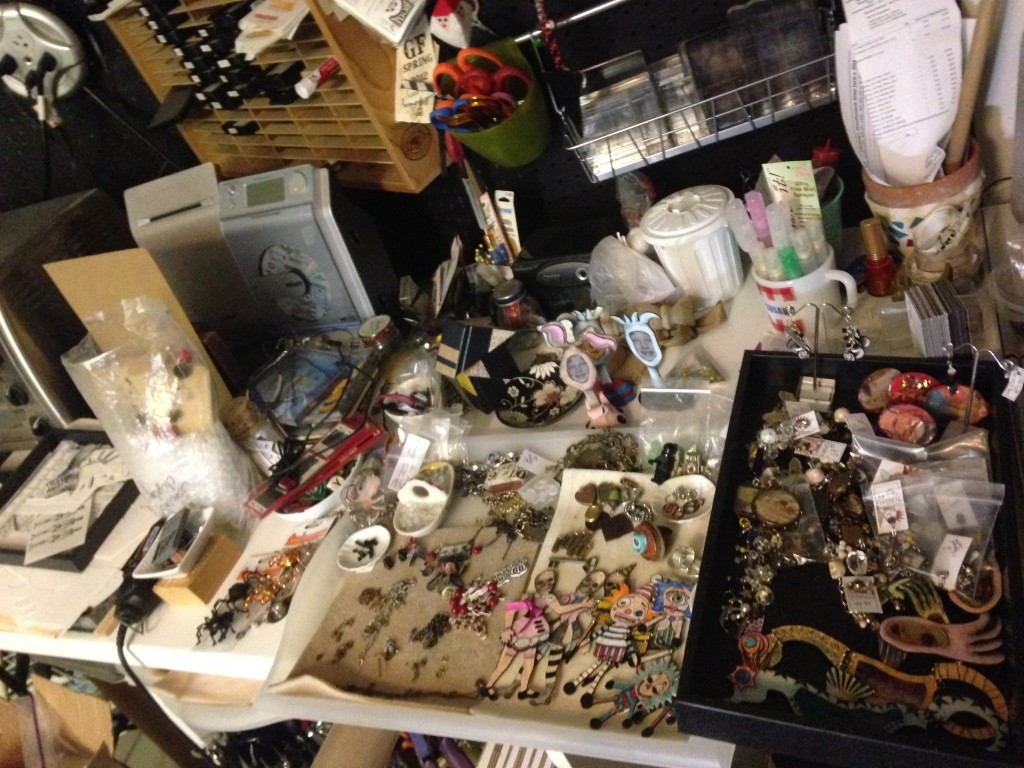
So. I feel the need to explain. When one tries to be show ready several things seem to explode. The most common occurrence happens all over the flat surfaces. Things seem to multiply. Procreate. This area is actually 2 feet wide and 8 feet long. Guess how much of it I can work on right now? Um. Yeah. None of it. Moving on…

Seth Apter messy worktable 2
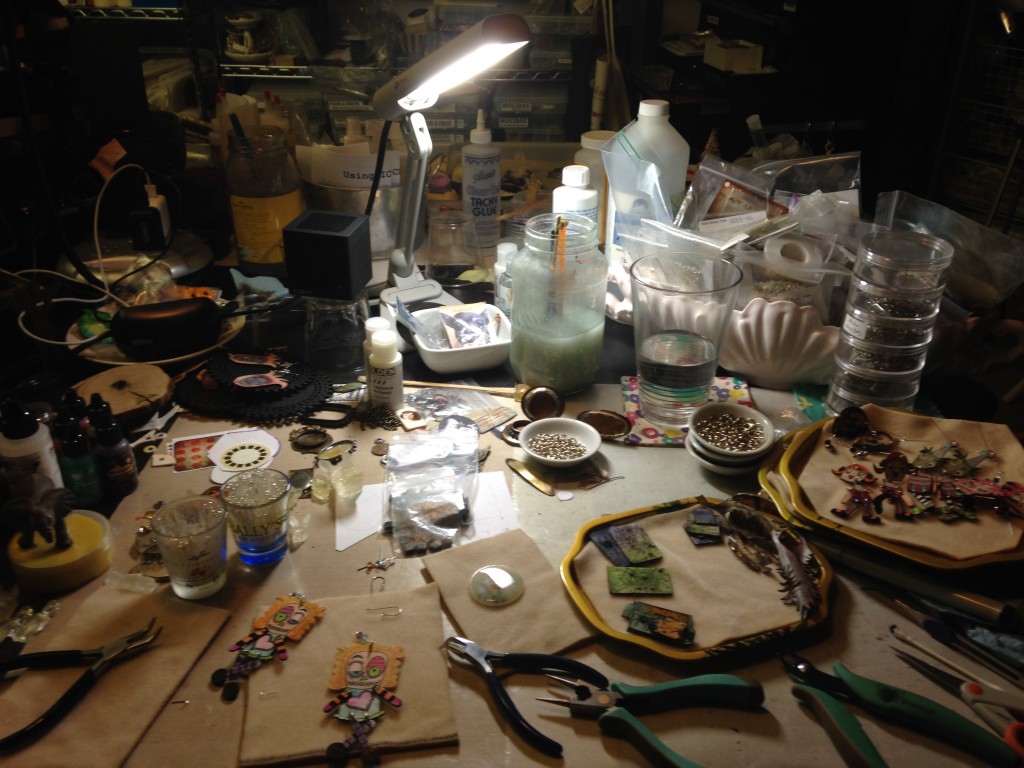
This is my main work area. Yes. I still have a 12″ square to work in. Really! I do. A square foot. Yeah.

Seth Apter messy worktable 4

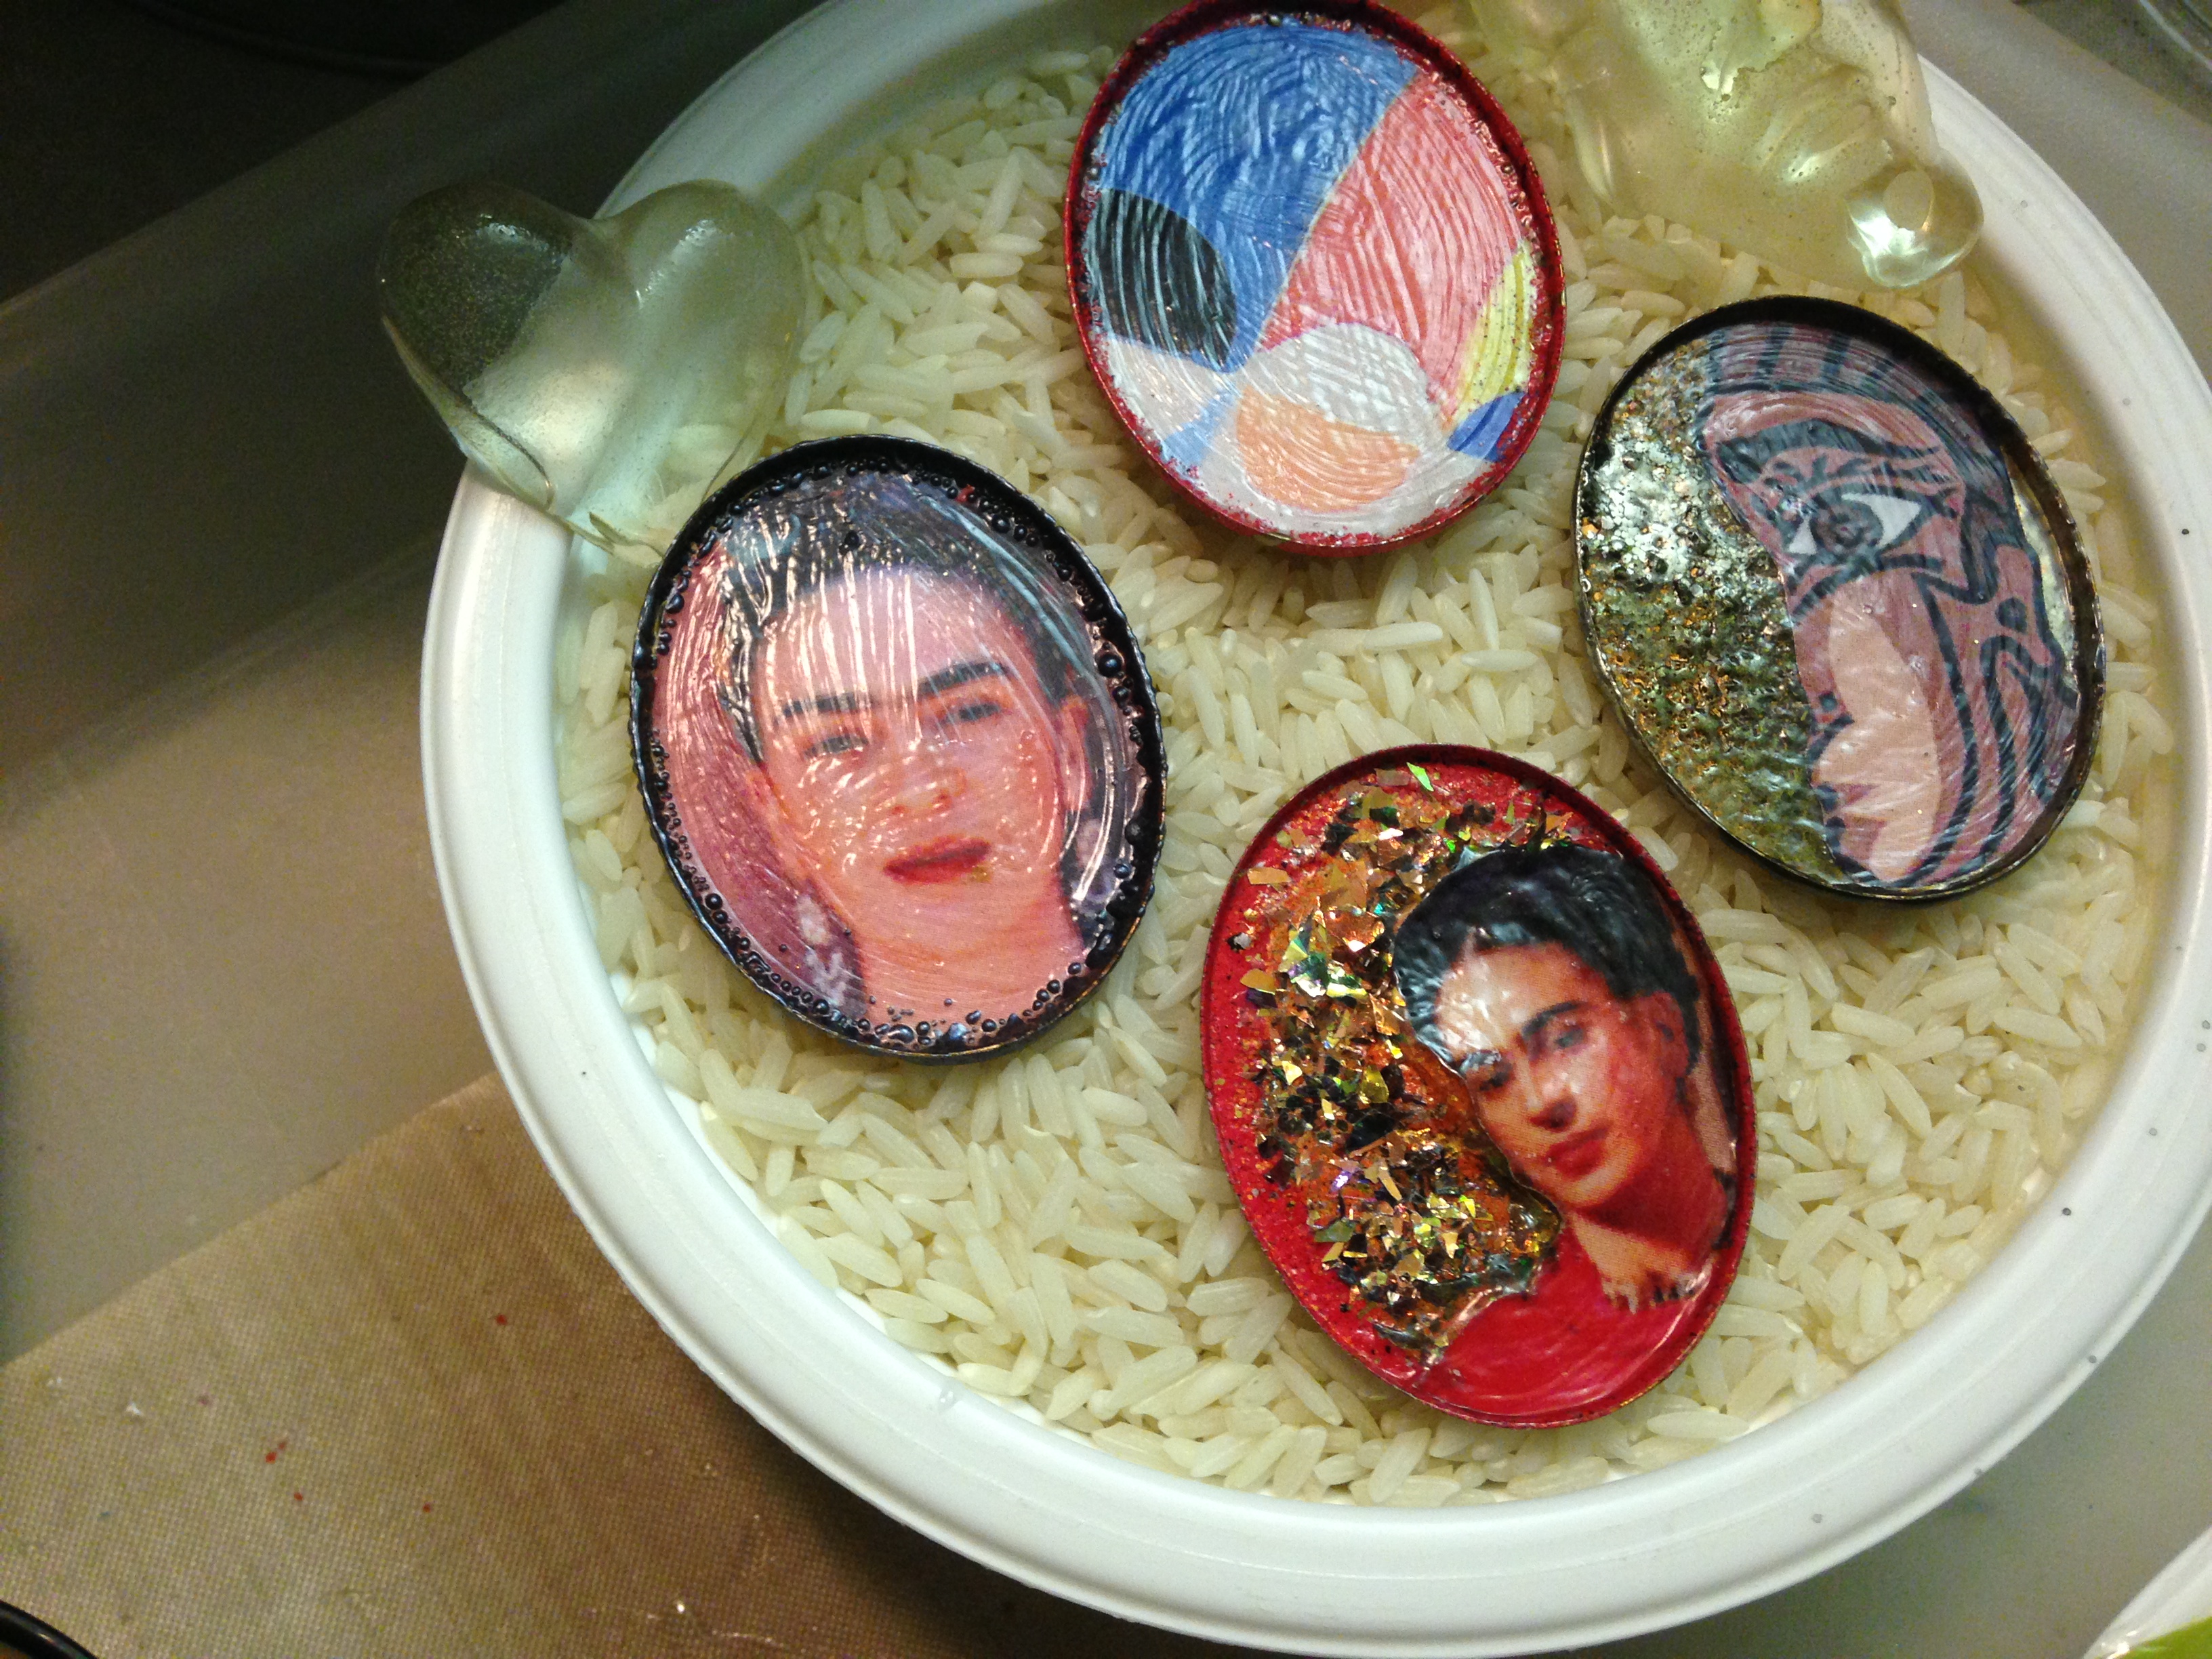
My resin area. You get the idea. Show ready means every surface is covered in something that needs to be beaded, wired, coated, sanded, tagged, cured, colored, painted, glued, left alone, cast, patinaed, ground, sawed, polished, sealed…and or finished in some way. Otherwise show ready would just be a myth.

More to come…

signature3button

Ice Resin Play: Rings & Things

Welcome to my world of ICE resin with rings and other things!

Resin Druzy Experiment

If you haven’t played with ICE resin you need to get your keys and head for the nearest craft store to pick up a package of it…right now!! (also available in my shop) The cup above photographed a touch yellow in the light of my studio but it isn’t. It is perfectly clear. Those few bubbles all went away with a blow of breathe through a straw passed over the top.

Resin Tray Set-Up

 My set up is on a tray for several reasons. A tray allows for many projects to be set out at one time, it’s easily moved if i need the space at the table, and simple to level if my work surface is wonky. It’s lined with a silicone mat so drips don’t mess up it’s surface.

At the top of the tray are some faux druzy experiments using the chunky German glass glitter from the Iced Enamels line. Moving right a skull and enameled (Iced Enamels of course) ring that i made from scratch…meaning that i actually made the metal ring base. A new skill i’ve been working on (read obsessed over).

Coming clockwise along the bottom there are six skully bezels. Lots of Ice Enamels plus a layer of yummy opal mica flakes…my favorite! Under those are some polymer clay transfers coated in resin and almost ready for beading into earrings.

Last but not least an open back ring that resembles the outside frame of a pocket watch. The lady’s face on the left is a tape transfer for that circle. Hopefully it will come out the way i want it. See through and a memento of my clients Mother.

Art In Rings

And then there are these. Giant copper trays that i soldered onto etched rings bands. Filled with huge artsy fartsy paper colages…and more enameling. They are just waiting for resin.

Next time i’ll show you how the resin changes them…

Always,

Susan