Arc Planner: My Daughters Point of View

Hi! Hello! I’m AdaLee, and I’m writing a guest blog post for my mom about our Arc Planner!!

Recently my mom and I both started to get more organized and we got ourselves an Arc planner organizer and notebook.

AddiesplannerAddiesplanner

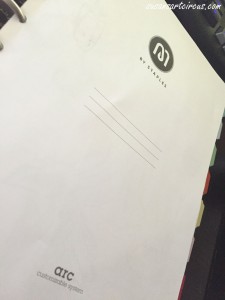
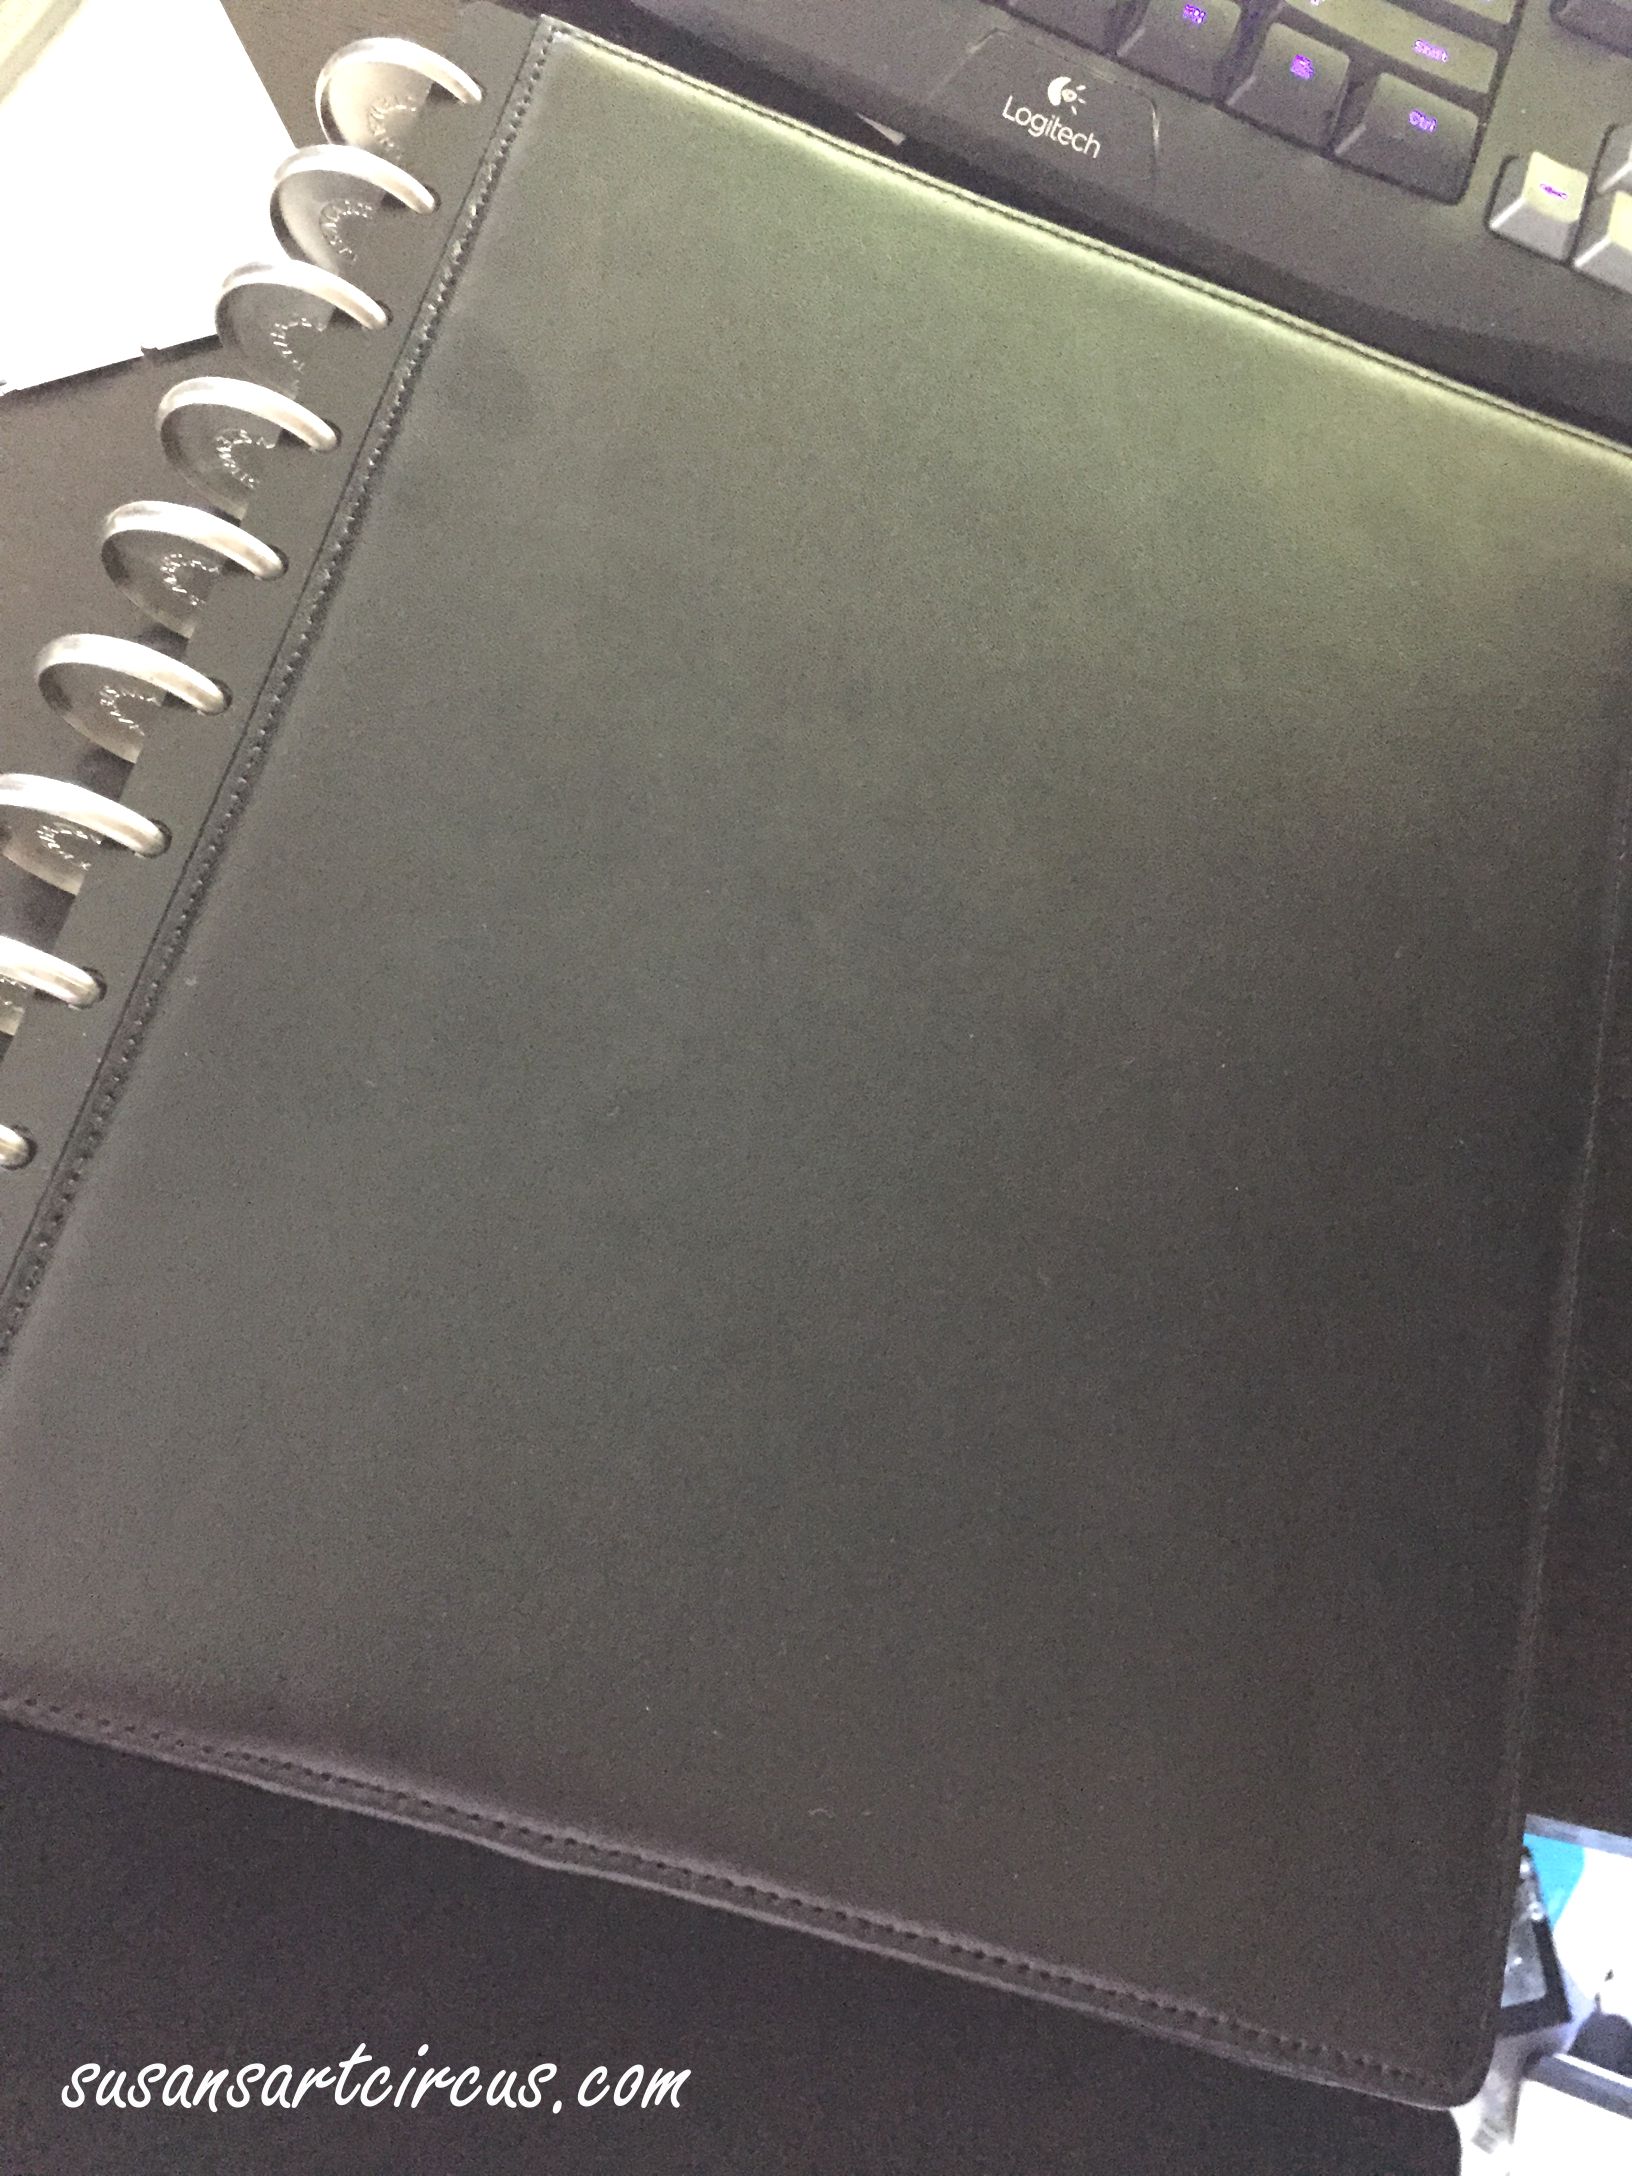
The Arc planner is disc based, not three-hole-based, which means that instead of the normal three-hole rings, they have 11 discs as the binding. We both have a faux-leather cover arc filled with dividers and paper and what nots of our choice.

Addiesplanner (1)

Mine happens to have normal three-hole-punched college-ruled paper, graph paper, and even some blank paper. Since these papers are not already compatible with the Arc because of their inferior three-hole-punches, the Arc planner has a punch system that makes pretty much any kind of stationery into something that can be put into the arc!

arcplannerpunch2

I love this thing. I honestly do.

I had a super lame three-hole binder that had d-shaped clips instead of the default O shaped or C shaped ones normally in three-hole binders. What the meant was that papers in the binder would be incredibly difficult to maneuver without putting unnecessary stress on the punched holes. This resulted in a lot of torn paper, including some that was (or would be) important to class.

Addiesplanner (6)

 With the arc, I can now not have to worry about any paper tearing too much, for the way the Arc punches the paper that fits in it, individual papers put under too much stress simply pop out.

 Addiesplanner (4)

No worries. No damage. Just pop them back in again and
***ta da!!!*** you’re all good!!

On top of that, having to repunch and reformat all of the paper that I put into this thing requires me to be more organized about my schoolwork. My failed organizational days are gone!

Thank you Arc!!


Arc Planner: What Is It?

So I would bet by now that you’ve seen some edition of the Arc Planner System from Staples around the interwebs…no?

I’m here today to give you a peek inside my own and how I got into it.

So I was wandering around Staples looking for nothing in particular when I happened upon this Arc planner system. I looked it over for quite awhile while my daughter shopped elsewhere and decided to try one notebook. Just to see if I liked it.

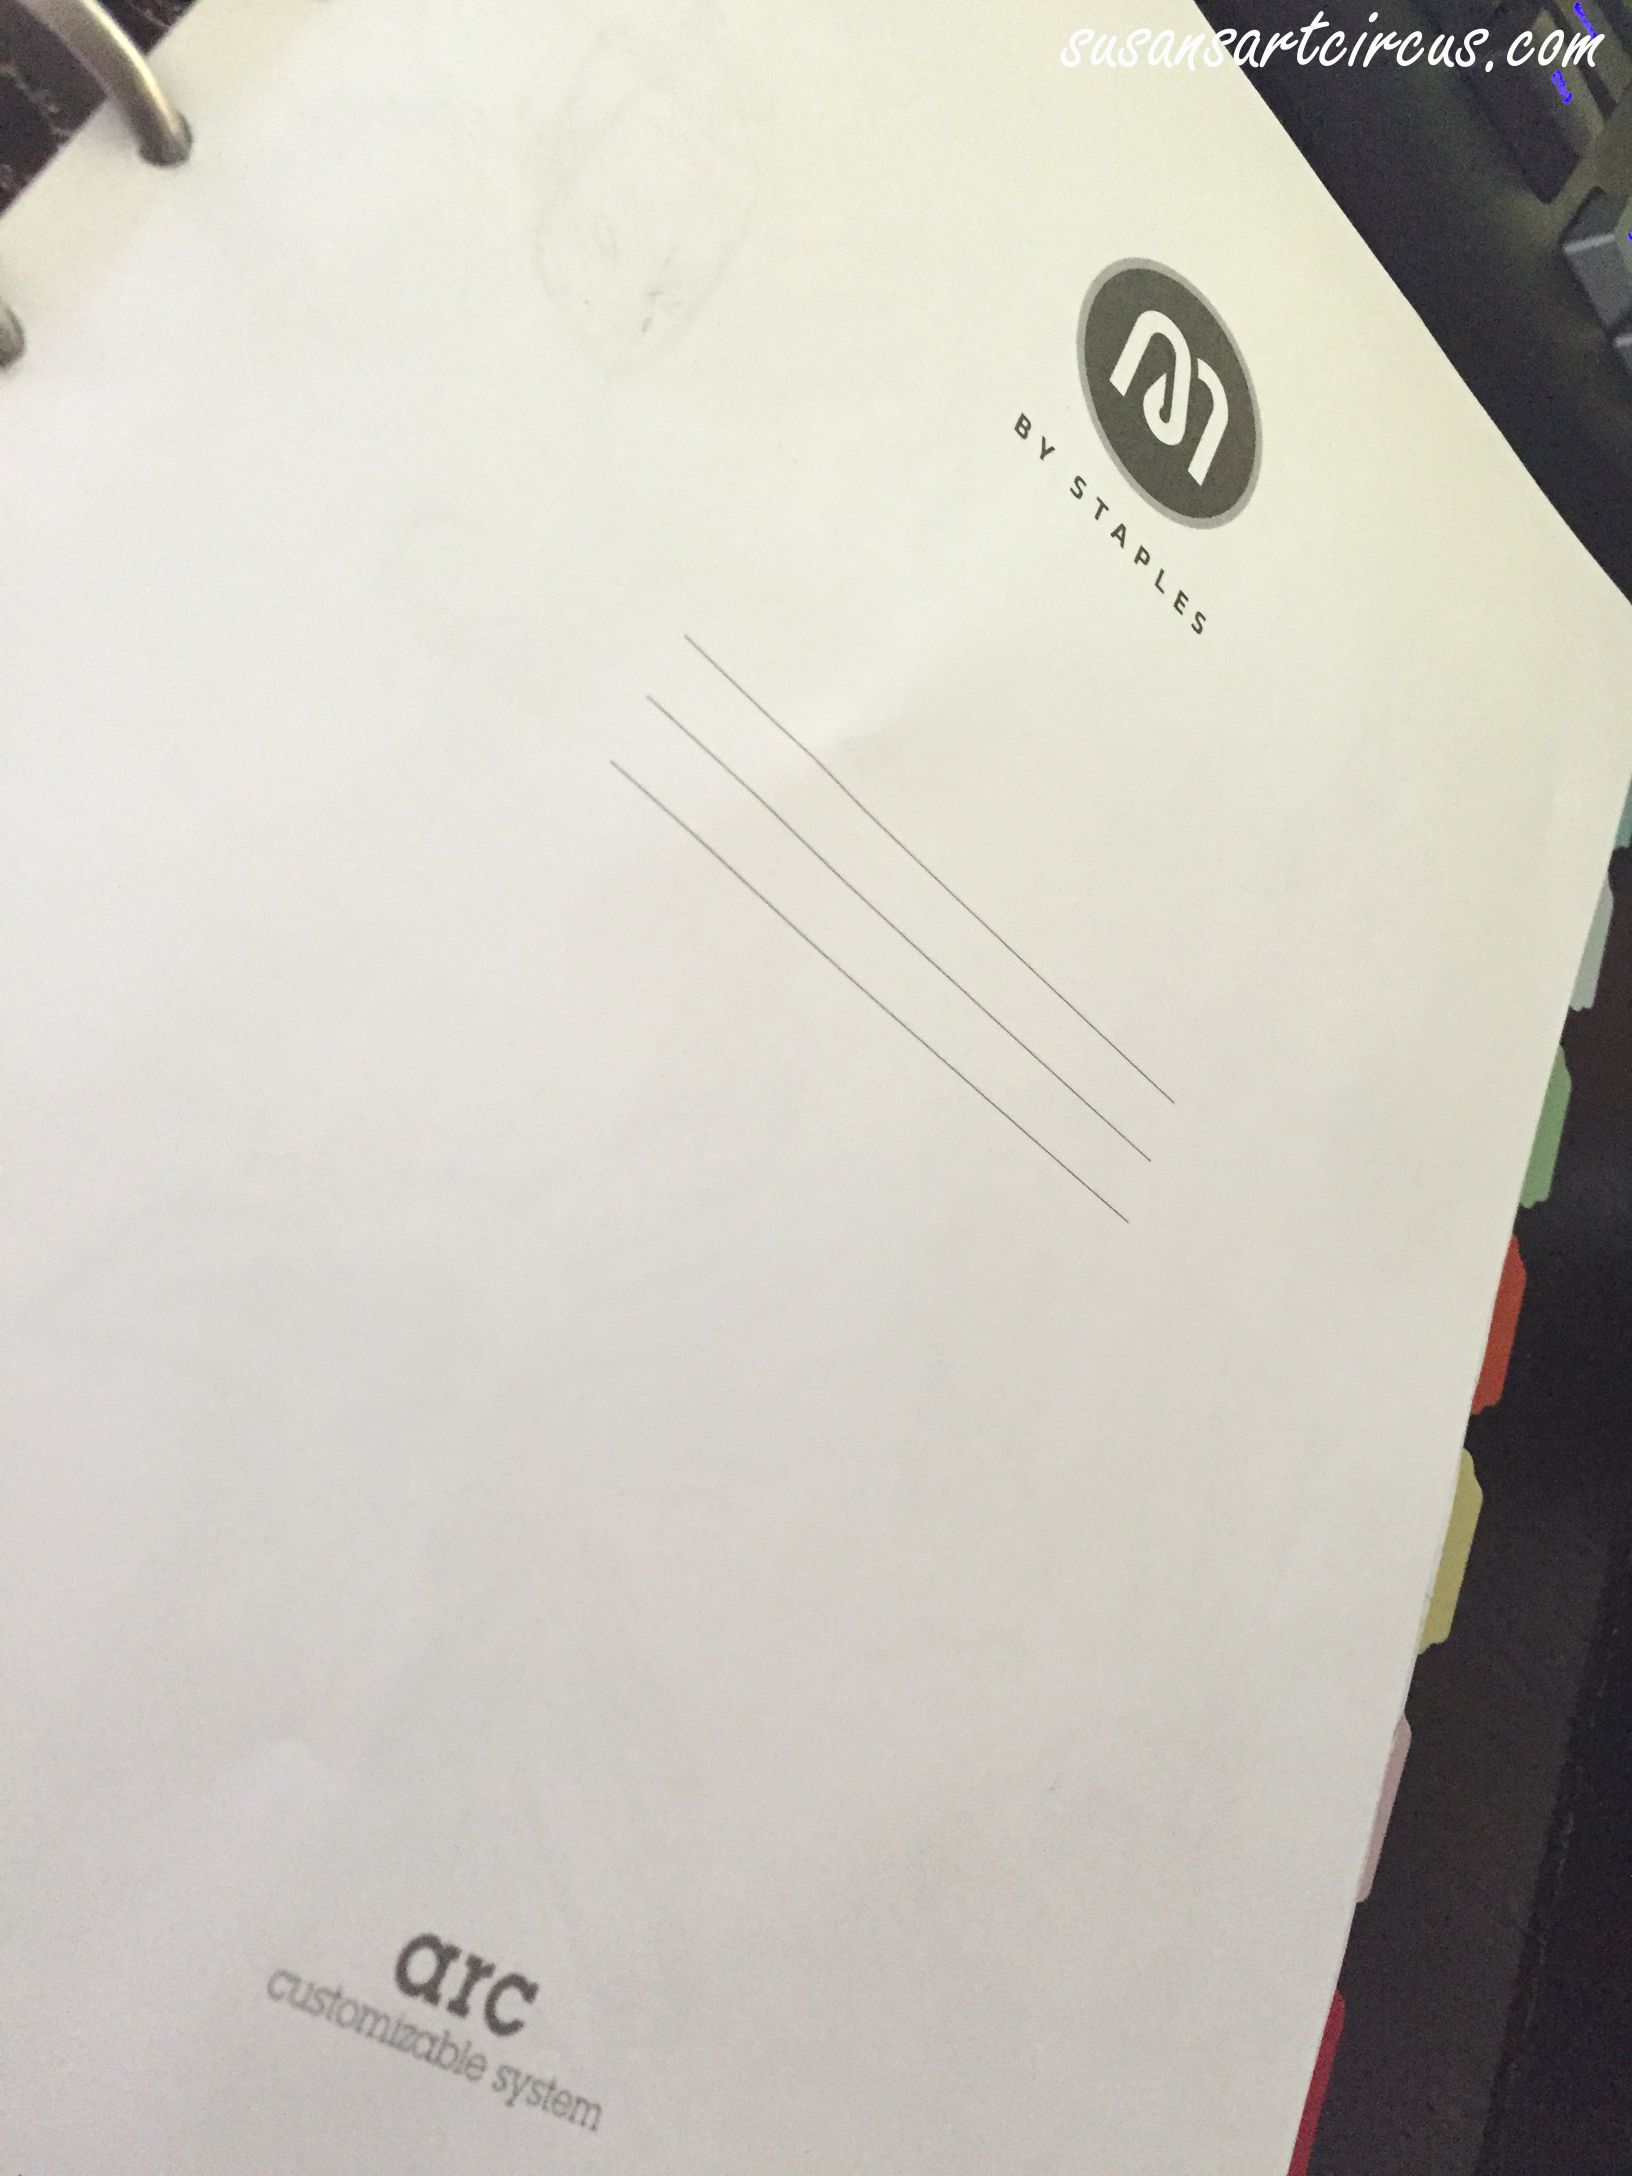
I comes with blank lined sheets. (you can see two Arc planners in this picture because one leads to two leads to three…you get the idea)

Plain Arc Pages

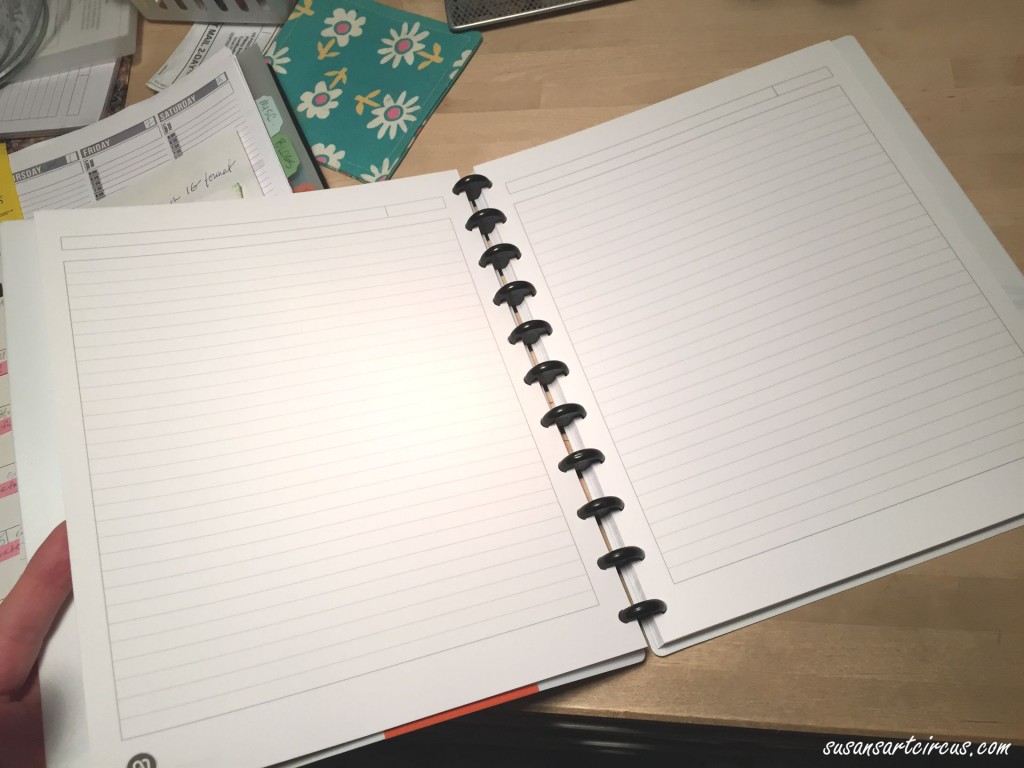
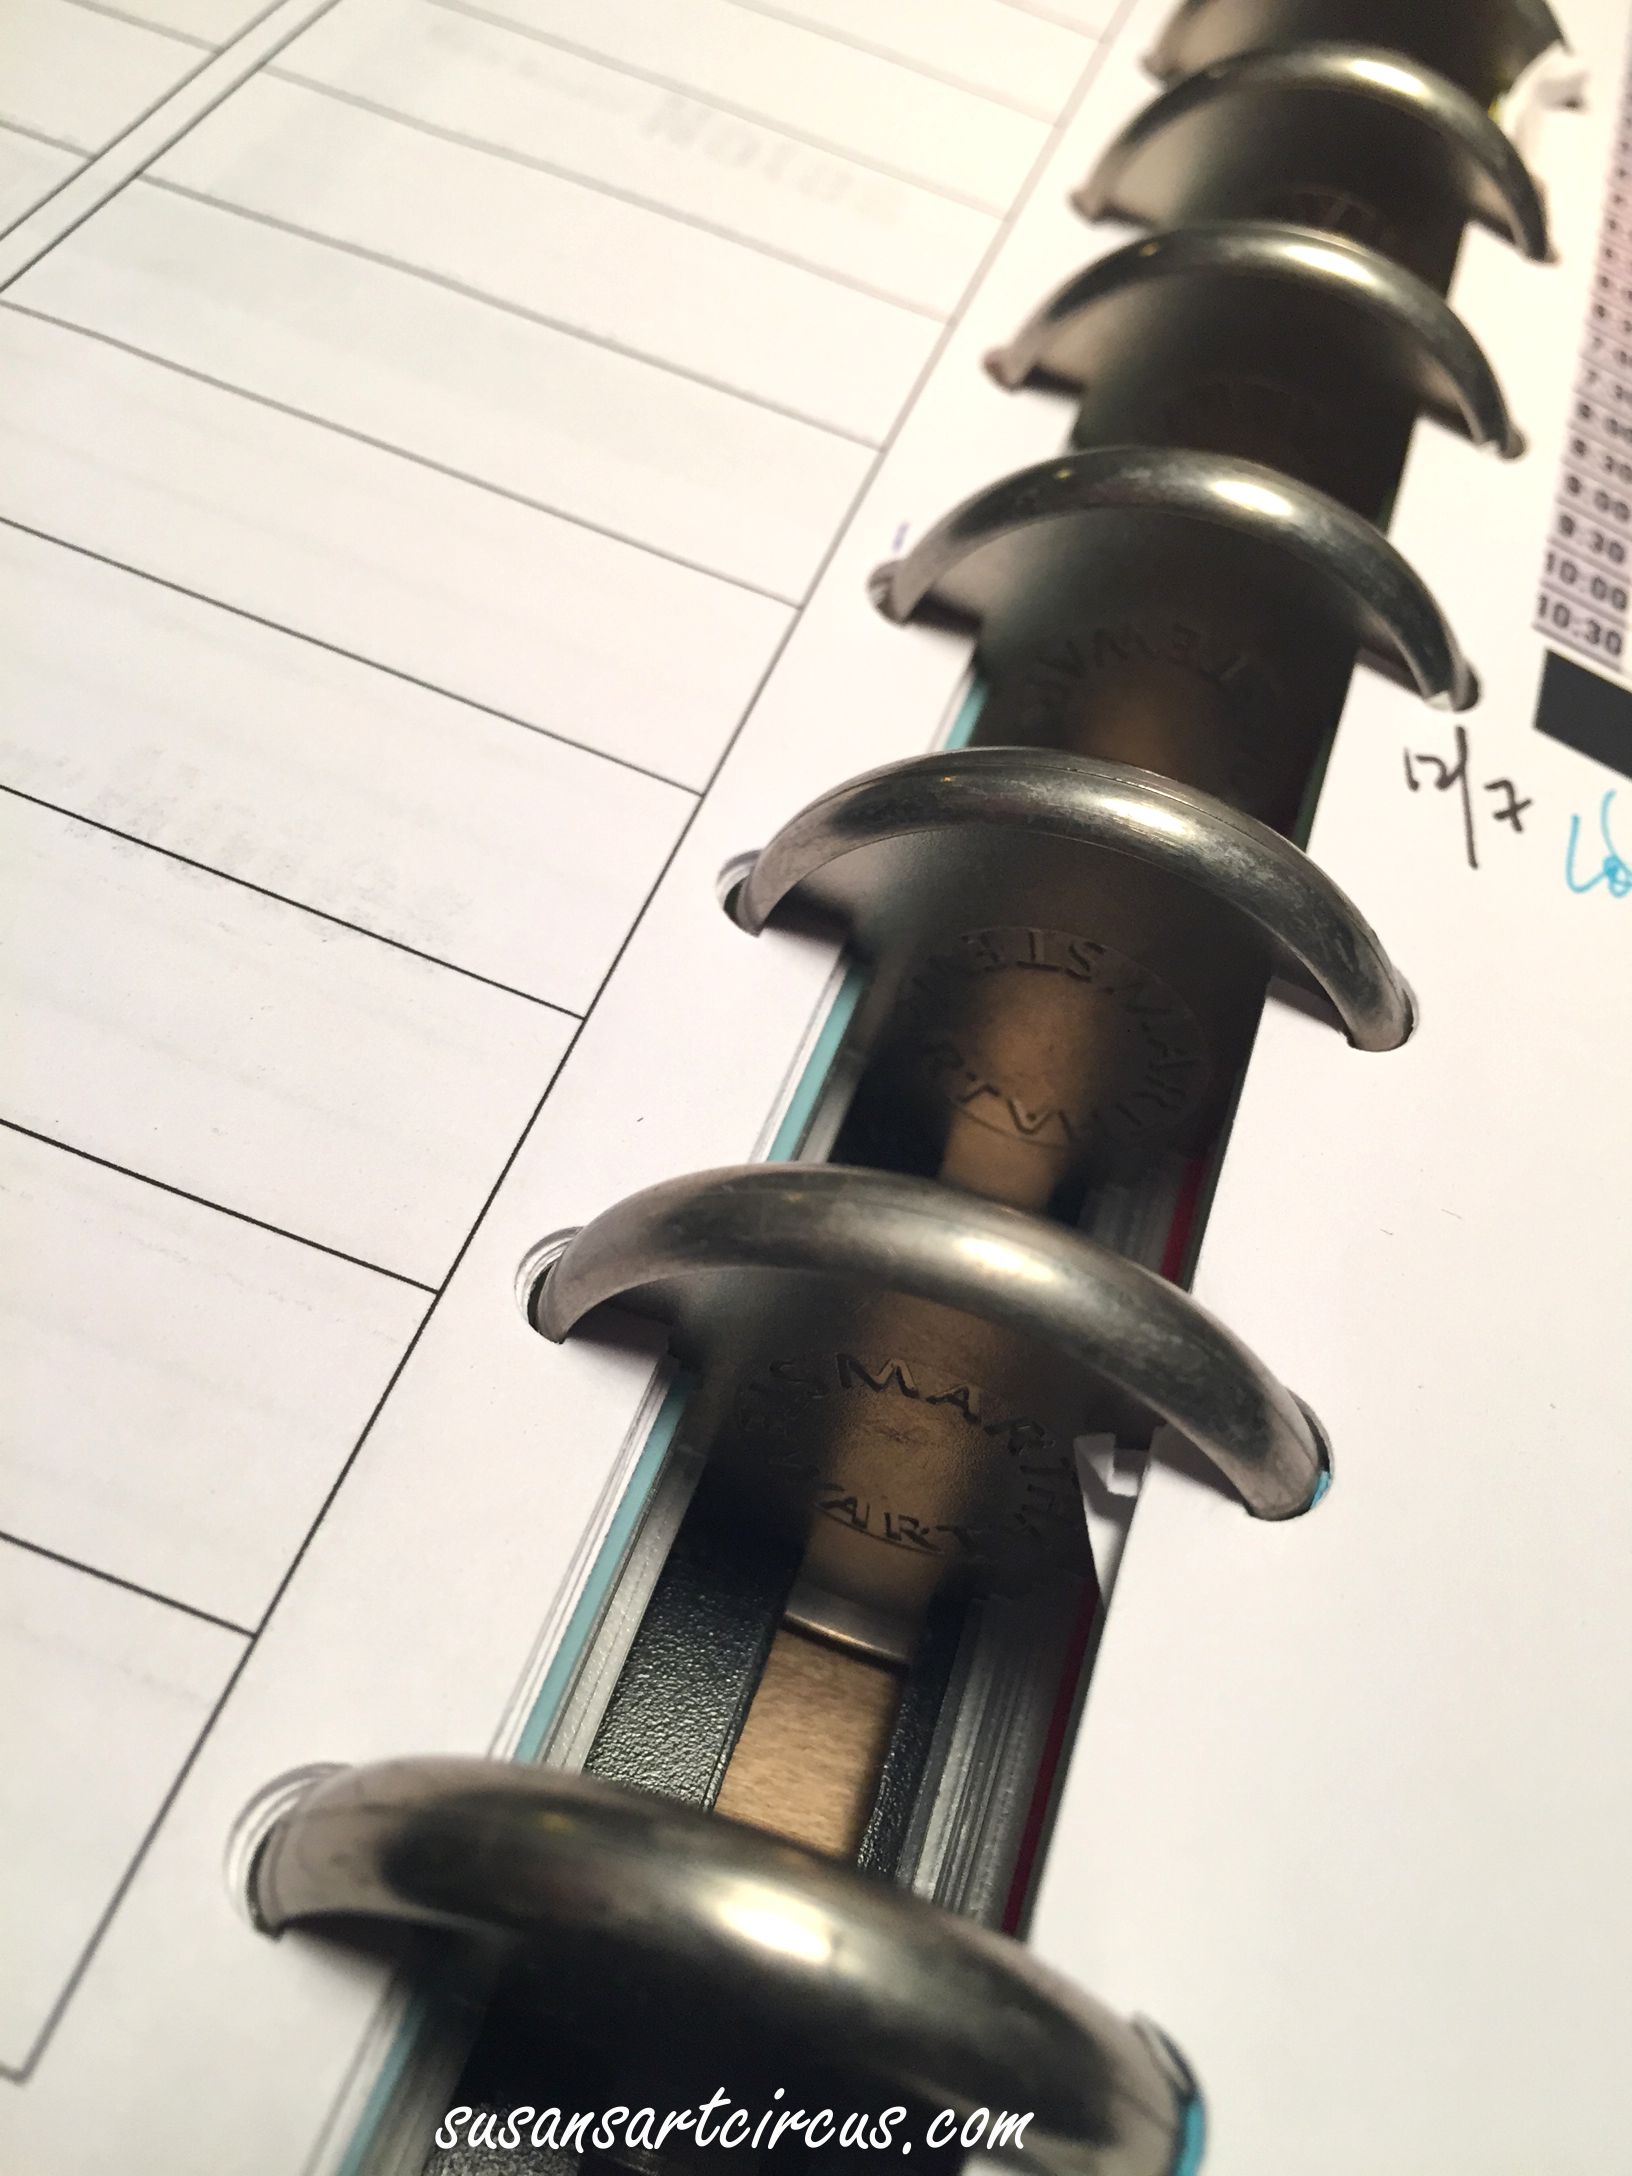
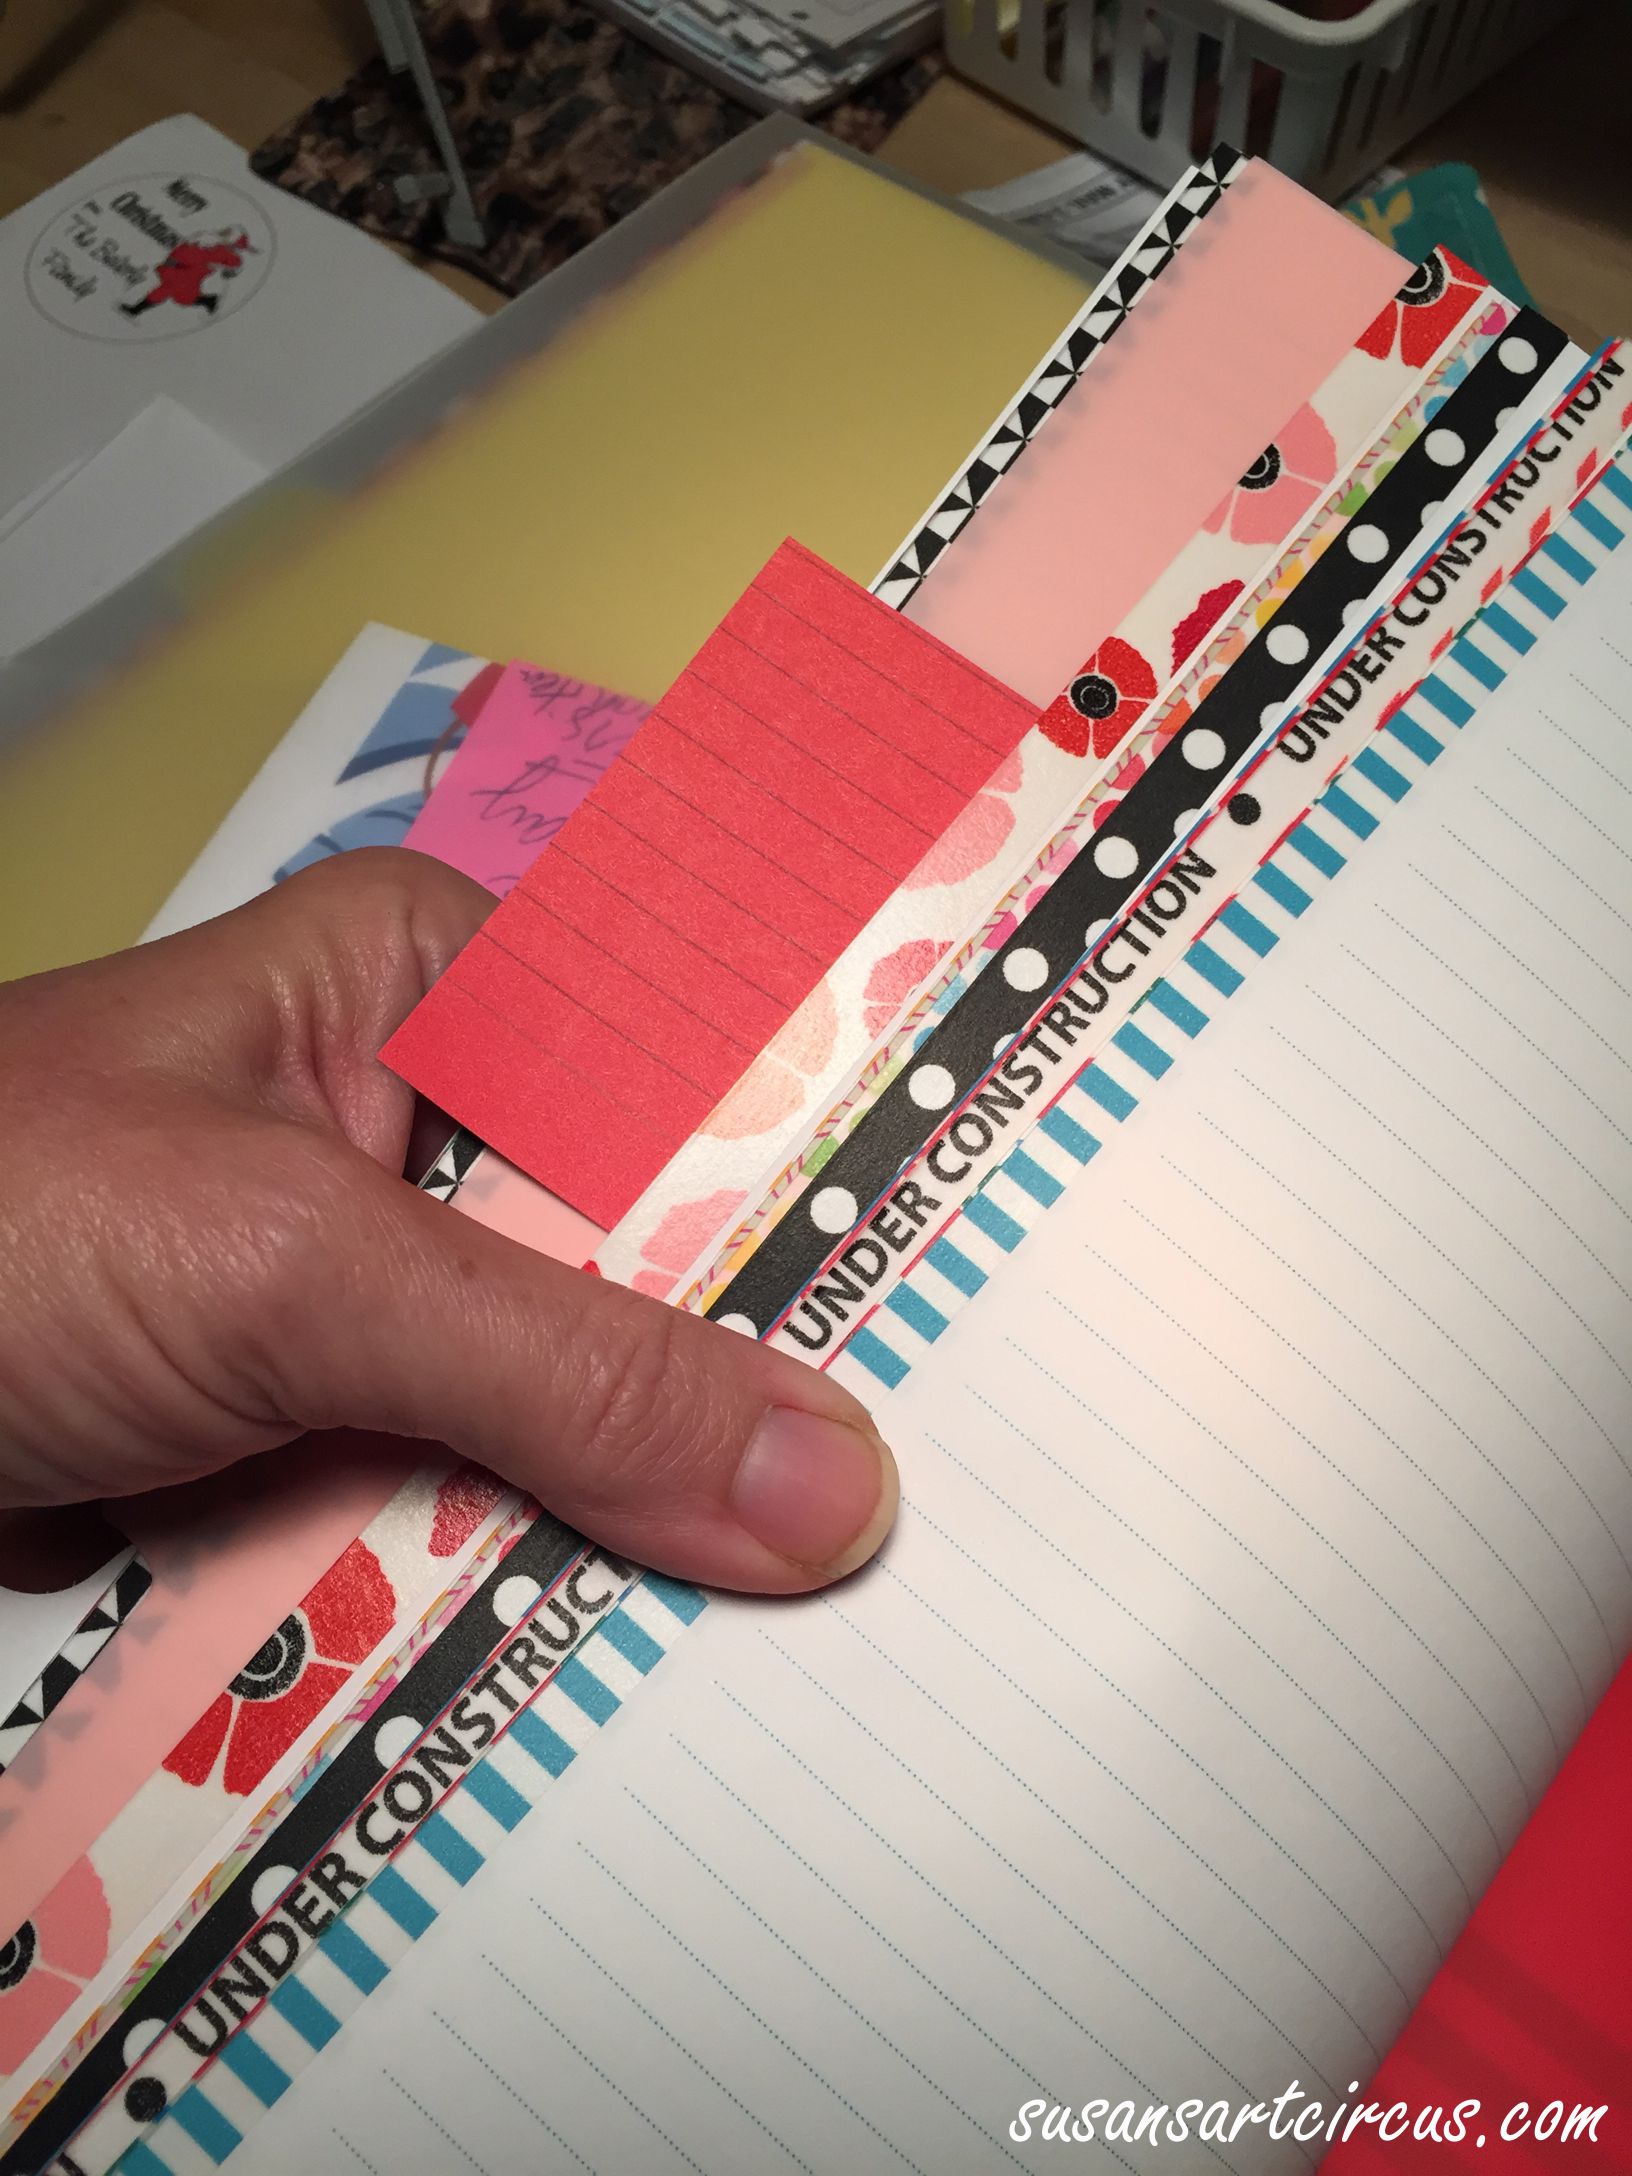
They are hooked together with these multiple discs. Normally they come with small discs which I knew immediately wouldn’t be enough so I bought some larger ones from the Martha Stewart collection that also has a few disc based items.

Large Discs

I also prettied up the edges of the pages with colorful washi tape.

Washi Tape Galore

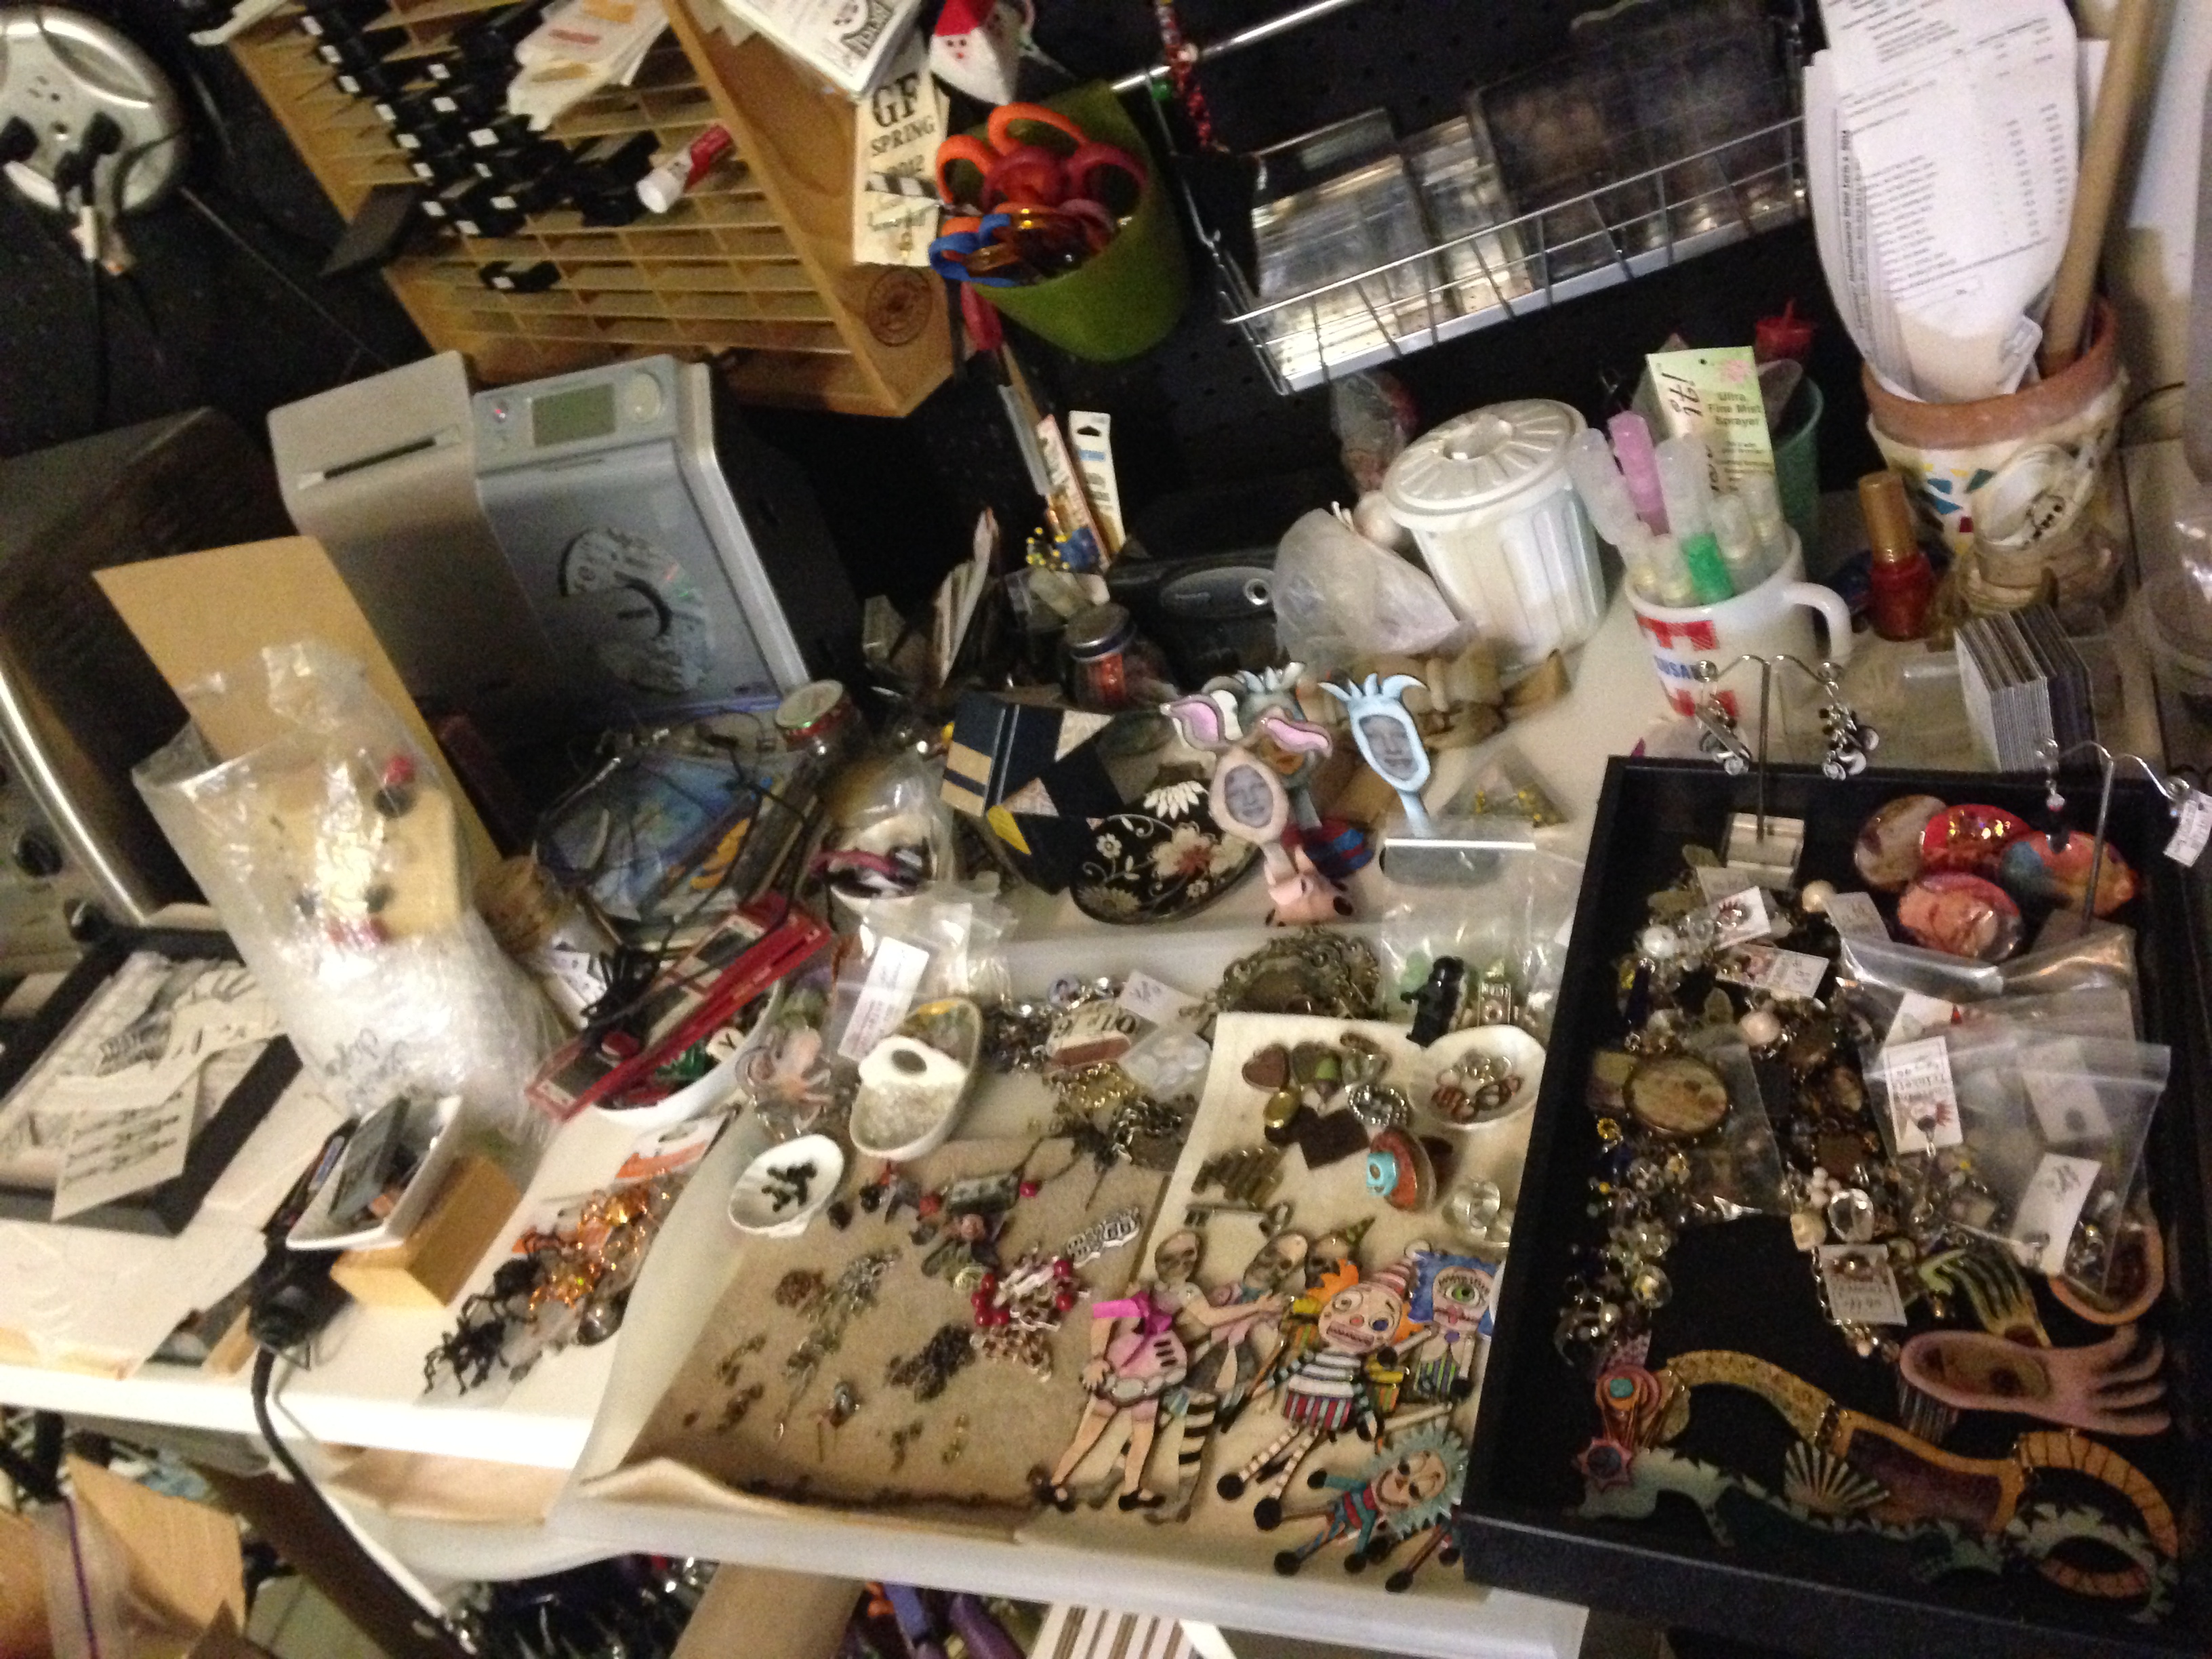
 I also made a can of goodies that I knew I would want to use with the planner. Things like colored pens, large and small post-it notes, graph paper post its, mechanical pencil with eraser. (yeah, I know. I’m getting obsessive) And it’s portable so I can take it from room to room as I jot down thoughts and ideas.

Can O'Goodies

Then, because enough is never enough, I designed some pages for the Arc planner as well as made some downloads from the internet work for it too. This meant that I take trip number two to Staples and buy the punch plus additional inserts. Now I knew what I would do with it I could better accessorize it…ha!

Triple Pic of Supplies

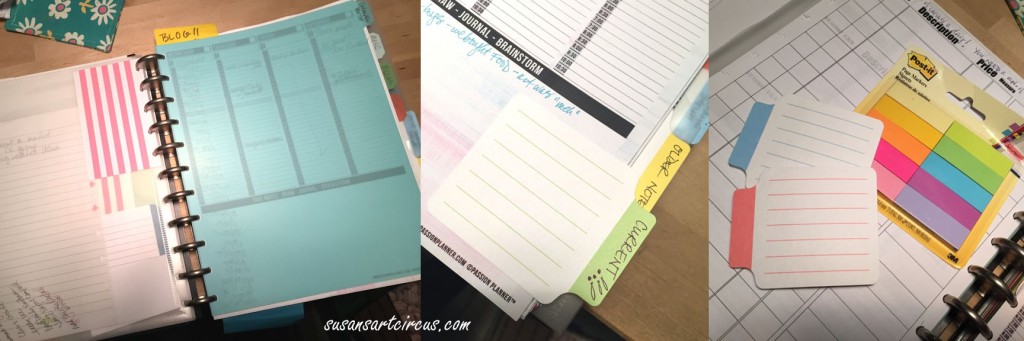
Yes…there are page dividers, pages with pockets, some of the post its are heavier paper and make great tabs.

I designed my own calendar.

My Calendar Design

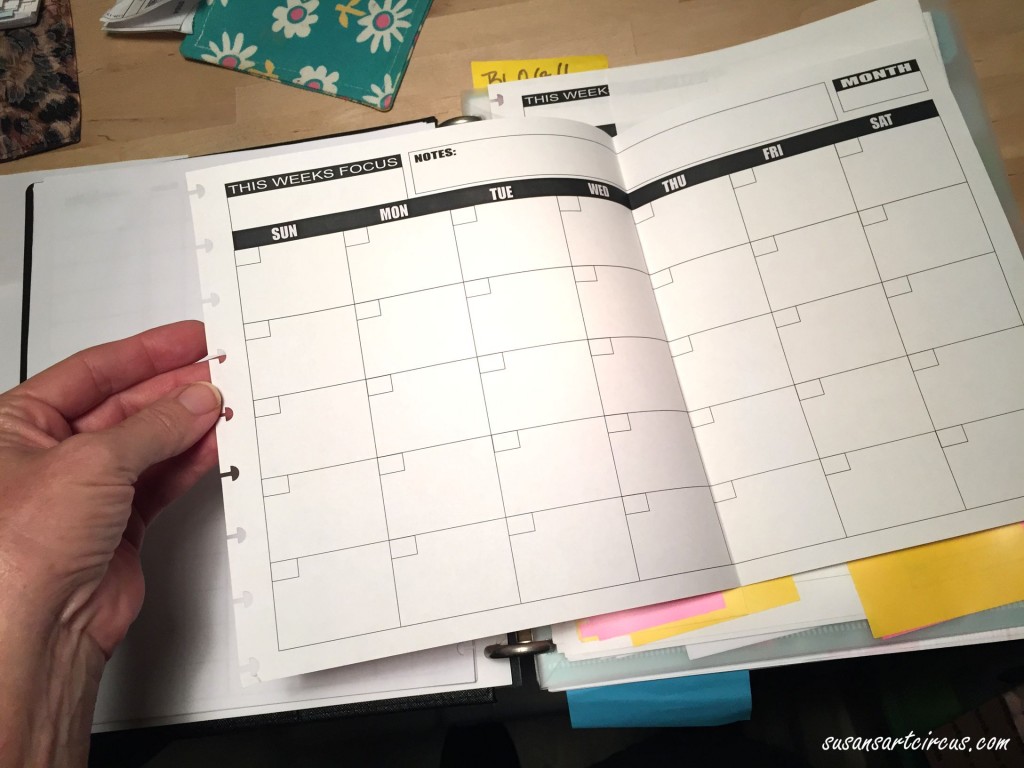
That’s right…just use the punch to put holes in the side and it fits right in! This is on legal paper so I just folded it over so it wouldn’t stick out.

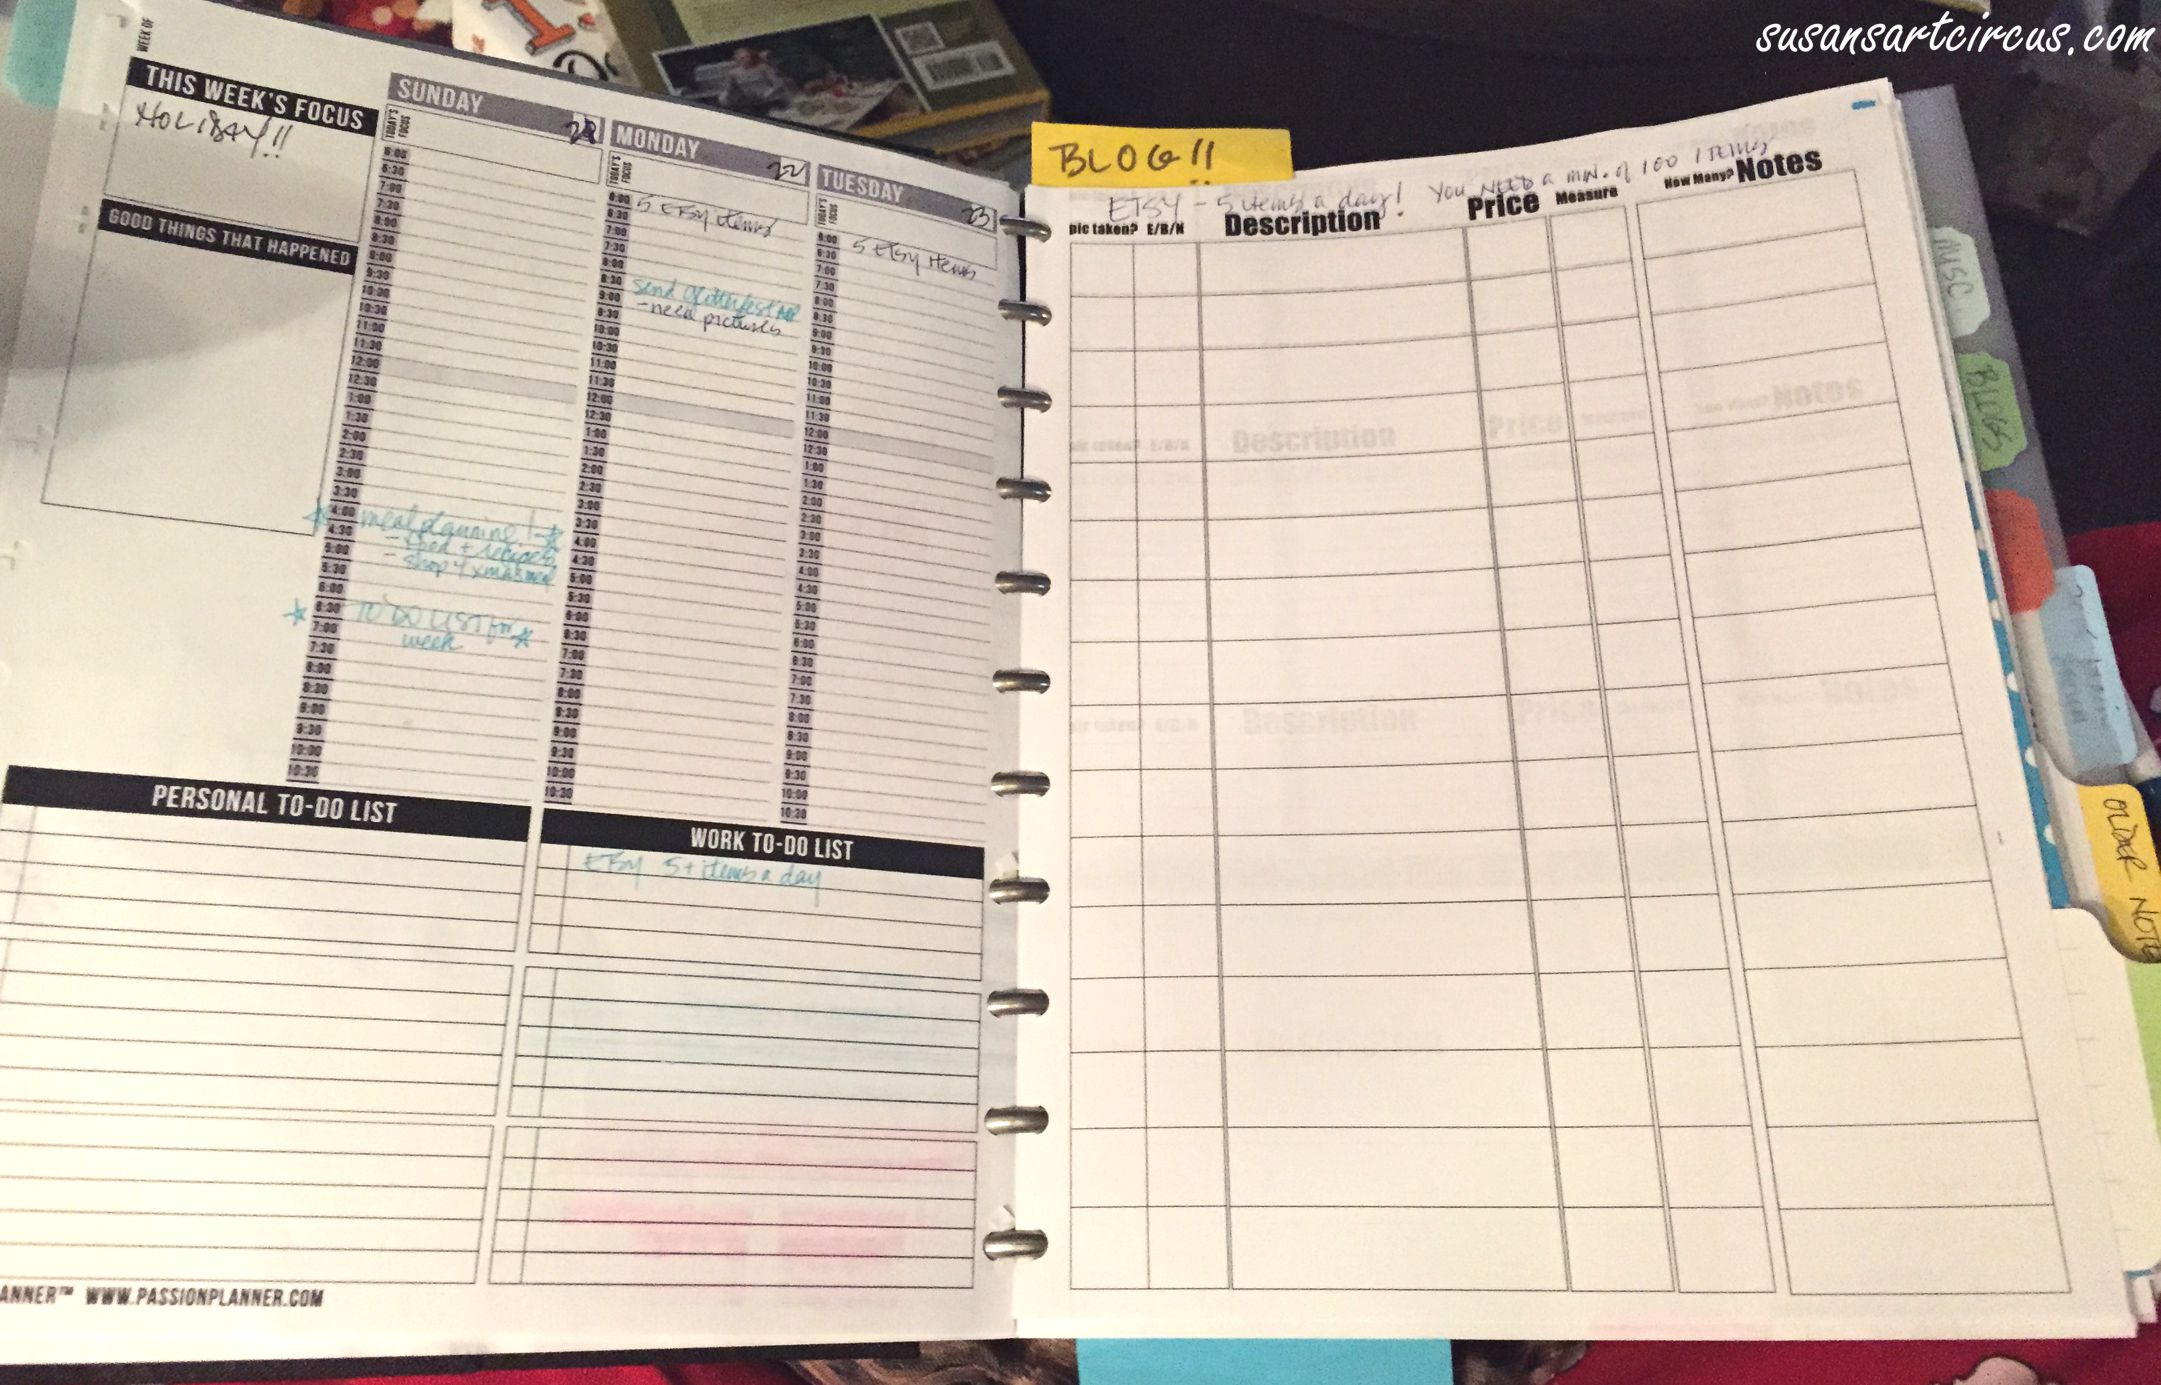
I also used Passion Planner weekly calendars. (if you haven’t seen a Passion Planner you really need to) You can only see the beginning of the weekly version here on the left side. The right side is a sheet I designed so I could have all my Etsy product notes available. Now I can photograph, jot down measurements, prices, and whatever else I need to know when I’m putting items into my shop. All on one page.

Passion Planner page 1

Passion Planner Plus

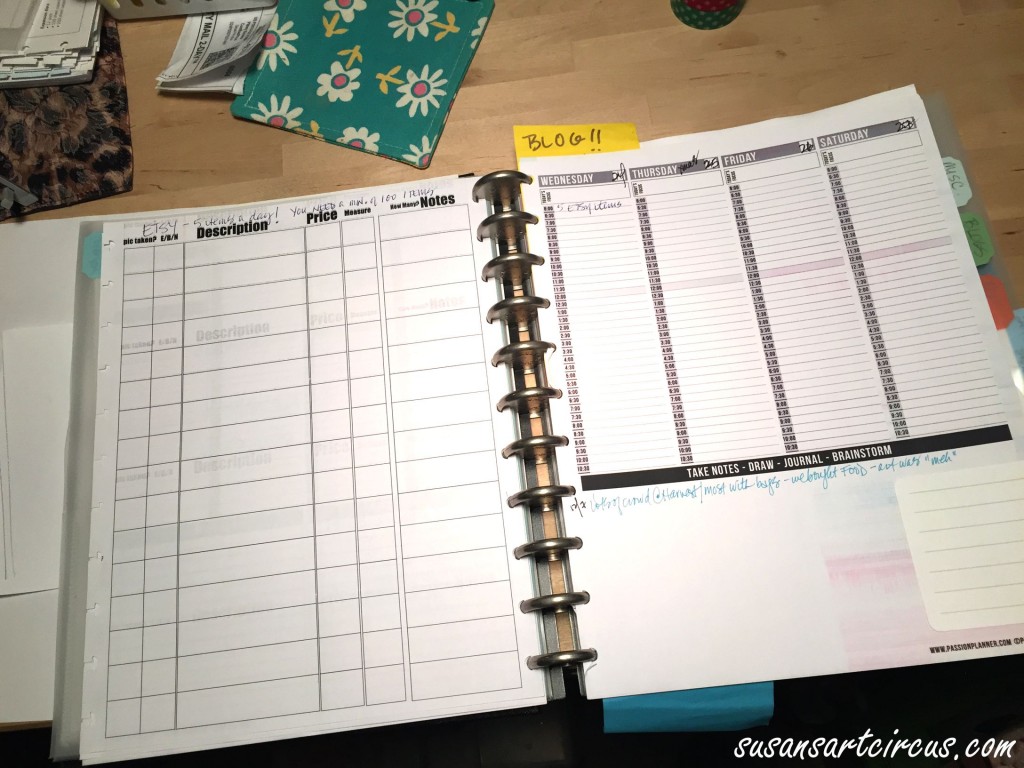
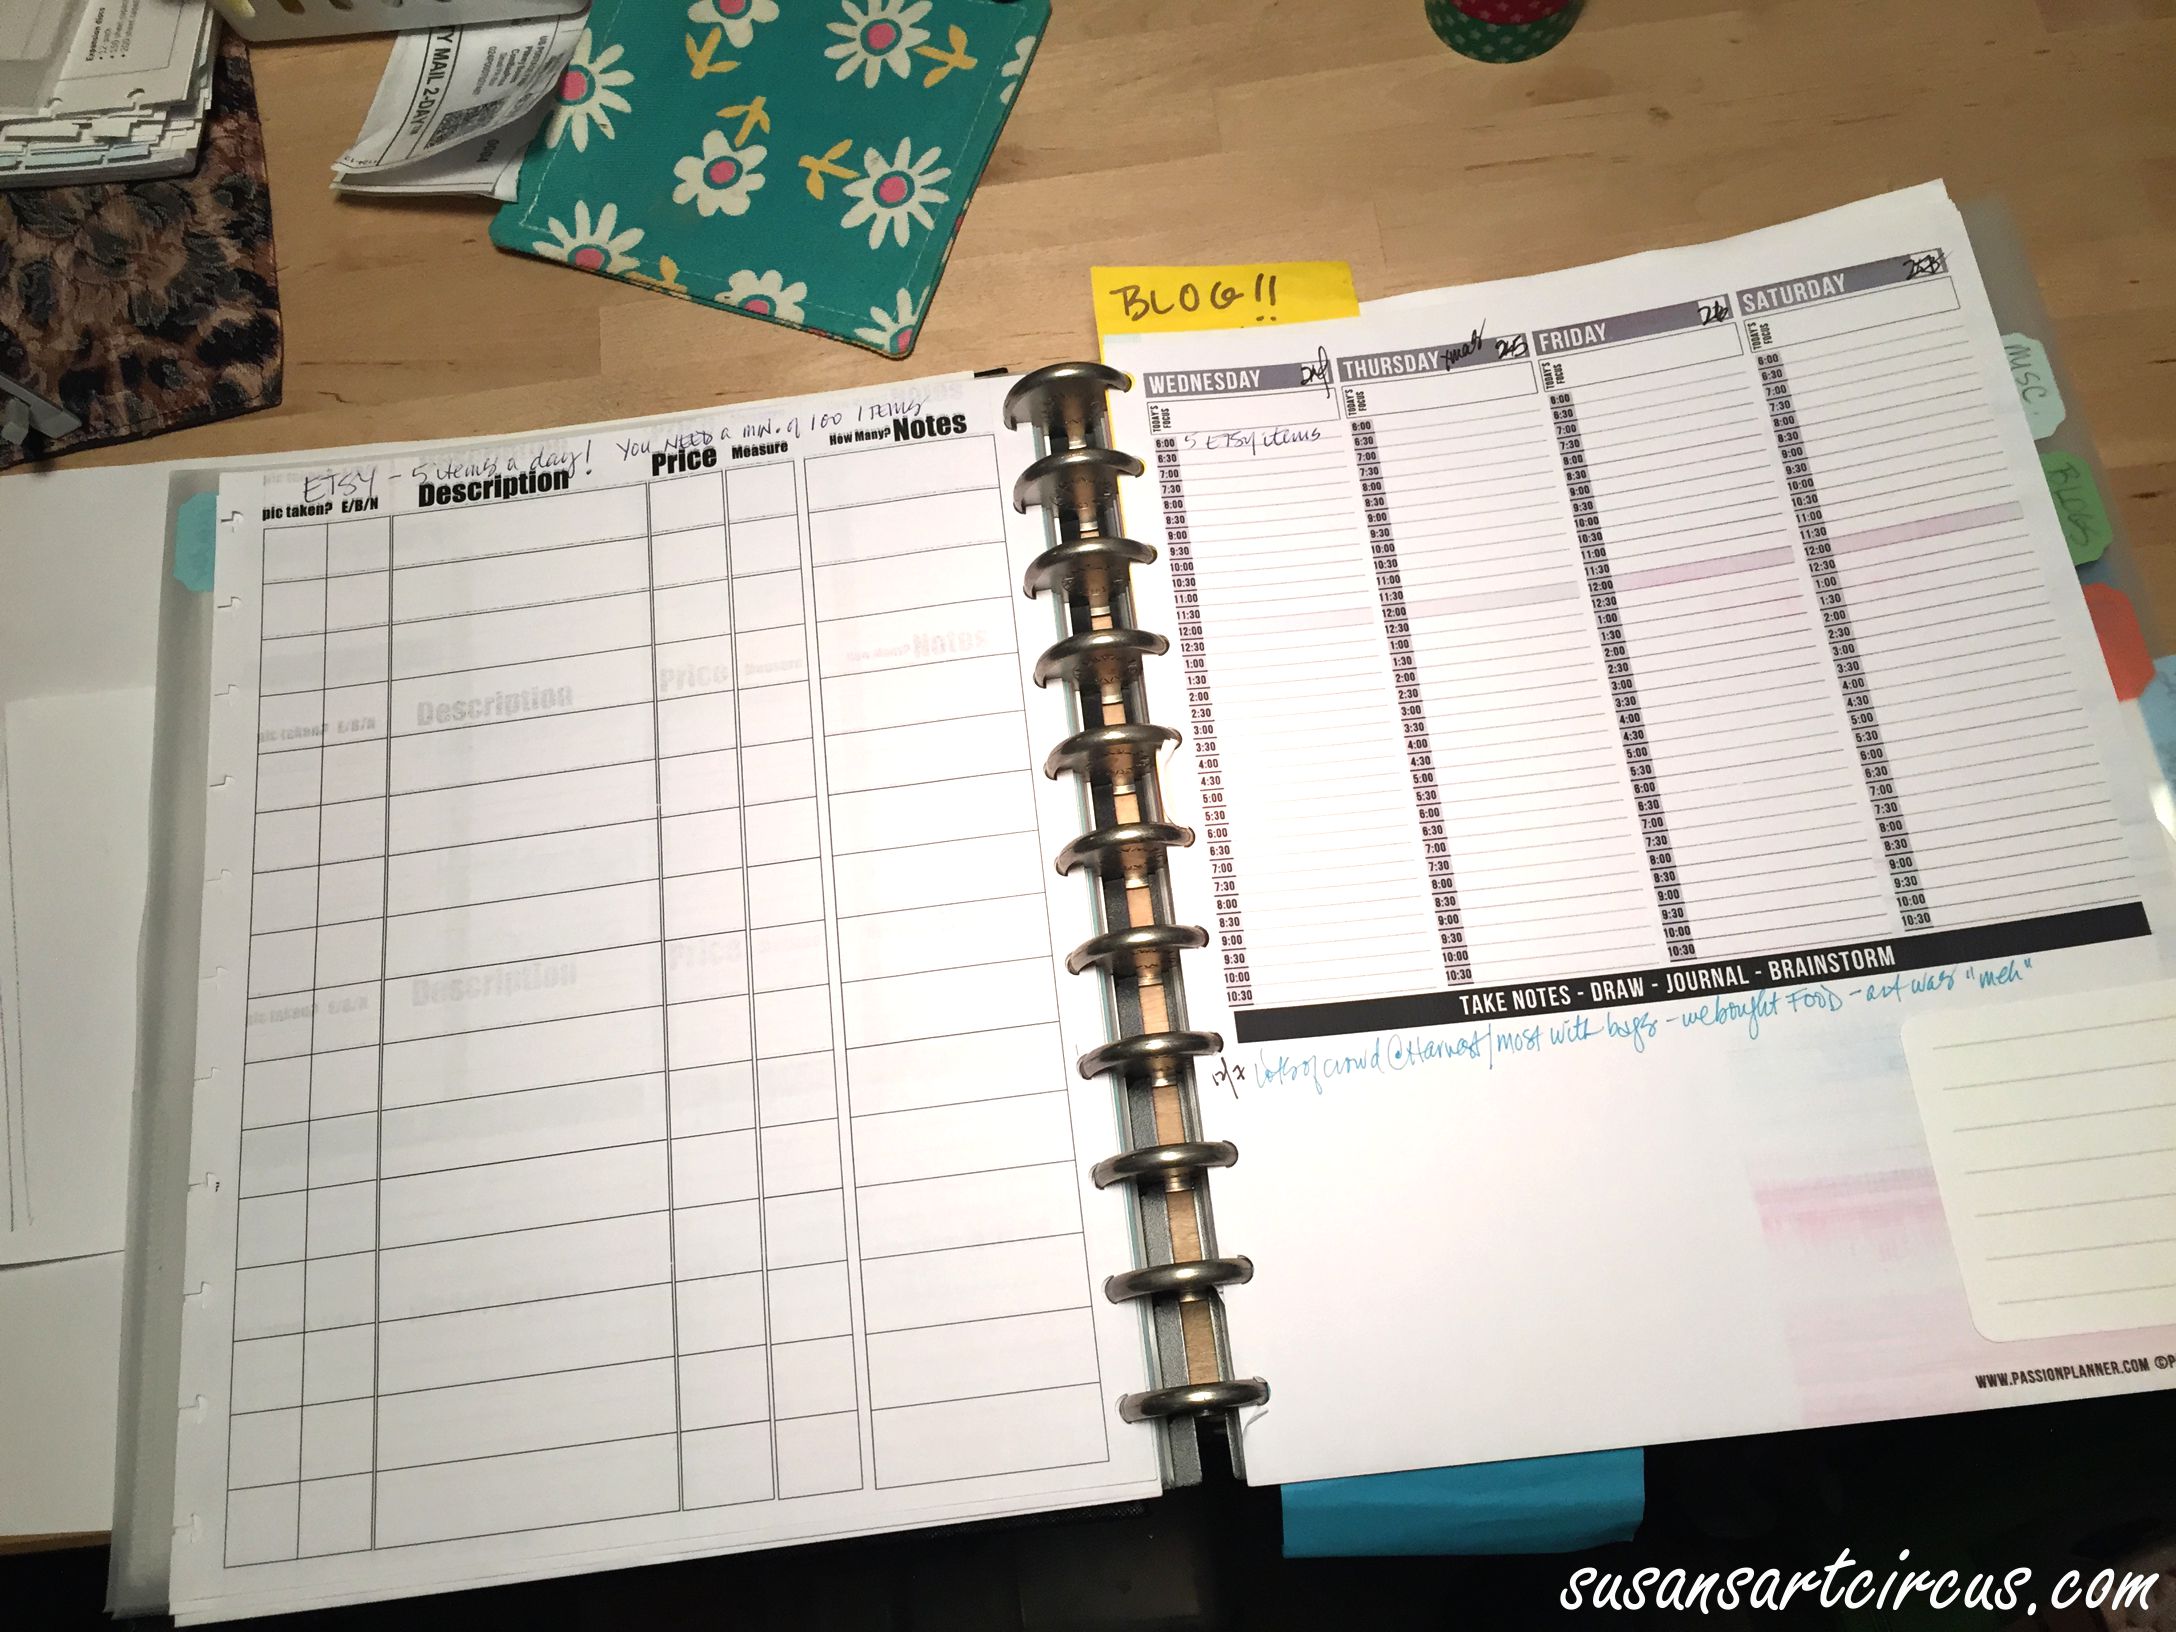
 Here’s the other side. You can see with the Arc planner punch I did both sides of the Etsy sheet. That way if I’m not finished, but the weekday has changed or I printed another copy of it on the reverse, I just flip it to continue. No fuss, no muss! No more ugly rings to wrench open…and how many times have you had a ring binder close on your finger? Ouch! Never again.

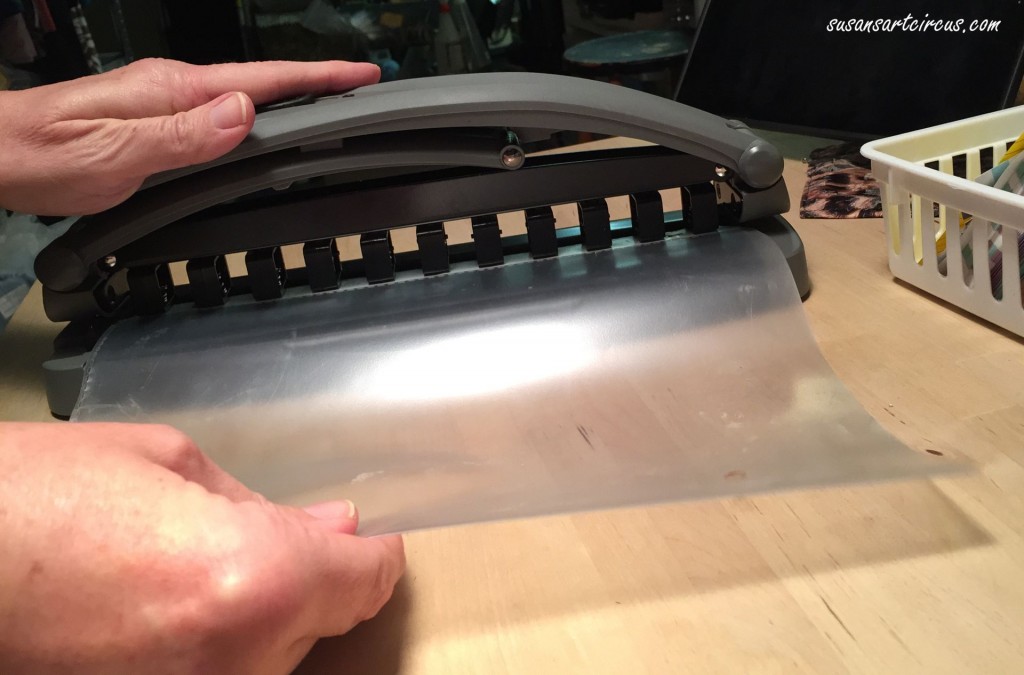
And here is the illustrious Arc planner punch!! Yes…that’s a plastic page cover and it will punch for you! Any kind of paper you want can be customized for this system.

Arc Planner Punch

 So there you have it! Now I have the book shown here, a custom recipe book you can see on January 7 over at the Cre8ive Klatch blog, my daughter will be here posting about her Arc planner on Thursday January 8, and there are some great posts by fellow artists and friends.

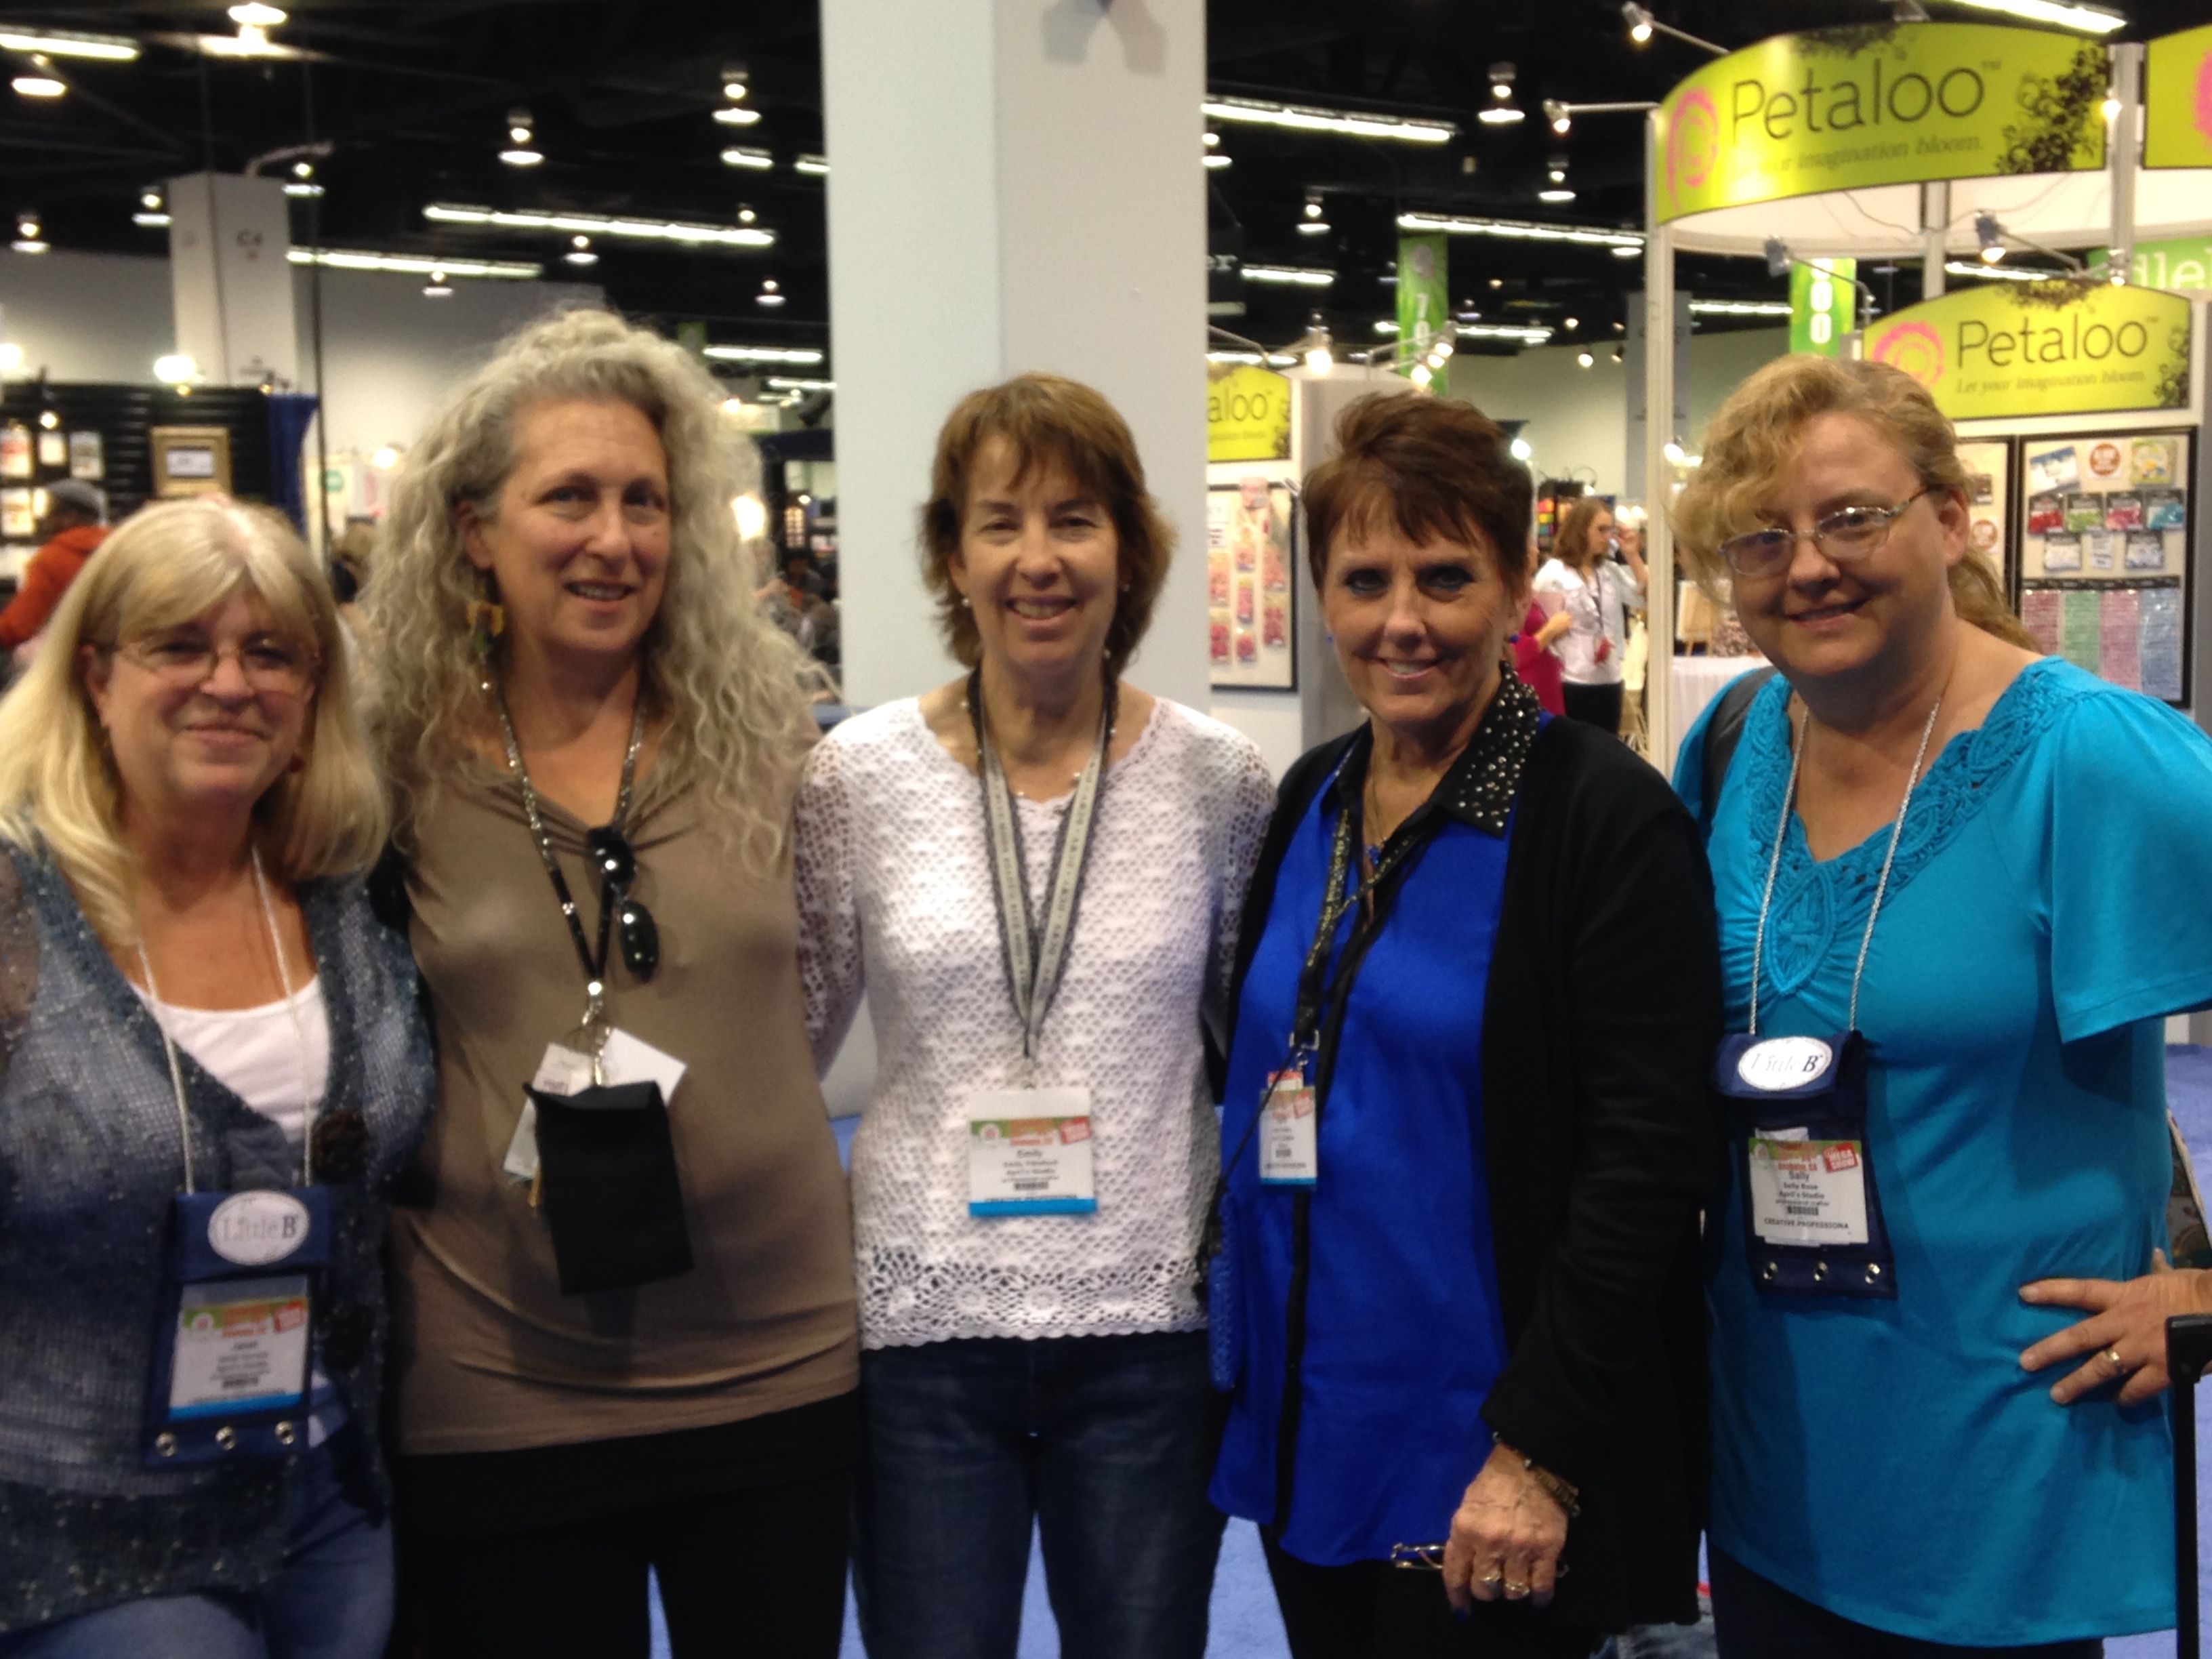
Lori Leissner of Leissnerart shows you her intro book planner here and her creative idea for tracking her health here.

Cindy Jones Lantier tells about how she was hooked into the system here.

You might be next to catch the Arc planner bug!!

Until next time,

Susan

Ice Resin Play: Molding Putty Part 2

So last time we found out what molding putty is and the very basics of how you use it. Now let’s get a little more in depth.

How can I make the molding putty into something I can use? How does the molding putty make a mold?

Well…let’s see…we left off with mixed molding putty ready to go so say hello my zoo…

my animal zoo

I’m starting to hoard small cute plastic animals. Yes, I can’t help myself. But they make the perfect molding subject matter…let’s start with the big piggy there on the left…

pig ears and molding putty

Now you have to work pretty fast but you also want to make sure that the parts of the animals, the ears and snout in this case, are covered well to get a good mold. The molding putty will adhere to itself as you go but, again, you have to work quickly.

pigs ears covered

Here is Mr. Piggy with his whole head covered and ready to cure.

whole pig head covered

 …and my sheep was done in the same manner.

sheep head covered

Now comes the hard part…you have to wait. Only about 15 minutes or once you can’t leave an imprint with a finger nail pressed into the molding putty. He’s curing so leave him alone!

After the time has passed just gently wiggle the molding putty to loosen it around the head. If necessary pull it back from the sides and slide it off around the ears and nose. Careful! You don’t want to tear the mold. I’ve done that from being too anxious to see what I’ve molded. And here is what my sheep mold look like!

sheep mold

See all that detail? All the fur swirls and eyes? Next time we will pour some resin in it!

Happy cre8ing!!


Part 1 can be found here:

https://www.susansartcircus.com/ice-resin-play-molding-putty/

Ice Resin Play: Molding Putty Part 1

Have you played with silicone putty or molding putty? Do you know what that is? Ooh…you’re in for a fun surprise!

Silicone putty comes in two parts that you mix together to make one uniform color putty.  Sometimes it’s dark and light purple labelled part A and part B. Or it’s yellow and white like my favorite molding putty from Ice Resin.

molding putty

What you do take equal parts of the each color, no need to measure just eyeball it, and mix them to make a uniform blended color. It only takes about 30-45 seconds.

mixing the putty

Once the molding putty is blended together you can press just about any object you want into it…buttons, small dolls, utensils, vintage parts, beads, your finger, use your imagination. Wait 10-15 minutes and you have a mold that is an exact replica of whatever you stuck into the putty. Really…it’s that simple.

IMG_1621
The applications for this stuff are crazy! If you’re a mixed media artist your head will swim with ideas. I swear the first time I was introduced to this stuff I ran around the house and tried to mold everything that wasn’t alive!

If you haven’t tried it you need to! Come back by for another step in molding putty and see what I’m molding!!

Until then!

signature3button

When I Don’t Feel Creative: My Top 6 Fixes

Am I the only one that has moments when the creative muse takes a vacation? When you don’t feel creative…what do you do?

This is a topic that seems to raise it’s head when I’m the busiest. I have tons to do but can’t seem to rid myself of the cobwebs long enough to get through it. Well…when I don’t feel creative here’s my top 6 fixes I put into action to try to coax my muse around.

Seth Apter messy worktable 1
1. I clean. Believe me when I say cleaning is not my favorite thing but wandering around the studio, organizing, and picking things up always seems to loosen up the creative spirit. Not only does it help clear the cobwebs but I always seem to find things I had forgotten I had. And those things seem to sneak into my next creations!

Doodling
2. Pull out the sketch books and doodle. Draw anything…straight lines, stick figures, swirls…anything and everything! Just put pen or pencil to paper and see what manifests itself. I draw whatever comes to mind and pay no attention to whether it is “art” or not. Just the simple putting pen to paper allows me to feel more creative.

A break with coffee and sweets...
3. Take a break…go eat something, have tea or coffee maybe a glass of water or take a handful of vitamins. Just be for a few minutes.

UnoUs3stillgoofy
4. This goes along with taking a break but do something goofy with your family. Go lighten up and be free with comedy! Laugh lots and then laugh some more. Play cards, dig out a board game…watch a silly movie. I promise being crazily happy with laughter will take your mind off things and your muse will crawl back without you noticing.

CHA 2014
5. Find your creative peeps and do something together! Lean on your tribe for support when you can’t find your own muse…maybe one of theirs will pop over and let you borrow some ideas!

Sleep it off
6. Sleep it off until the next day. Sometimes all you need is a good nights sleep and all things appear new again.

Be kind to yourself.  Those moments of “stuck” never hang out for long. That muse will come running back.

Until next time!

signature3button