Please note that as of July 2026 I have removed all items for sale. I'm working over my inventory so please hang on and come back soon for new things!! Dismiss
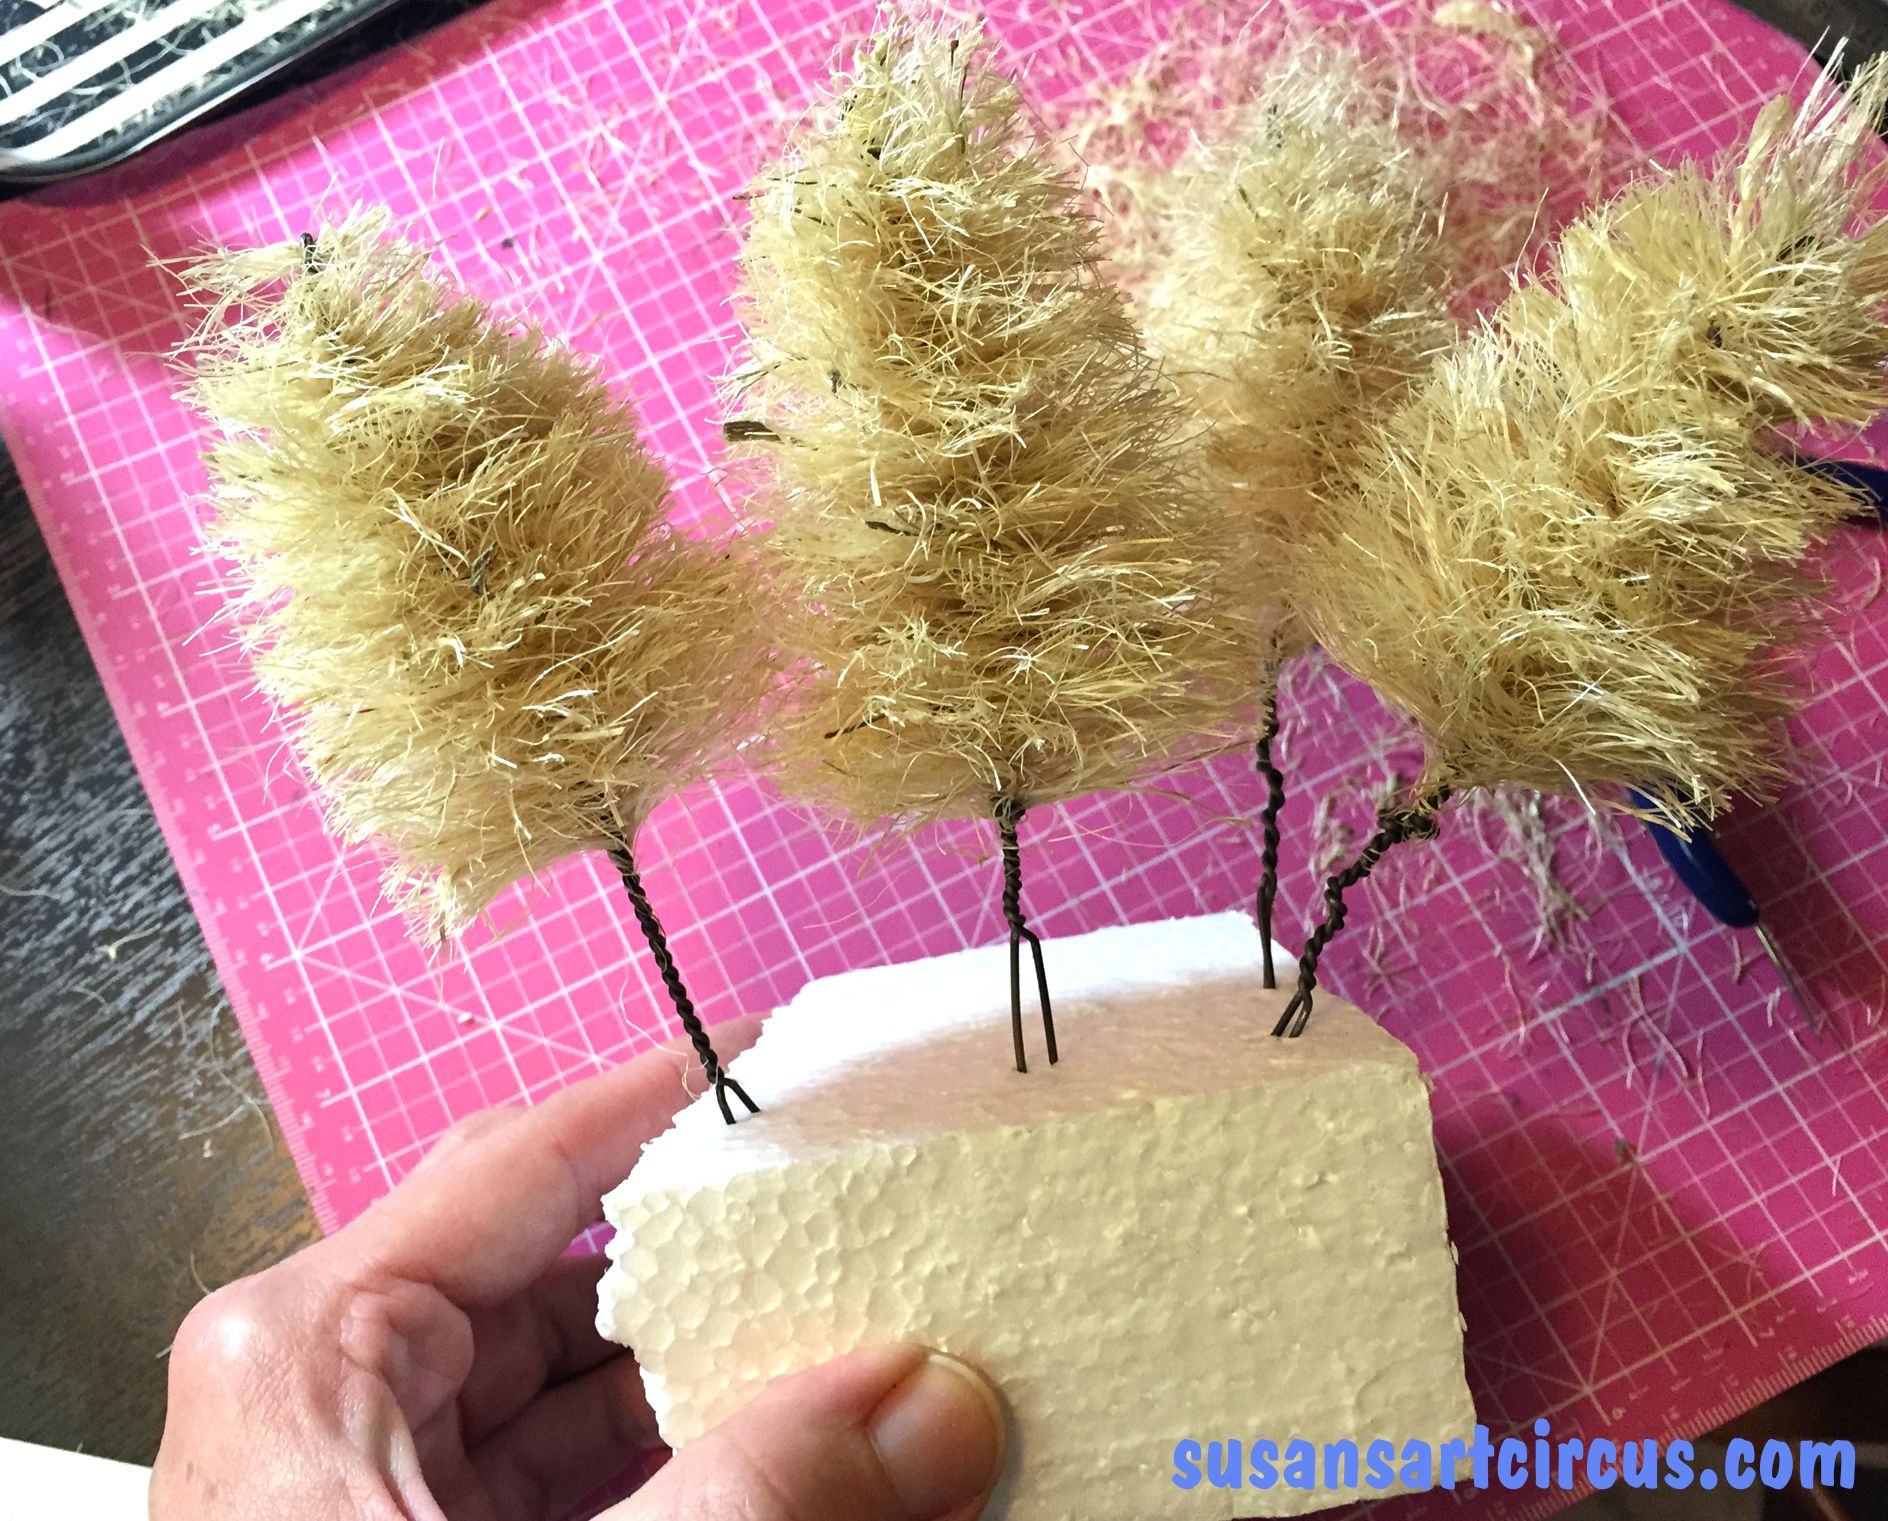
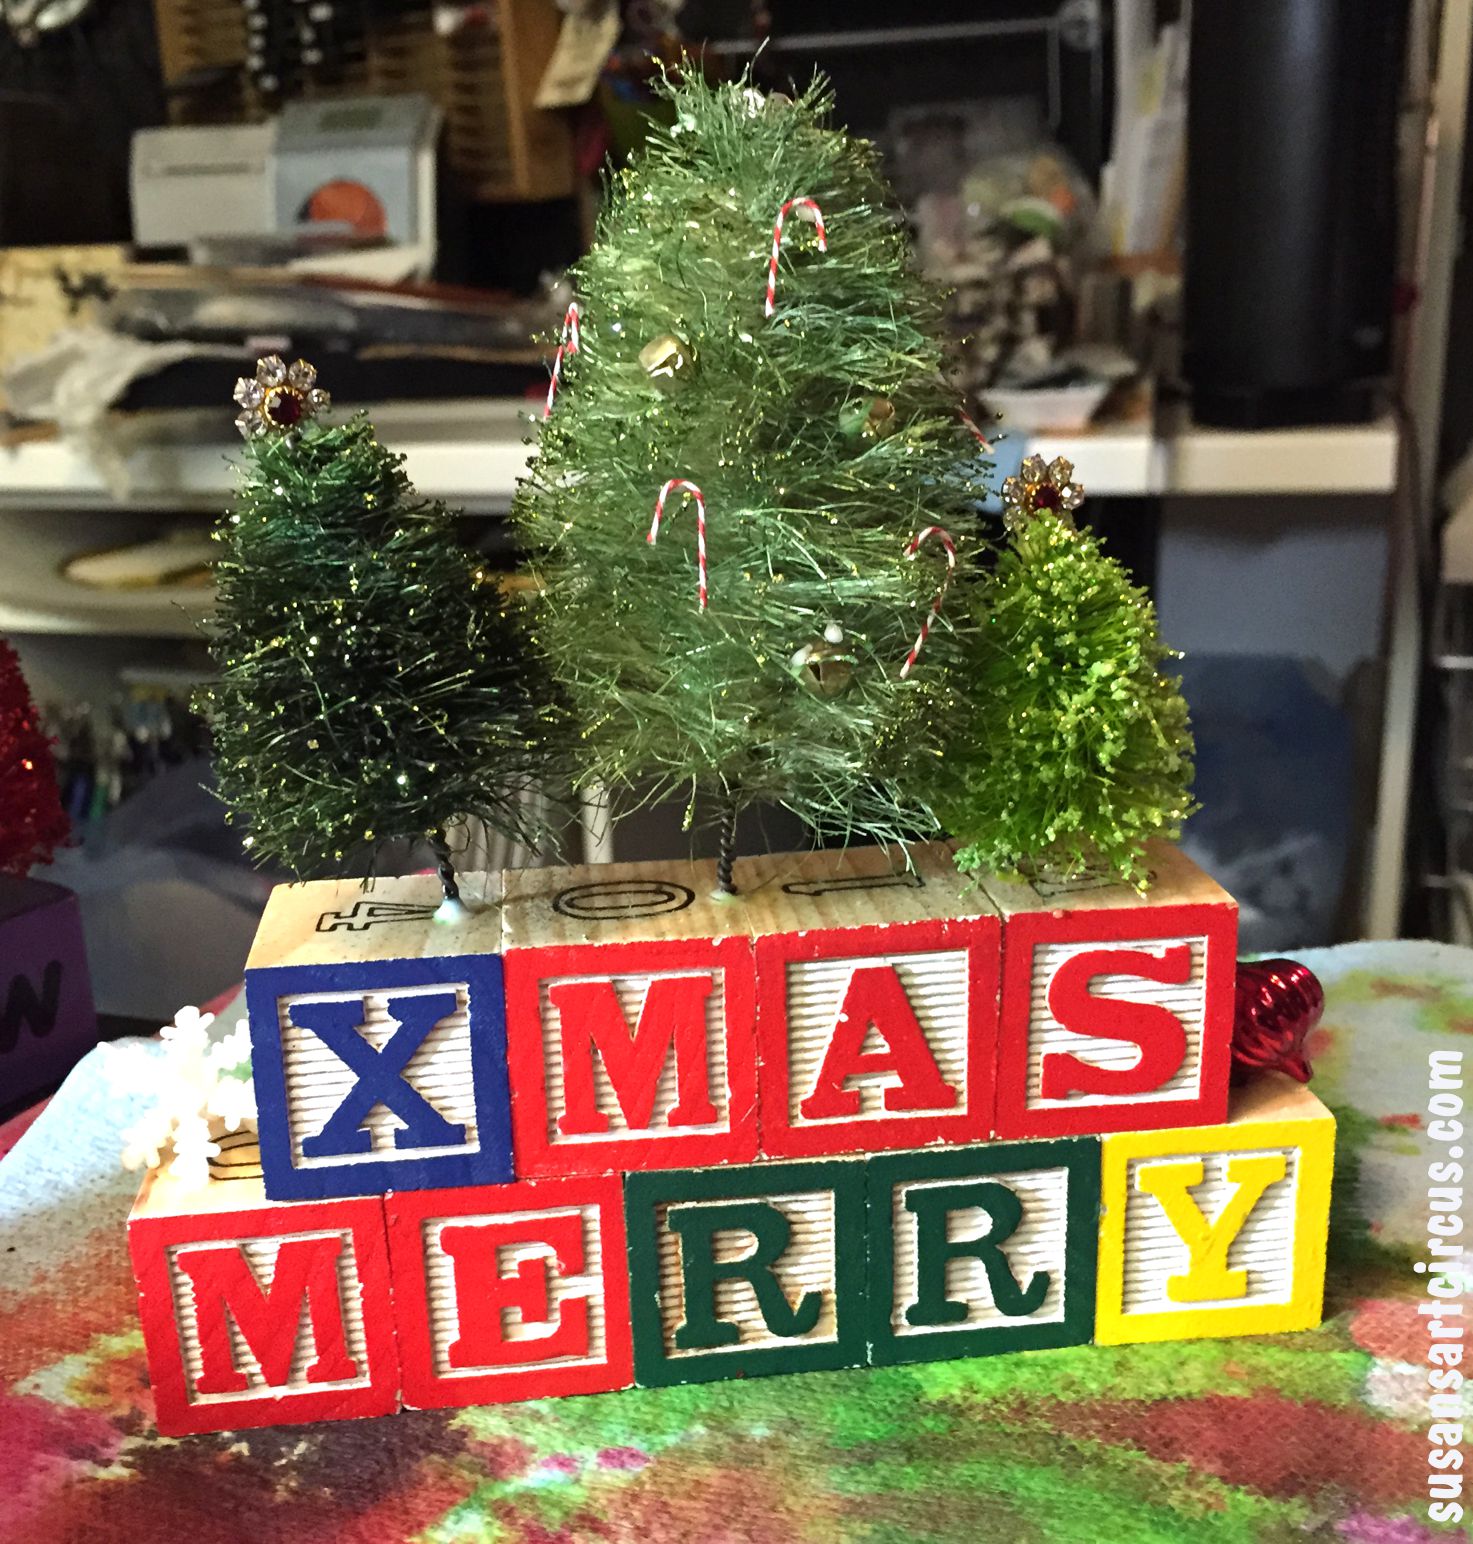
So where did I leave off…Oh yes…little beige sisal Christmas trees!
Aren’t they cute? Well they are about to get even cuter! How could we possibly leave sisal Christmas trees their natural color!?
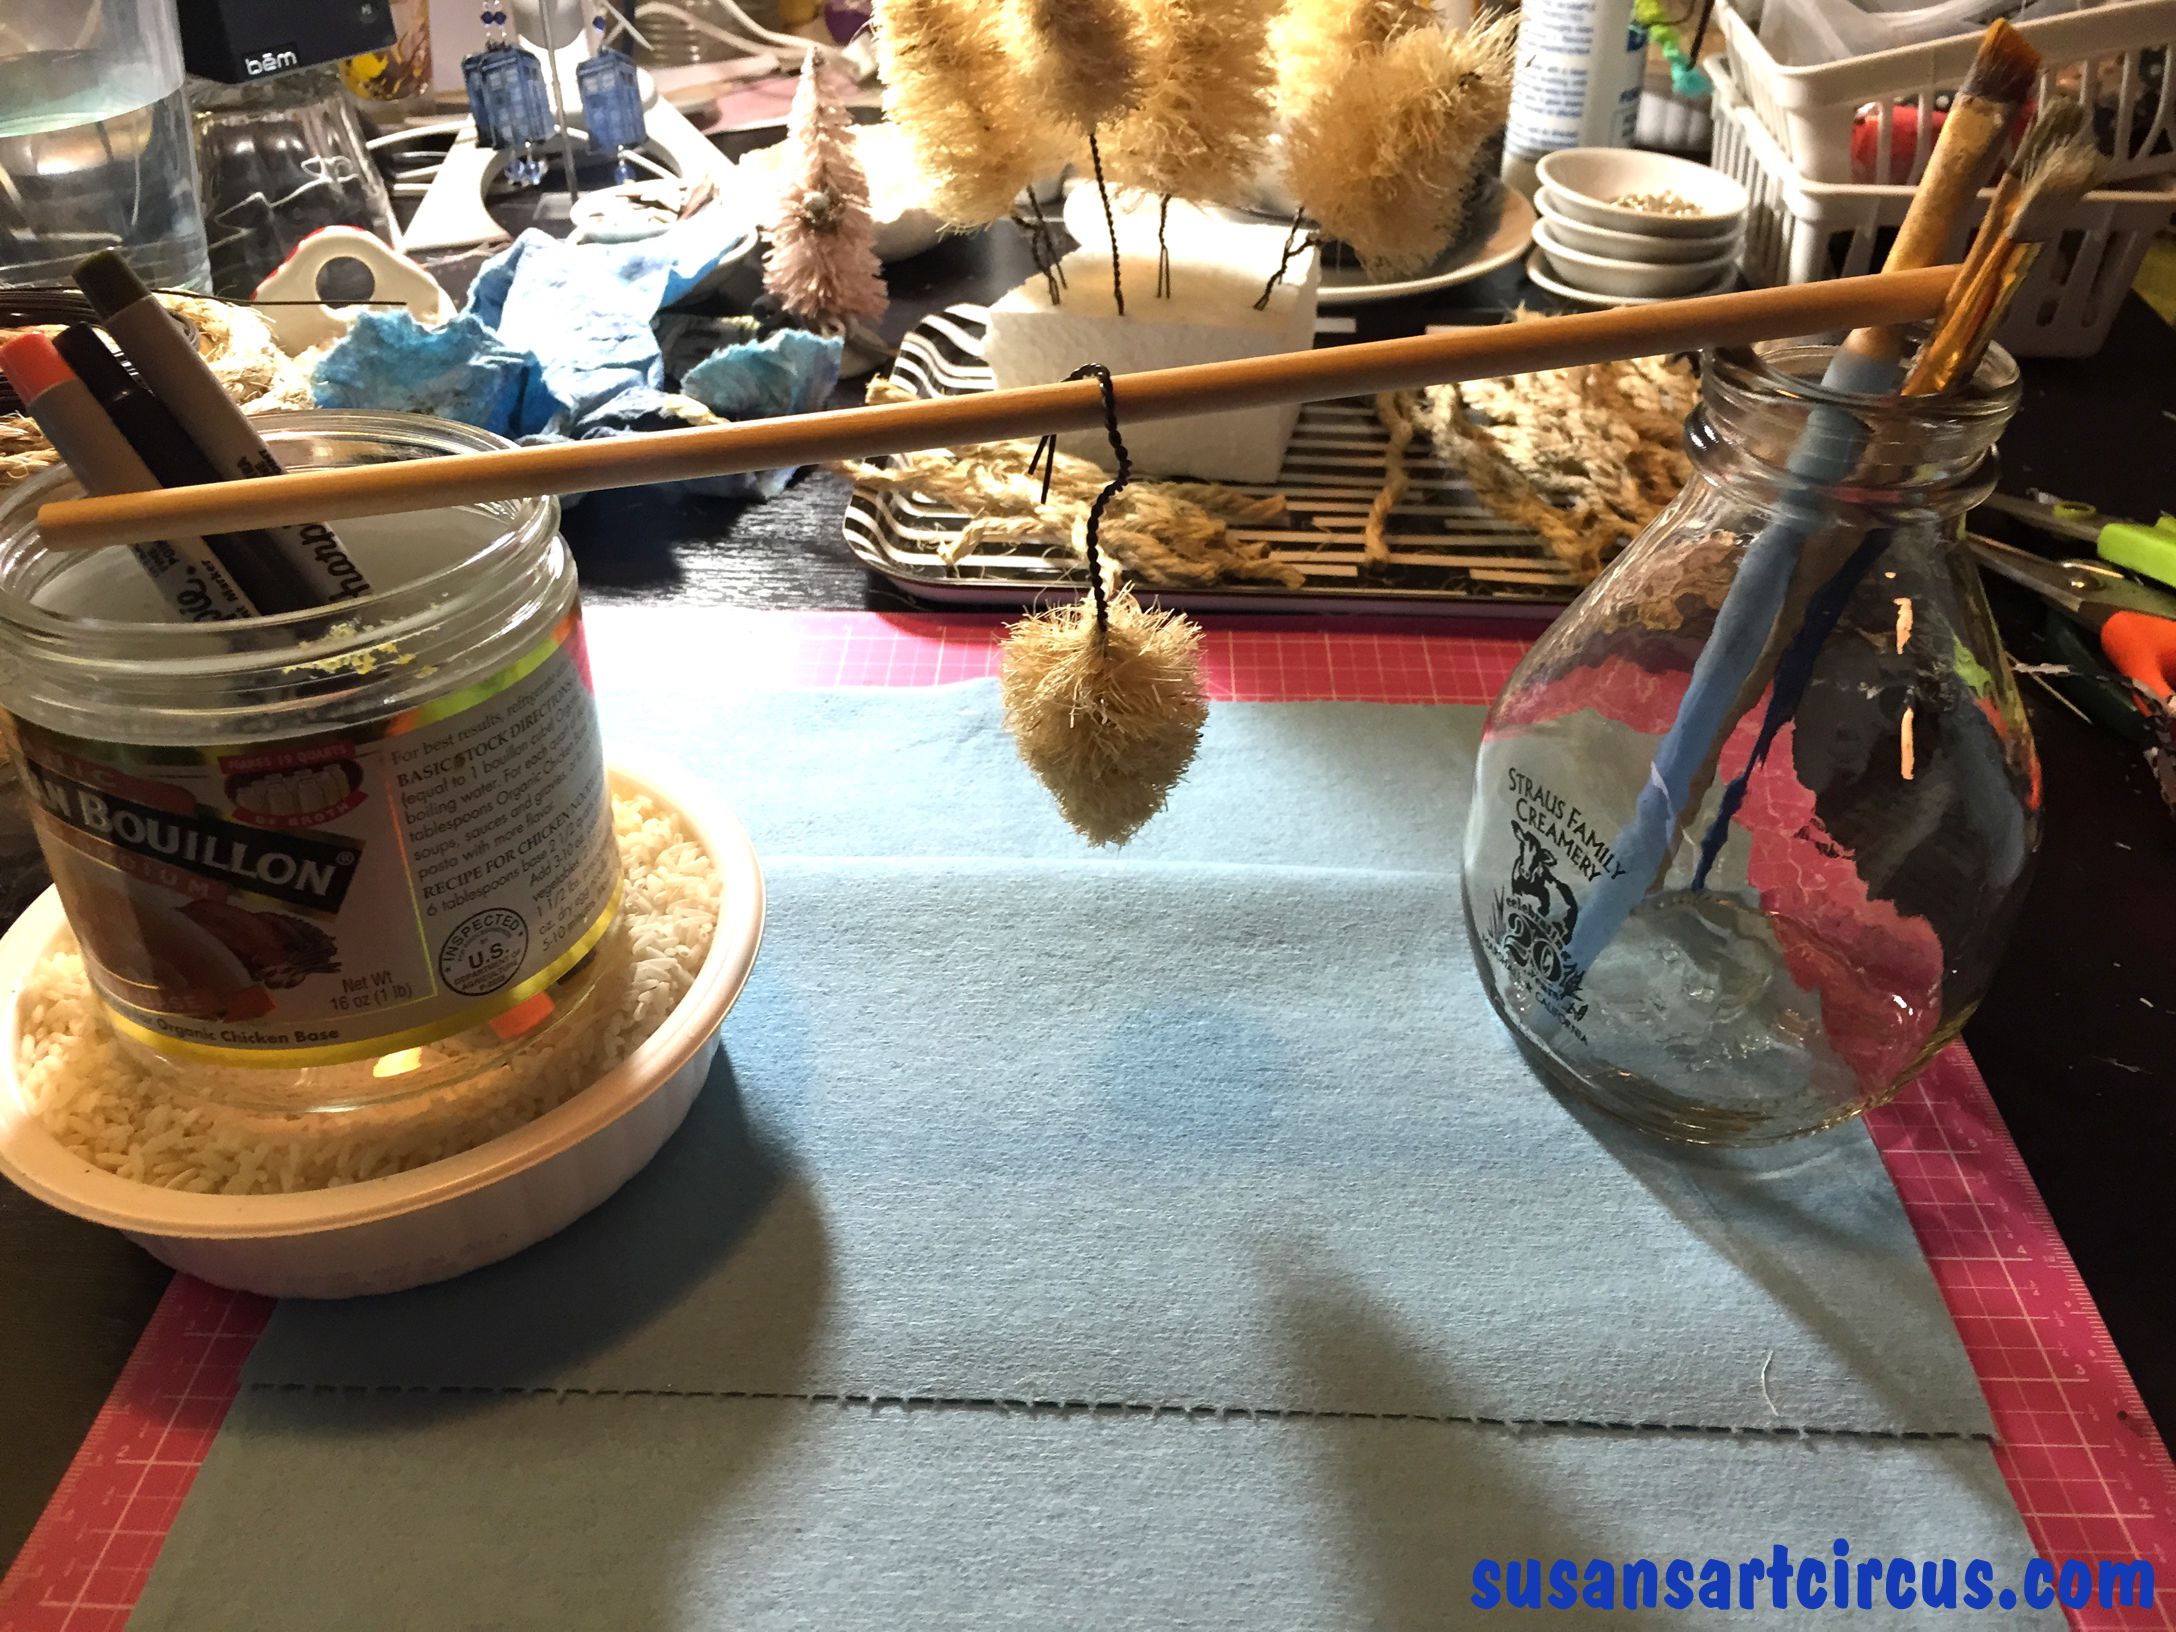
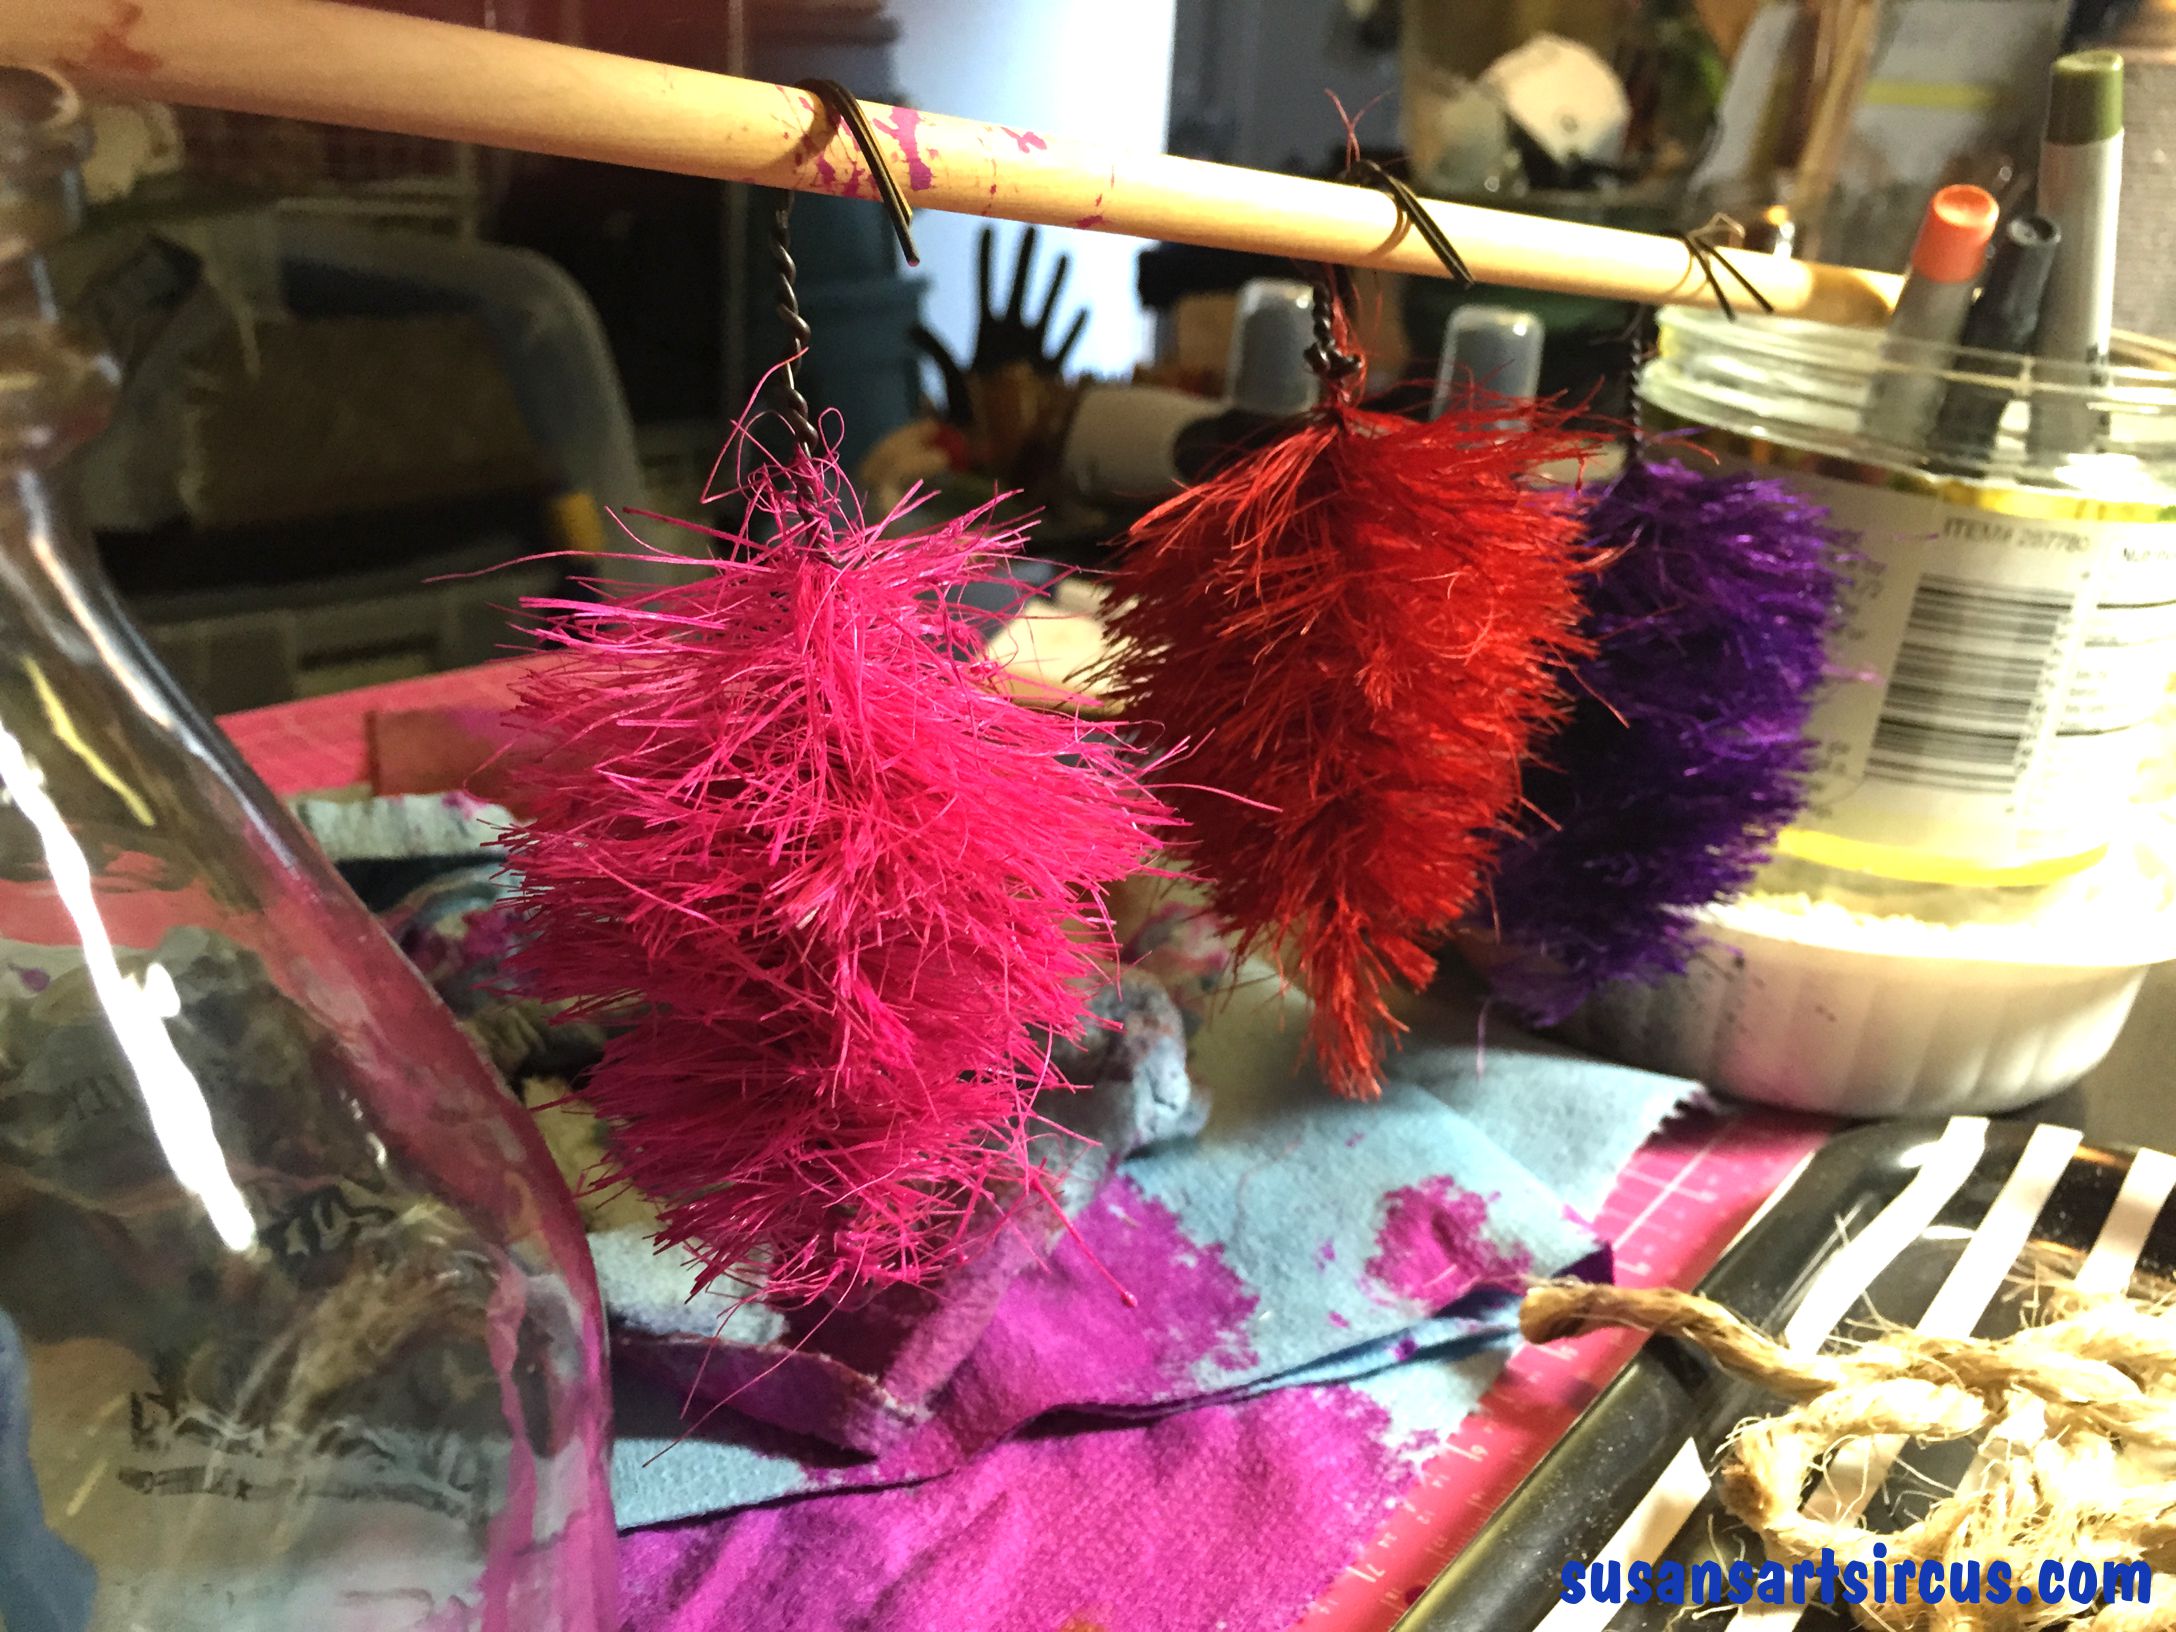
Now the tutorial I had originally read through used leather dyes to color their sisal Christmas trees. I don’t have any of that lying around. Nor do I have any Rit dyes but some of the information on the web asks for that. But I do have, and love, my Dyan Reaveley spray inks. They are the most lovely colors…deep, vibrant, saturated…but one word of warning. They are water soluble. Since I was making what I thought would probably be tree ornaments I’m not concerned that they will get wet. Still something to think about. I’m sure the leather or Rit is not water soluble in the same way so…
First I rigged up a dowel contraption so I could hang my wet trees to dry.
A loose dowel, a couple of jars, and some make shift pens and brushes to keep it from rolling off. Several paper towels to soak up anything dripping and I’m off to color…
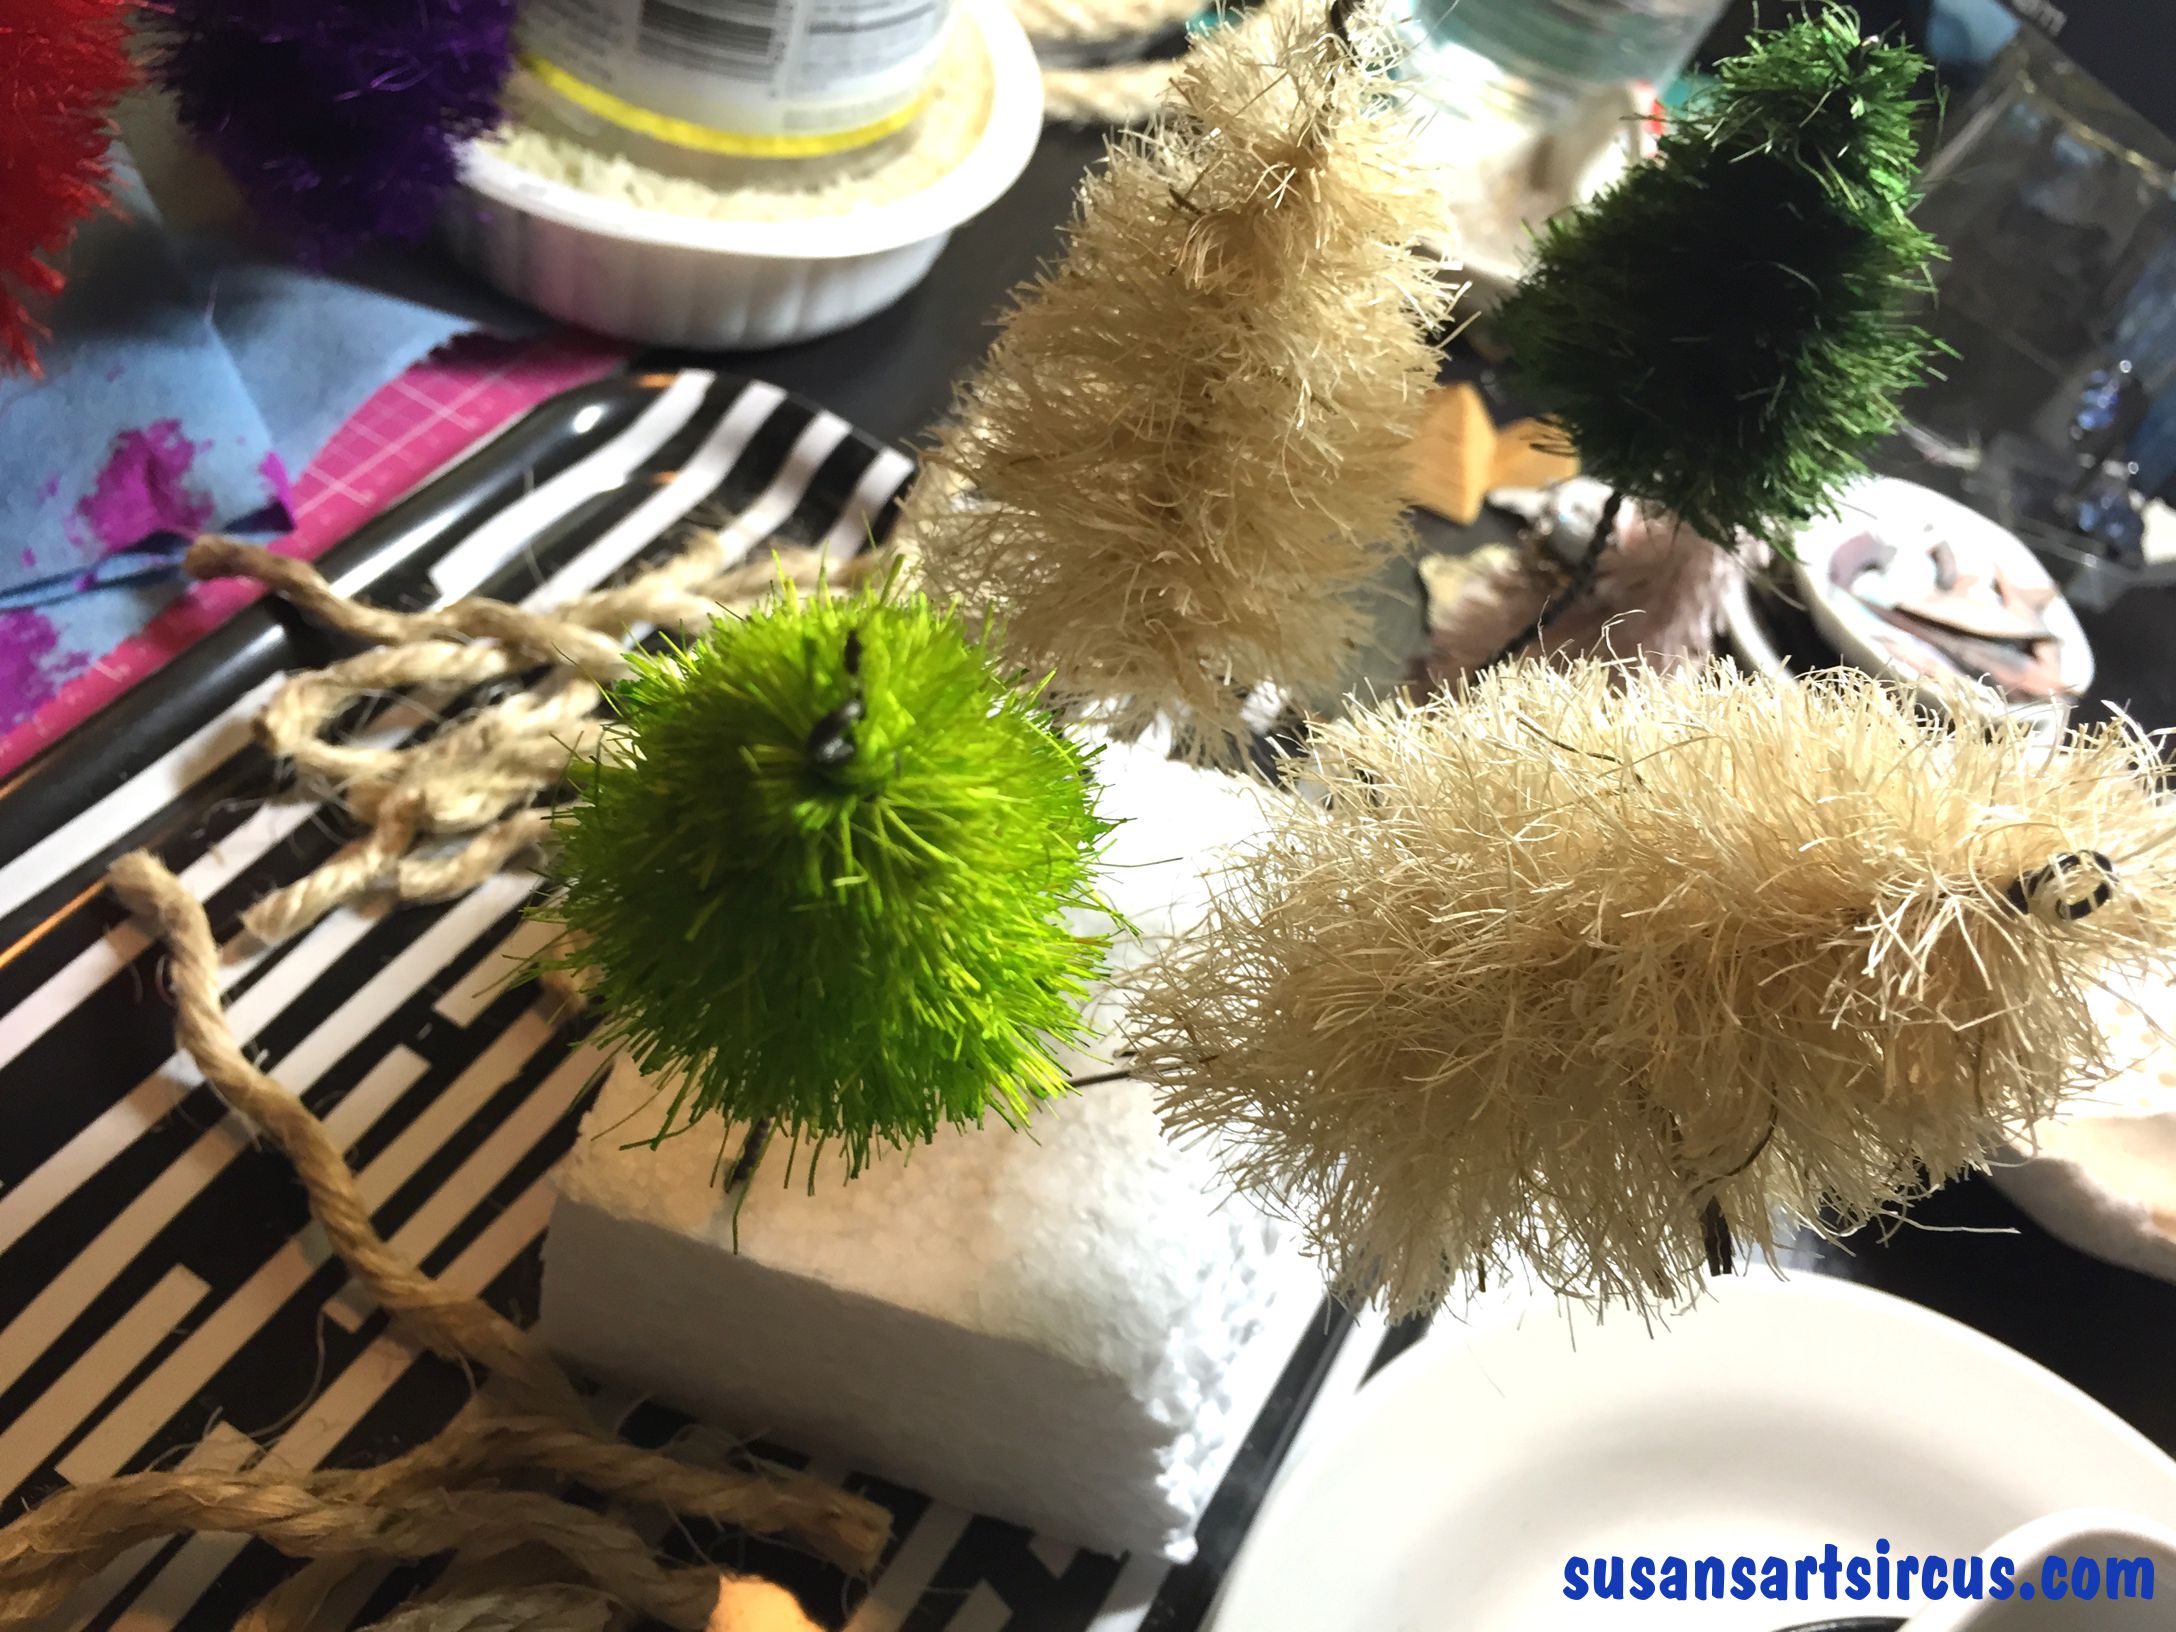
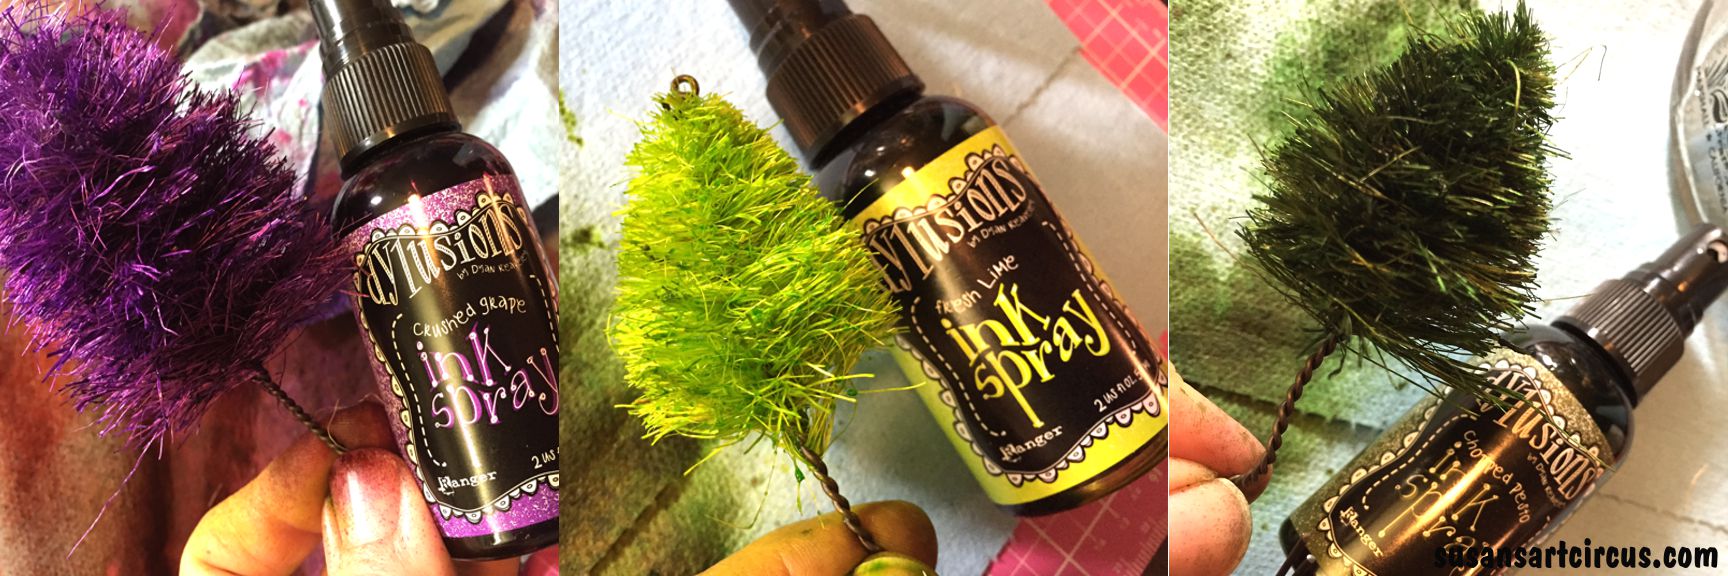
Oh yes!! Color!! Bright beautiful shades…and this is where this craft becomes obsessive.
These little sisal Christmas trees just took on a life of their own! The spray inks make all the difference. Once I got this far I knew I was hooked and had to make a bunch.
No color is too outlandish or too odd for these little trees! And just think of all the little tree scapes I can make! So exciting!!
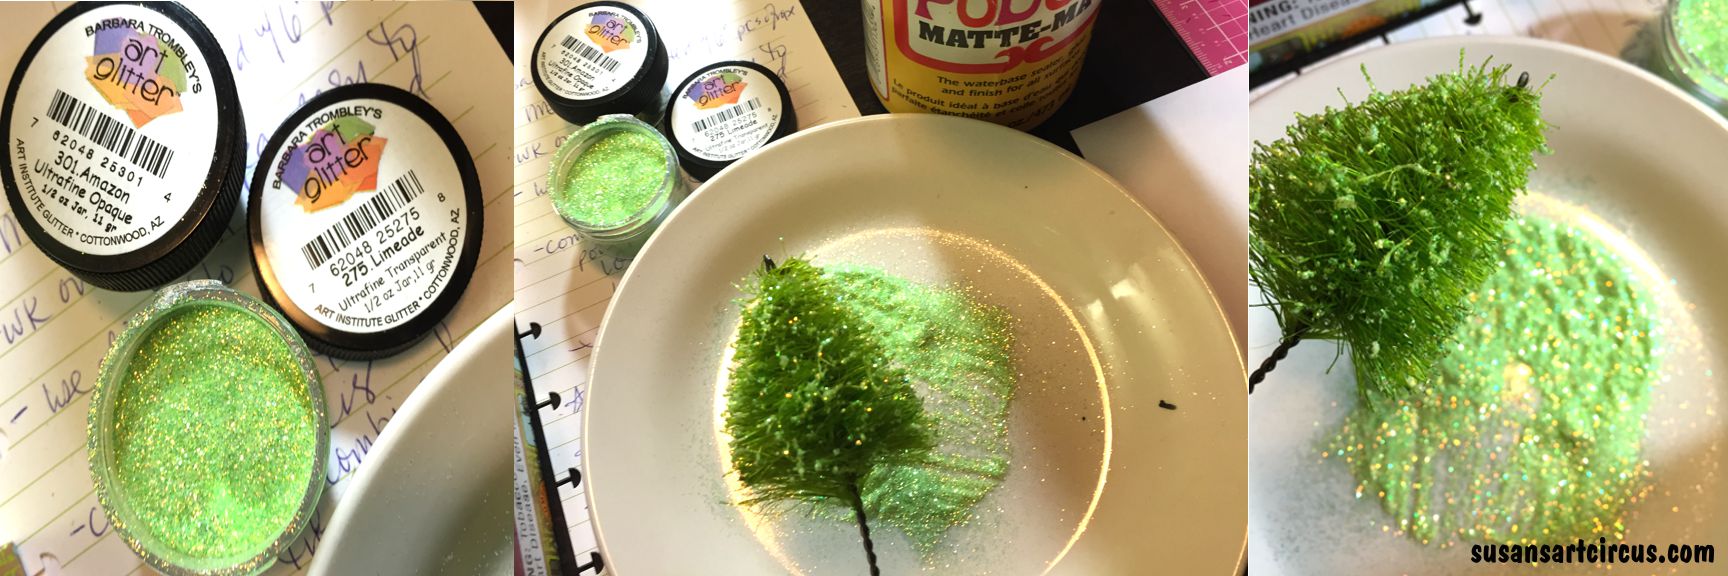
After they dry you can decorate them even further. I chose to use glitters for the next phase..
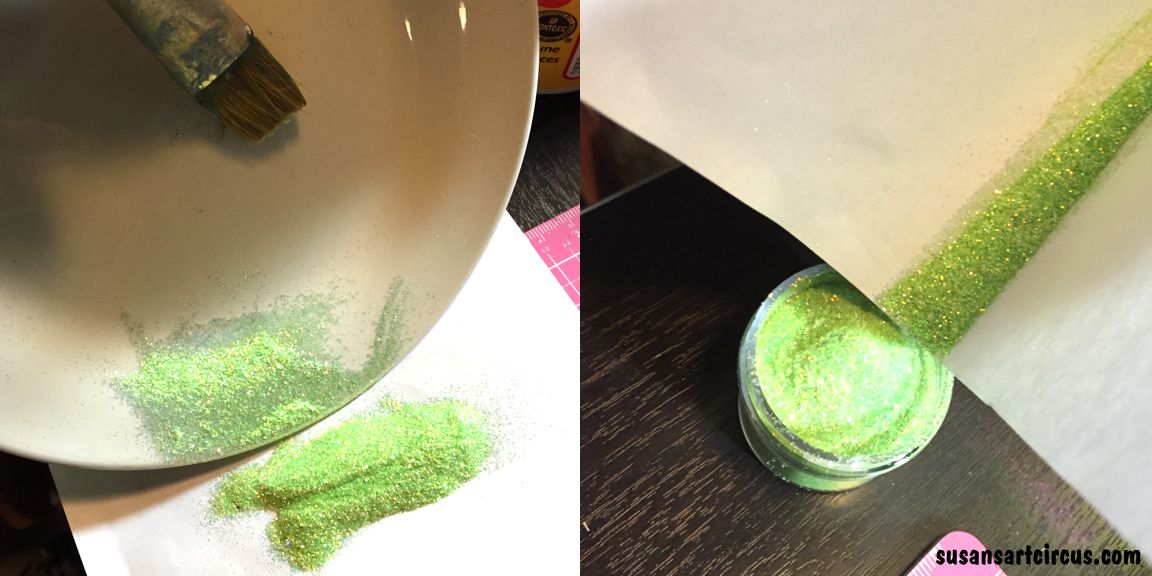
Pour your glitter into a flat plate or a sheet of paper kind of piled up into a small mountain. Using ModPodge or another craft glue and a small brush just graze the tips of your tree with the glue. Then dip the gluey tips into the mountain of glitter being sure you tap off to remove any unused glitter that may want to hang on. Repeat this until you get all the way around your tree.
Once you’re done with the glitter dump it onto a sheet of paper (or maybe that’s where you started) then fold into a sort of slide and dump your glitter back into the container. I had used a plate so I took a dry paintbrush to scrape off the glitter onto paper then folded it slightly to get it back in the jar. Needless to say after half a dozen trees I had glitter on my hands, face, clothing, and shed a glitter trail while I walked around the house!
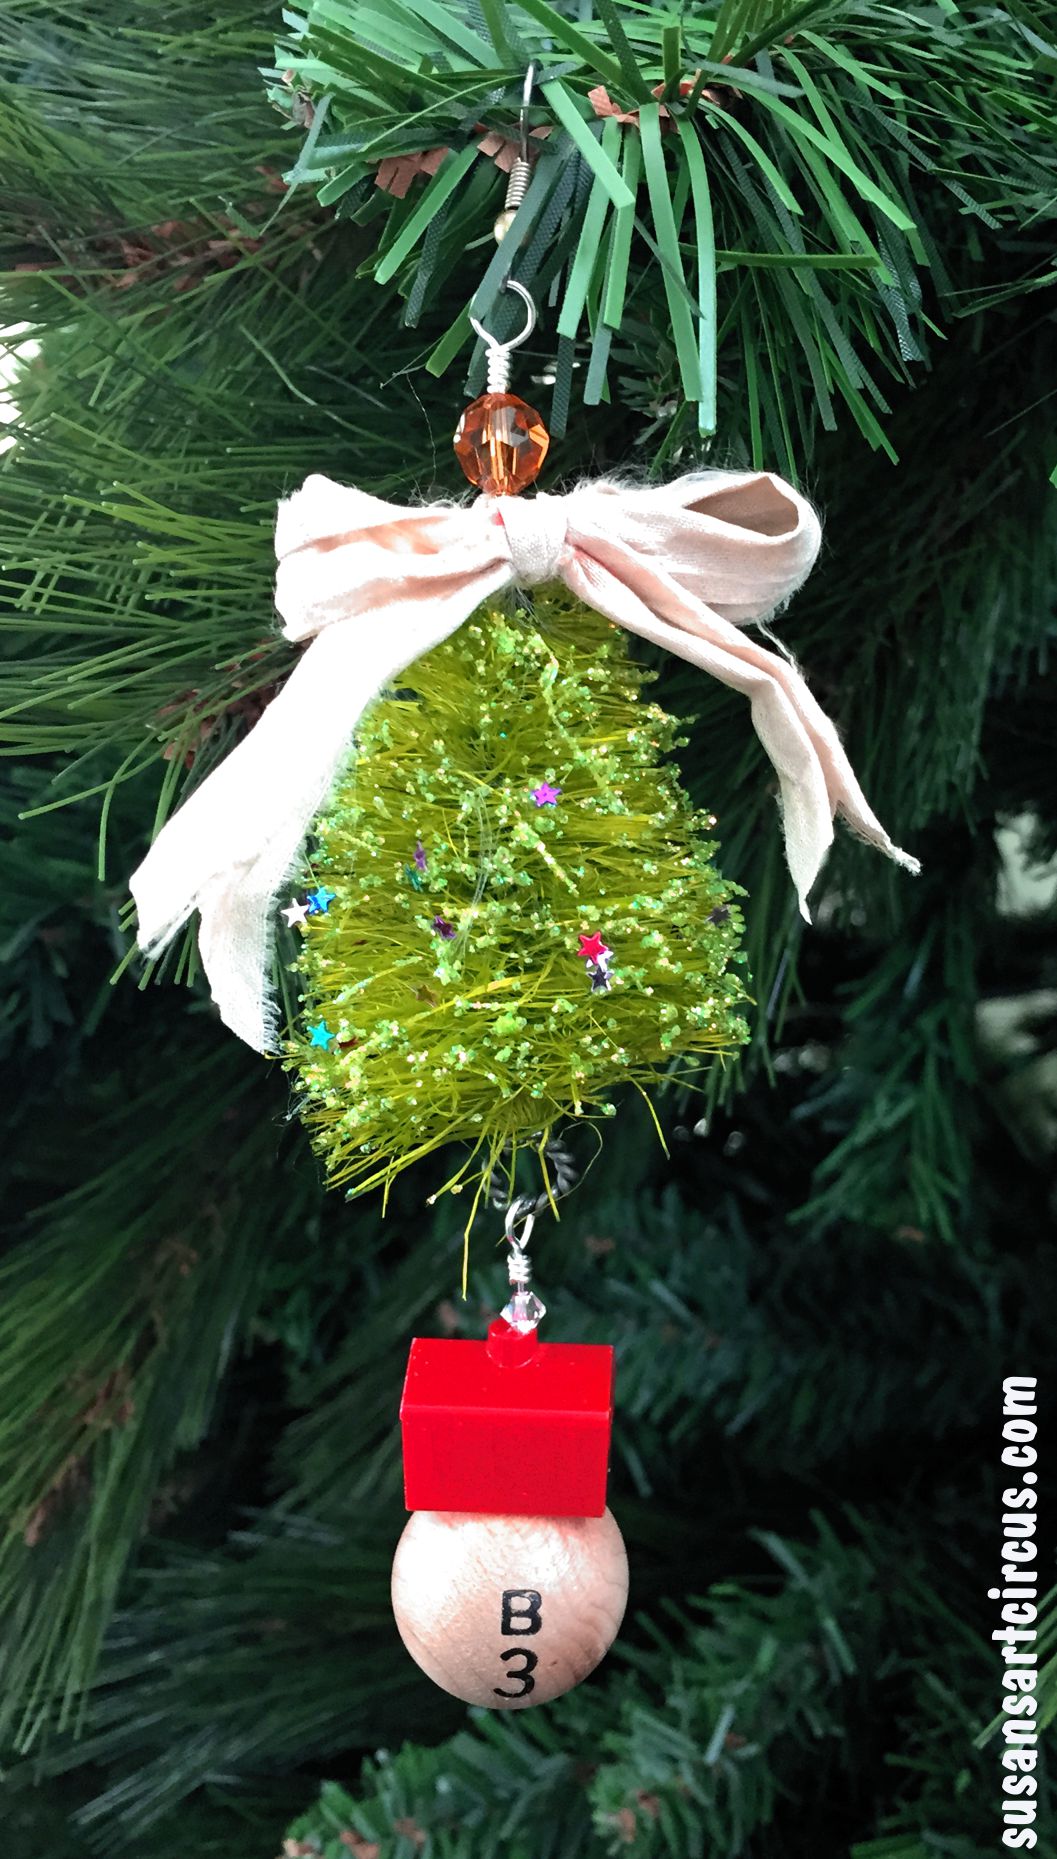
And now the great reveal…
Isn’t this adorable? This one is for us. The family name is Beverly so the vintage bingo ball at the bottom fits perfectly.
Shhh…but this one is a gift for new neighbors. They just moved in maybe a month ago so we thought they might like something for their first Christmas in their new home.
And this is almost complete and in my living room I took it’s picture before I had a chance to add the ribbons and a couple other things.
I hope you’ll think about making some of these sisal Christmas trees for yourself. It’s a bit messy but oh so much fun! And if you do let me know!