Tag: charmingtrinkets
Gift From Etsy
Woo hoo!!
Look what came in the mail awhile back! I had forgotten to show it off but here it is…
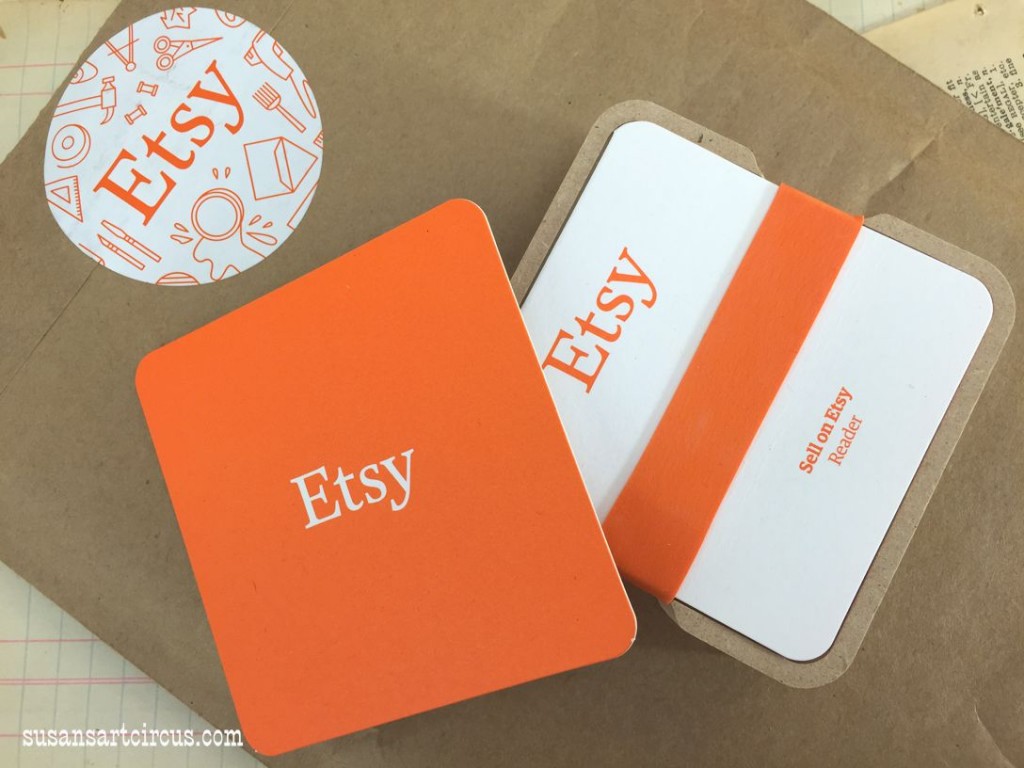
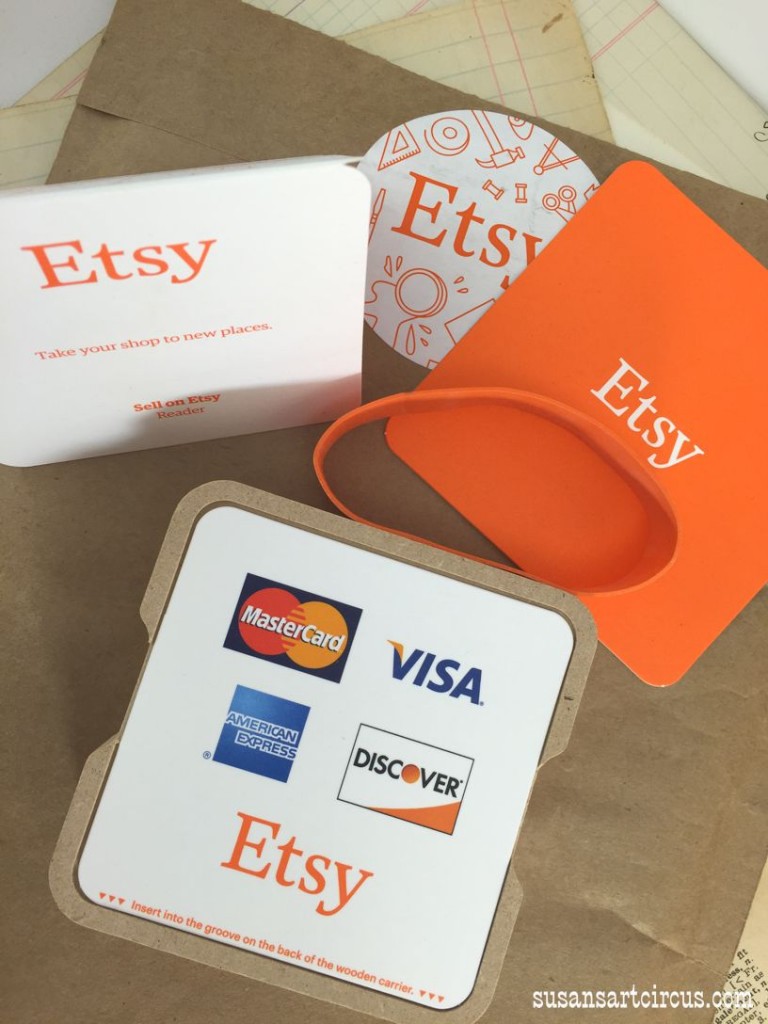
The new Etsy attachment that allows for payments to be taken with my smart phone!
This is how it came to me.. With it’s own really fabulous packaging. Great branding and something we all need to pay attention to. Huge sticker on the mailing envelope, cards with their logo…even the rubber band is their signature color!
And it gets better…
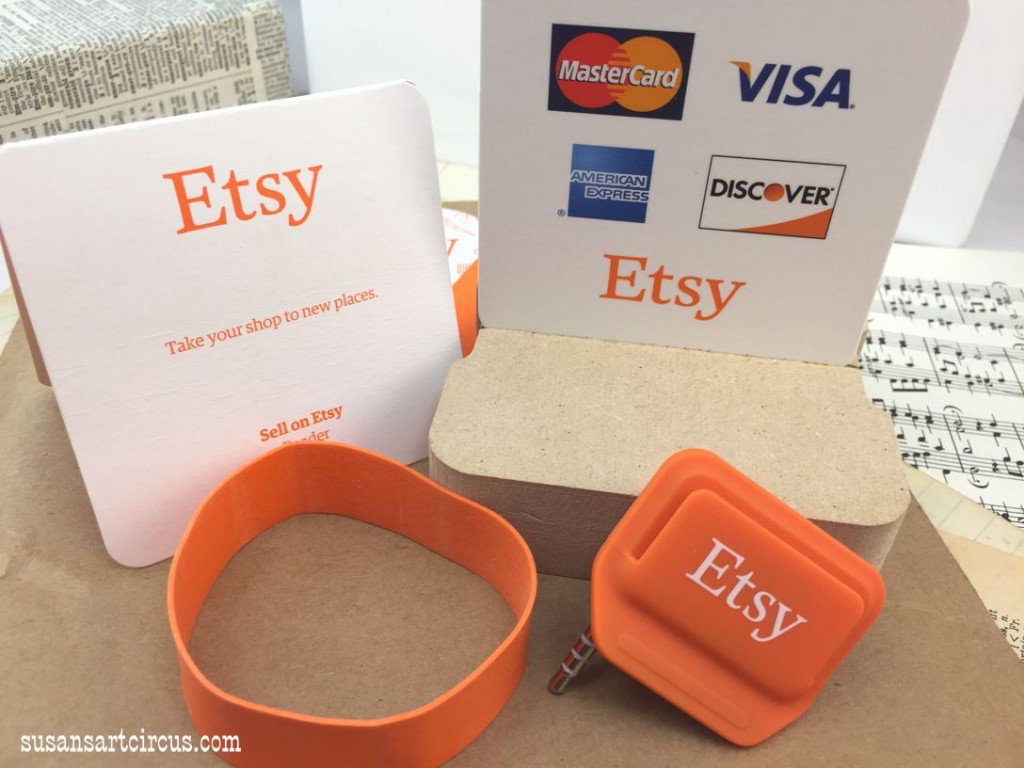
You can use all the cards in or on your show tables or booth. One folds into a table stand…and the box that holds the device…
…has a slit in it to hold the credit card sign!!! It’s a fabulous thing!! And it was free!
I have yet to try it out but I will and report back. If you have a shop on Etsy you should ask for one of these! It never hurts to try new things!
Until next time,
Susan
Polyvore Collage Play!
Today has currently been spent playing and making Polyvore collage pictures. Do you know what that is? I call Polyvore an aggregate app or a place that stores tons of information, photos, and tools pulled from many sites all over the web and keeps them all in one place. Then you and I can go in there and pull out the pieces that we like and put them into these fun Polyvore collages. Like the one above. You can even add text and other elements for a great graphic effect.
When I was finished with this collage it allowed me to copy and paste the html code so it would show up here. Now if you click on the picture you will be taken to Polyvore where it will show you the link to purchase. Pretty nifty! You can then purchase directly by clicking those links…if anything appeals to you. And the best part is they are linked to my supply shop on Etsy. I think that’s very cool! It makes me think of a million ways to use Polyvore collage boards for other aspects of my business.
Polyvore could be a great tool for anyone who blogs or reps their own creations. Membership to play is free and you can also poke around and follow other folks you might know who are making Polyvore collages too! (like me!)
So go on over and give it a try! Then come back and put your links in the comments so I can see what you chose for your Polyvore collage!
Until next time,
Susan
Ice Resin Play: Molding Putty Part 2
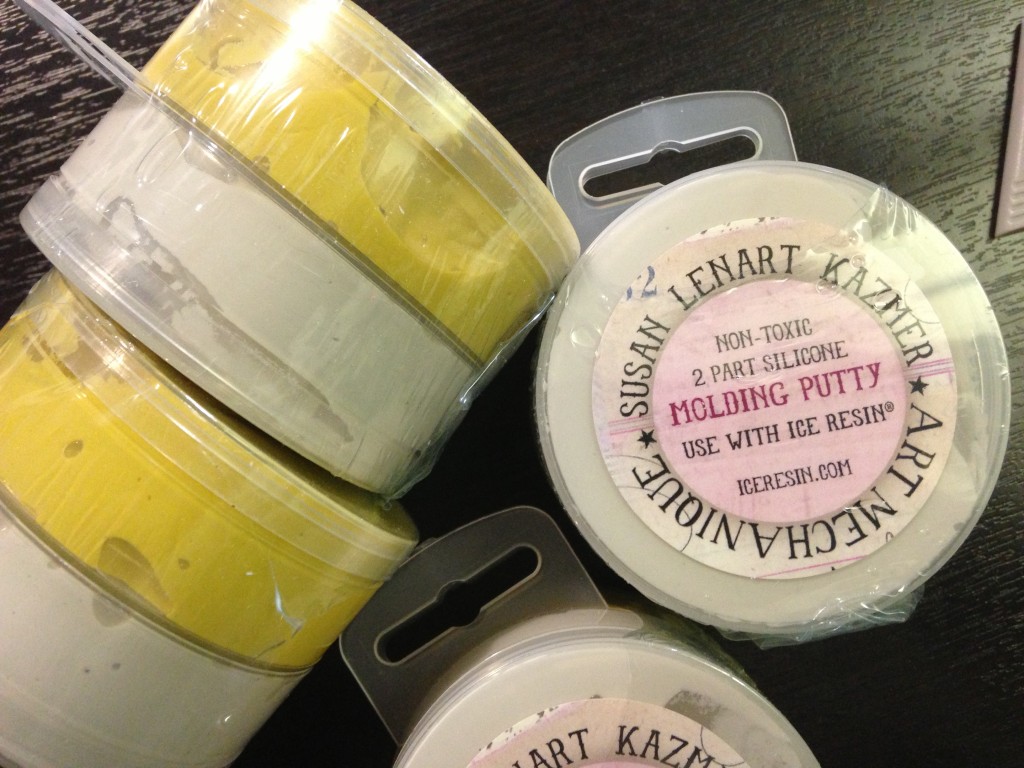
So last time we found out what molding putty is and the very basics of how you use it. Now let’s get a little more in depth.
How can I make the molding putty into something I can use? How does the molding putty make a mold?
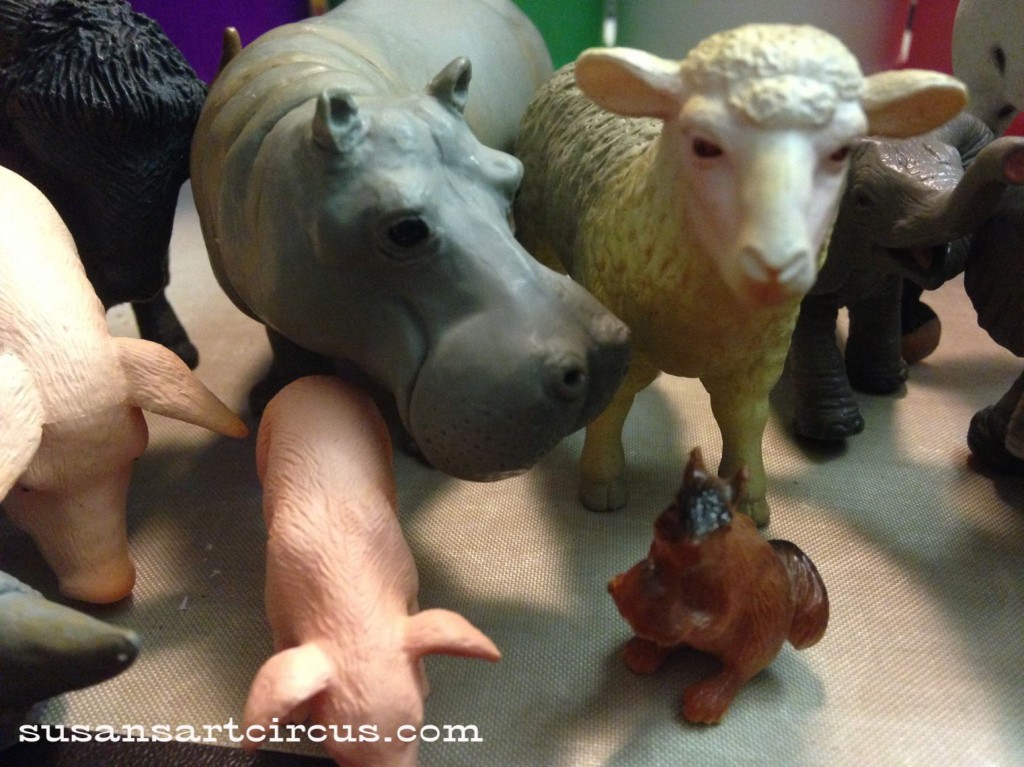
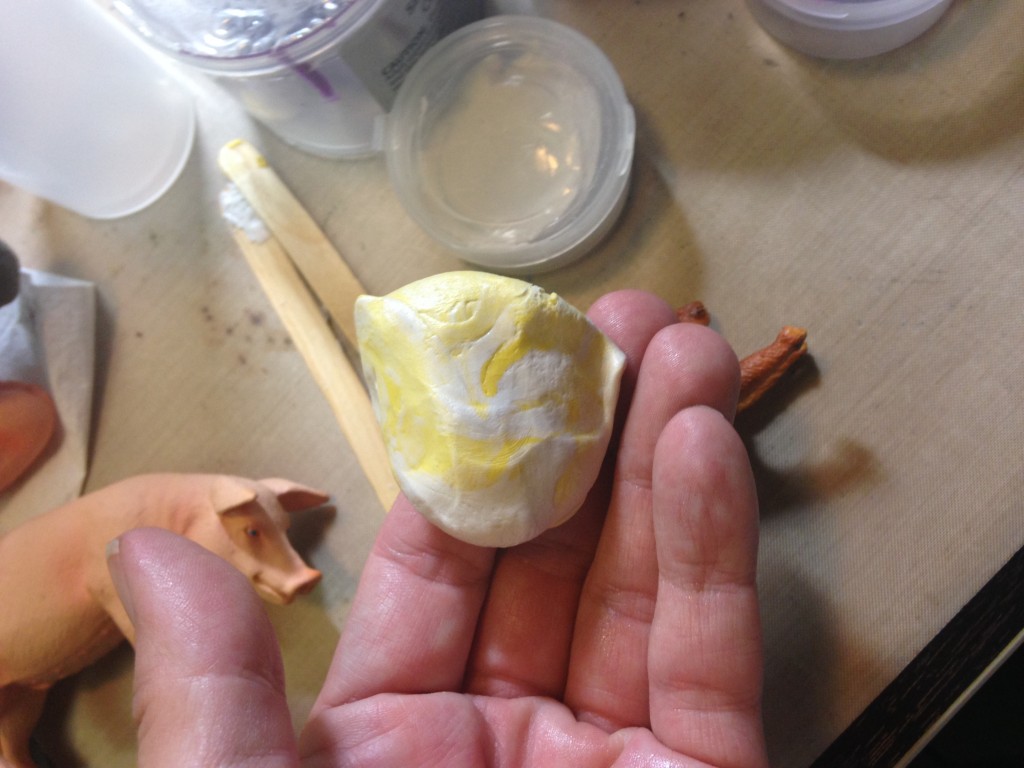
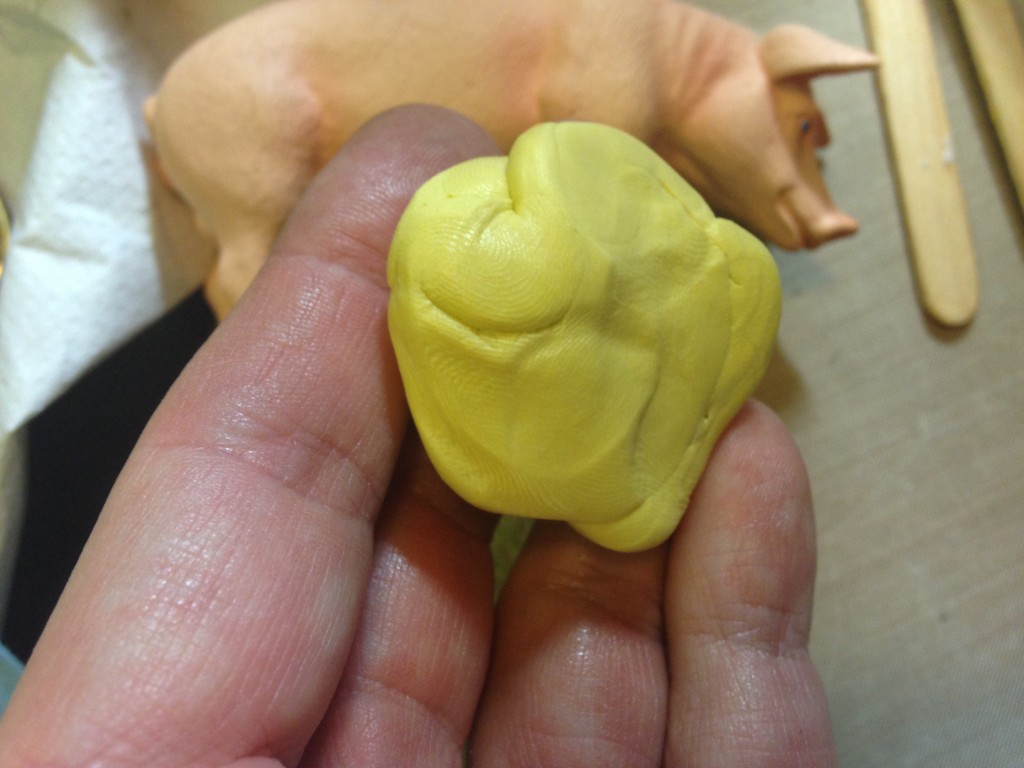
Well…let’s see…we left off with mixed molding putty ready to go so say hello my zoo…
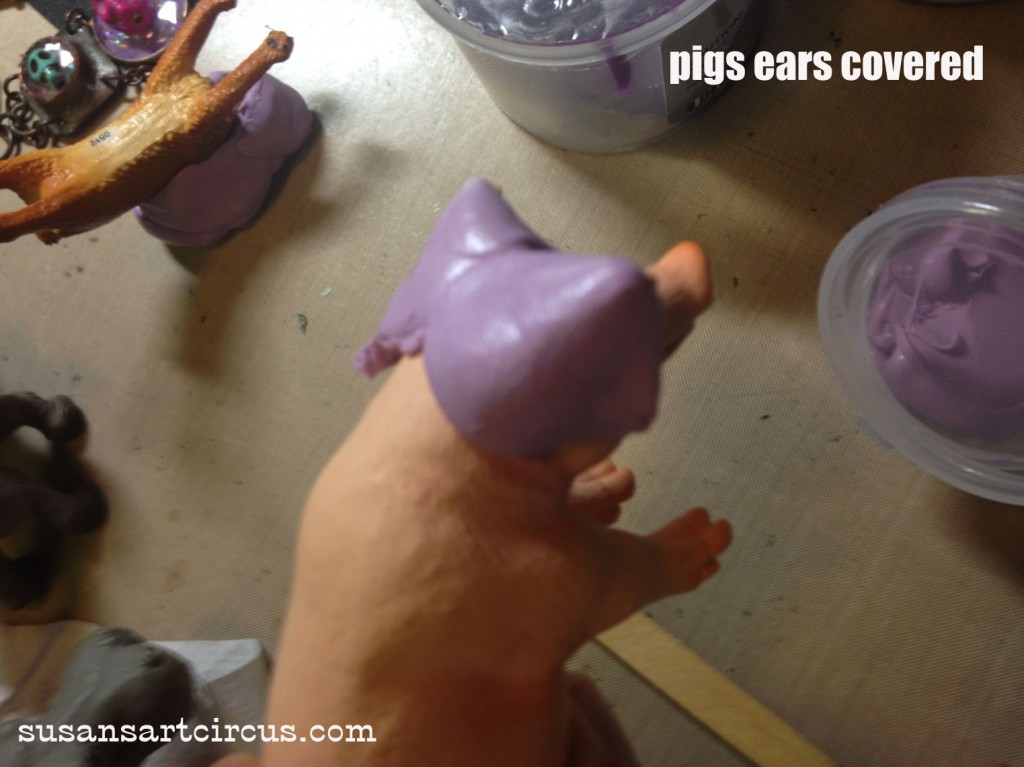
I’m starting to hoard small cute plastic animals. Yes, I can’t help myself. But they make the perfect molding subject matter…let’s start with the big piggy there on the left…
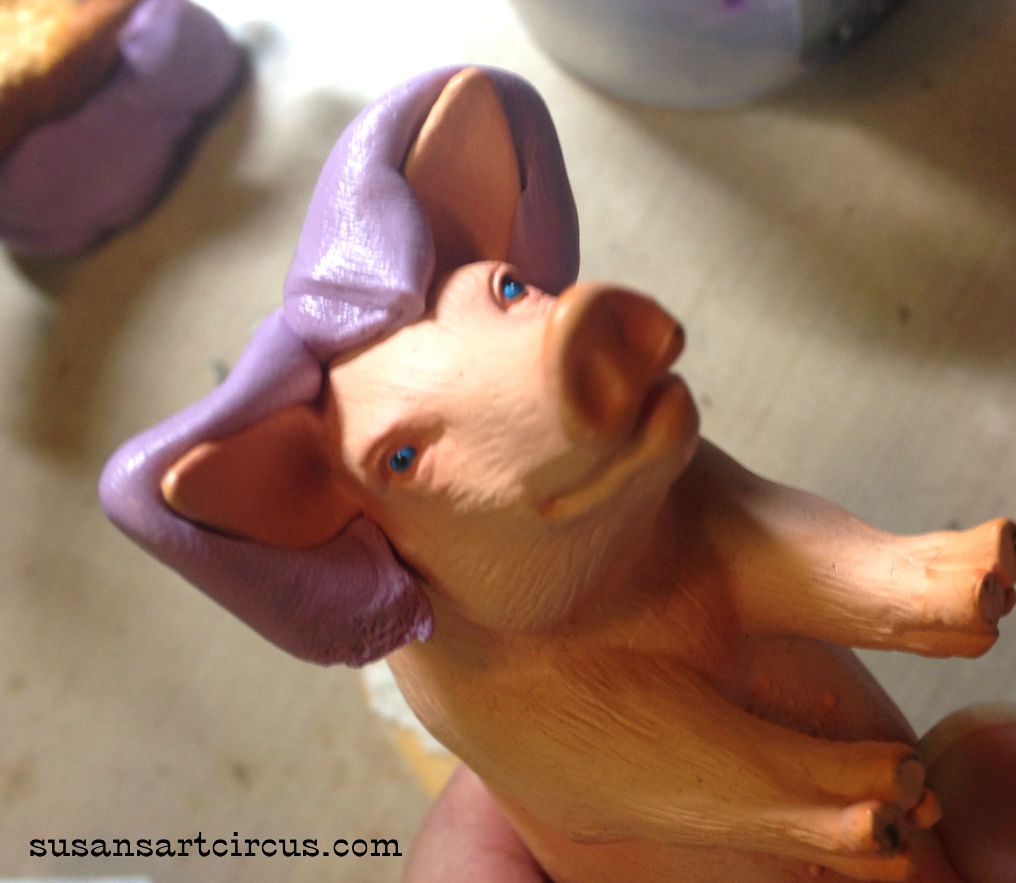
Now you have to work pretty fast but you also want to make sure that the parts of the animals, the ears and snout in this case, are covered well to get a good mold. The molding putty will adhere to itself as you go but, again, you have to work quickly.
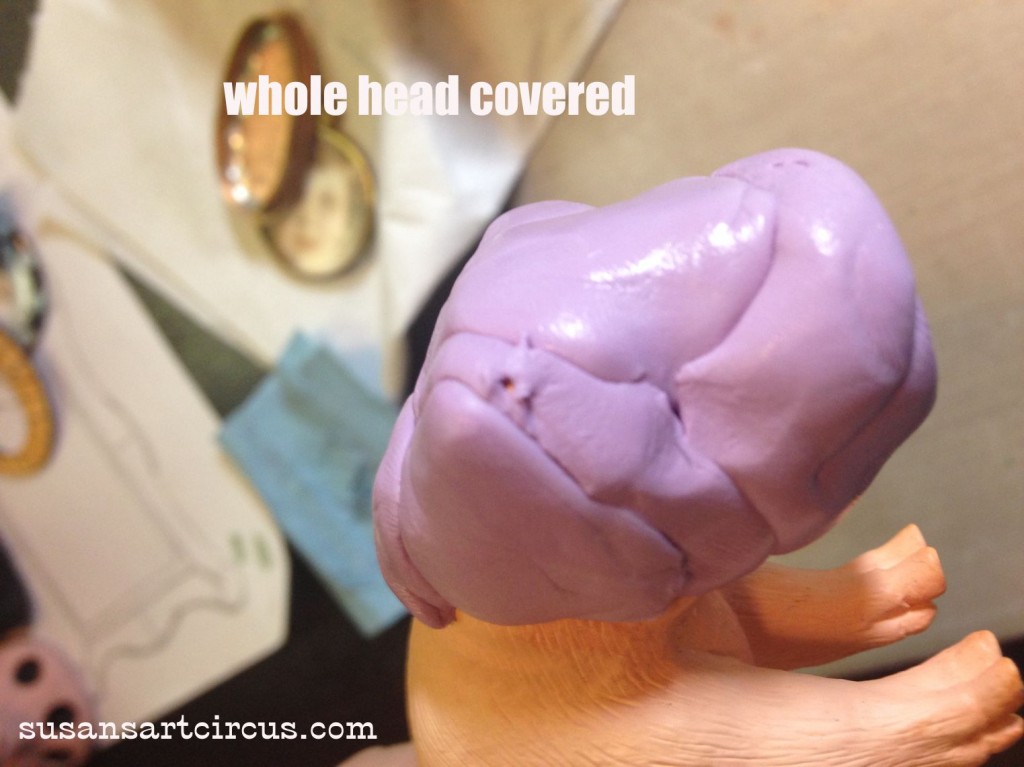
Here is Mr. Piggy with his whole head covered and ready to cure.
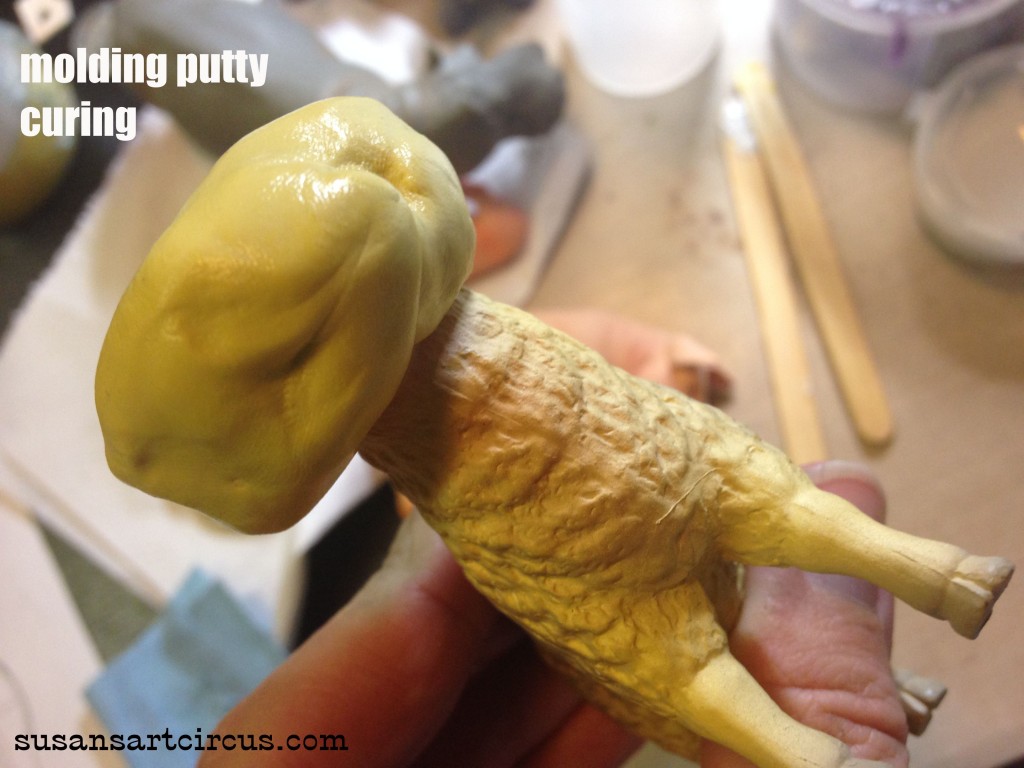
…and my sheep was done in the same manner.
Now comes the hard part…you have to wait. Only about 15 minutes or once you can’t leave an imprint with a finger nail pressed into the molding putty. He’s curing so leave him alone!
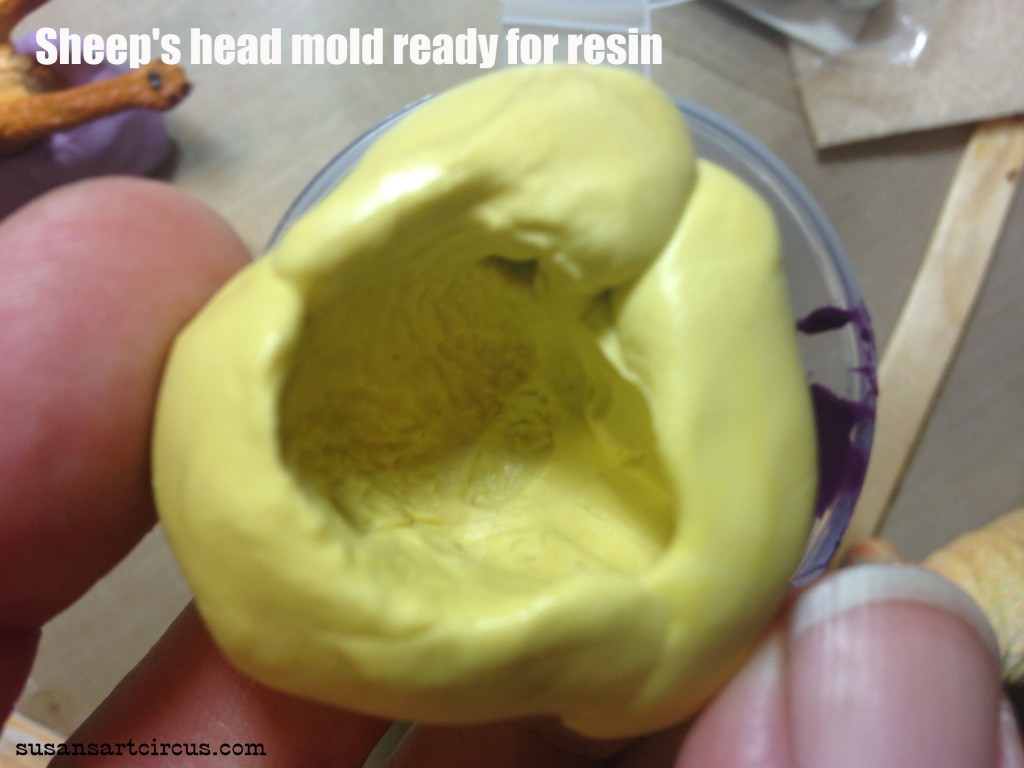
After the time has passed just gently wiggle the molding putty to loosen it around the head. If necessary pull it back from the sides and slide it off around the ears and nose. Careful! You don’t want to tear the mold. I’ve done that from being too anxious to see what I’ve molded. And here is what my sheep mold look like!
See all that detail? All the fur swirls and eyes? Next time we will pour some resin in it!
Happy cre8ing!!
