Please note that as of July 2026 I have removed all items for sale. I'm working over my inventory so please hang on and come back soon for new things!! Dismiss
Inspired by another artist I decided to make some of those little sisal Christmas trees this year. Of course you can buy bags of sisal trees but I needed to make them from scratch. (of course)
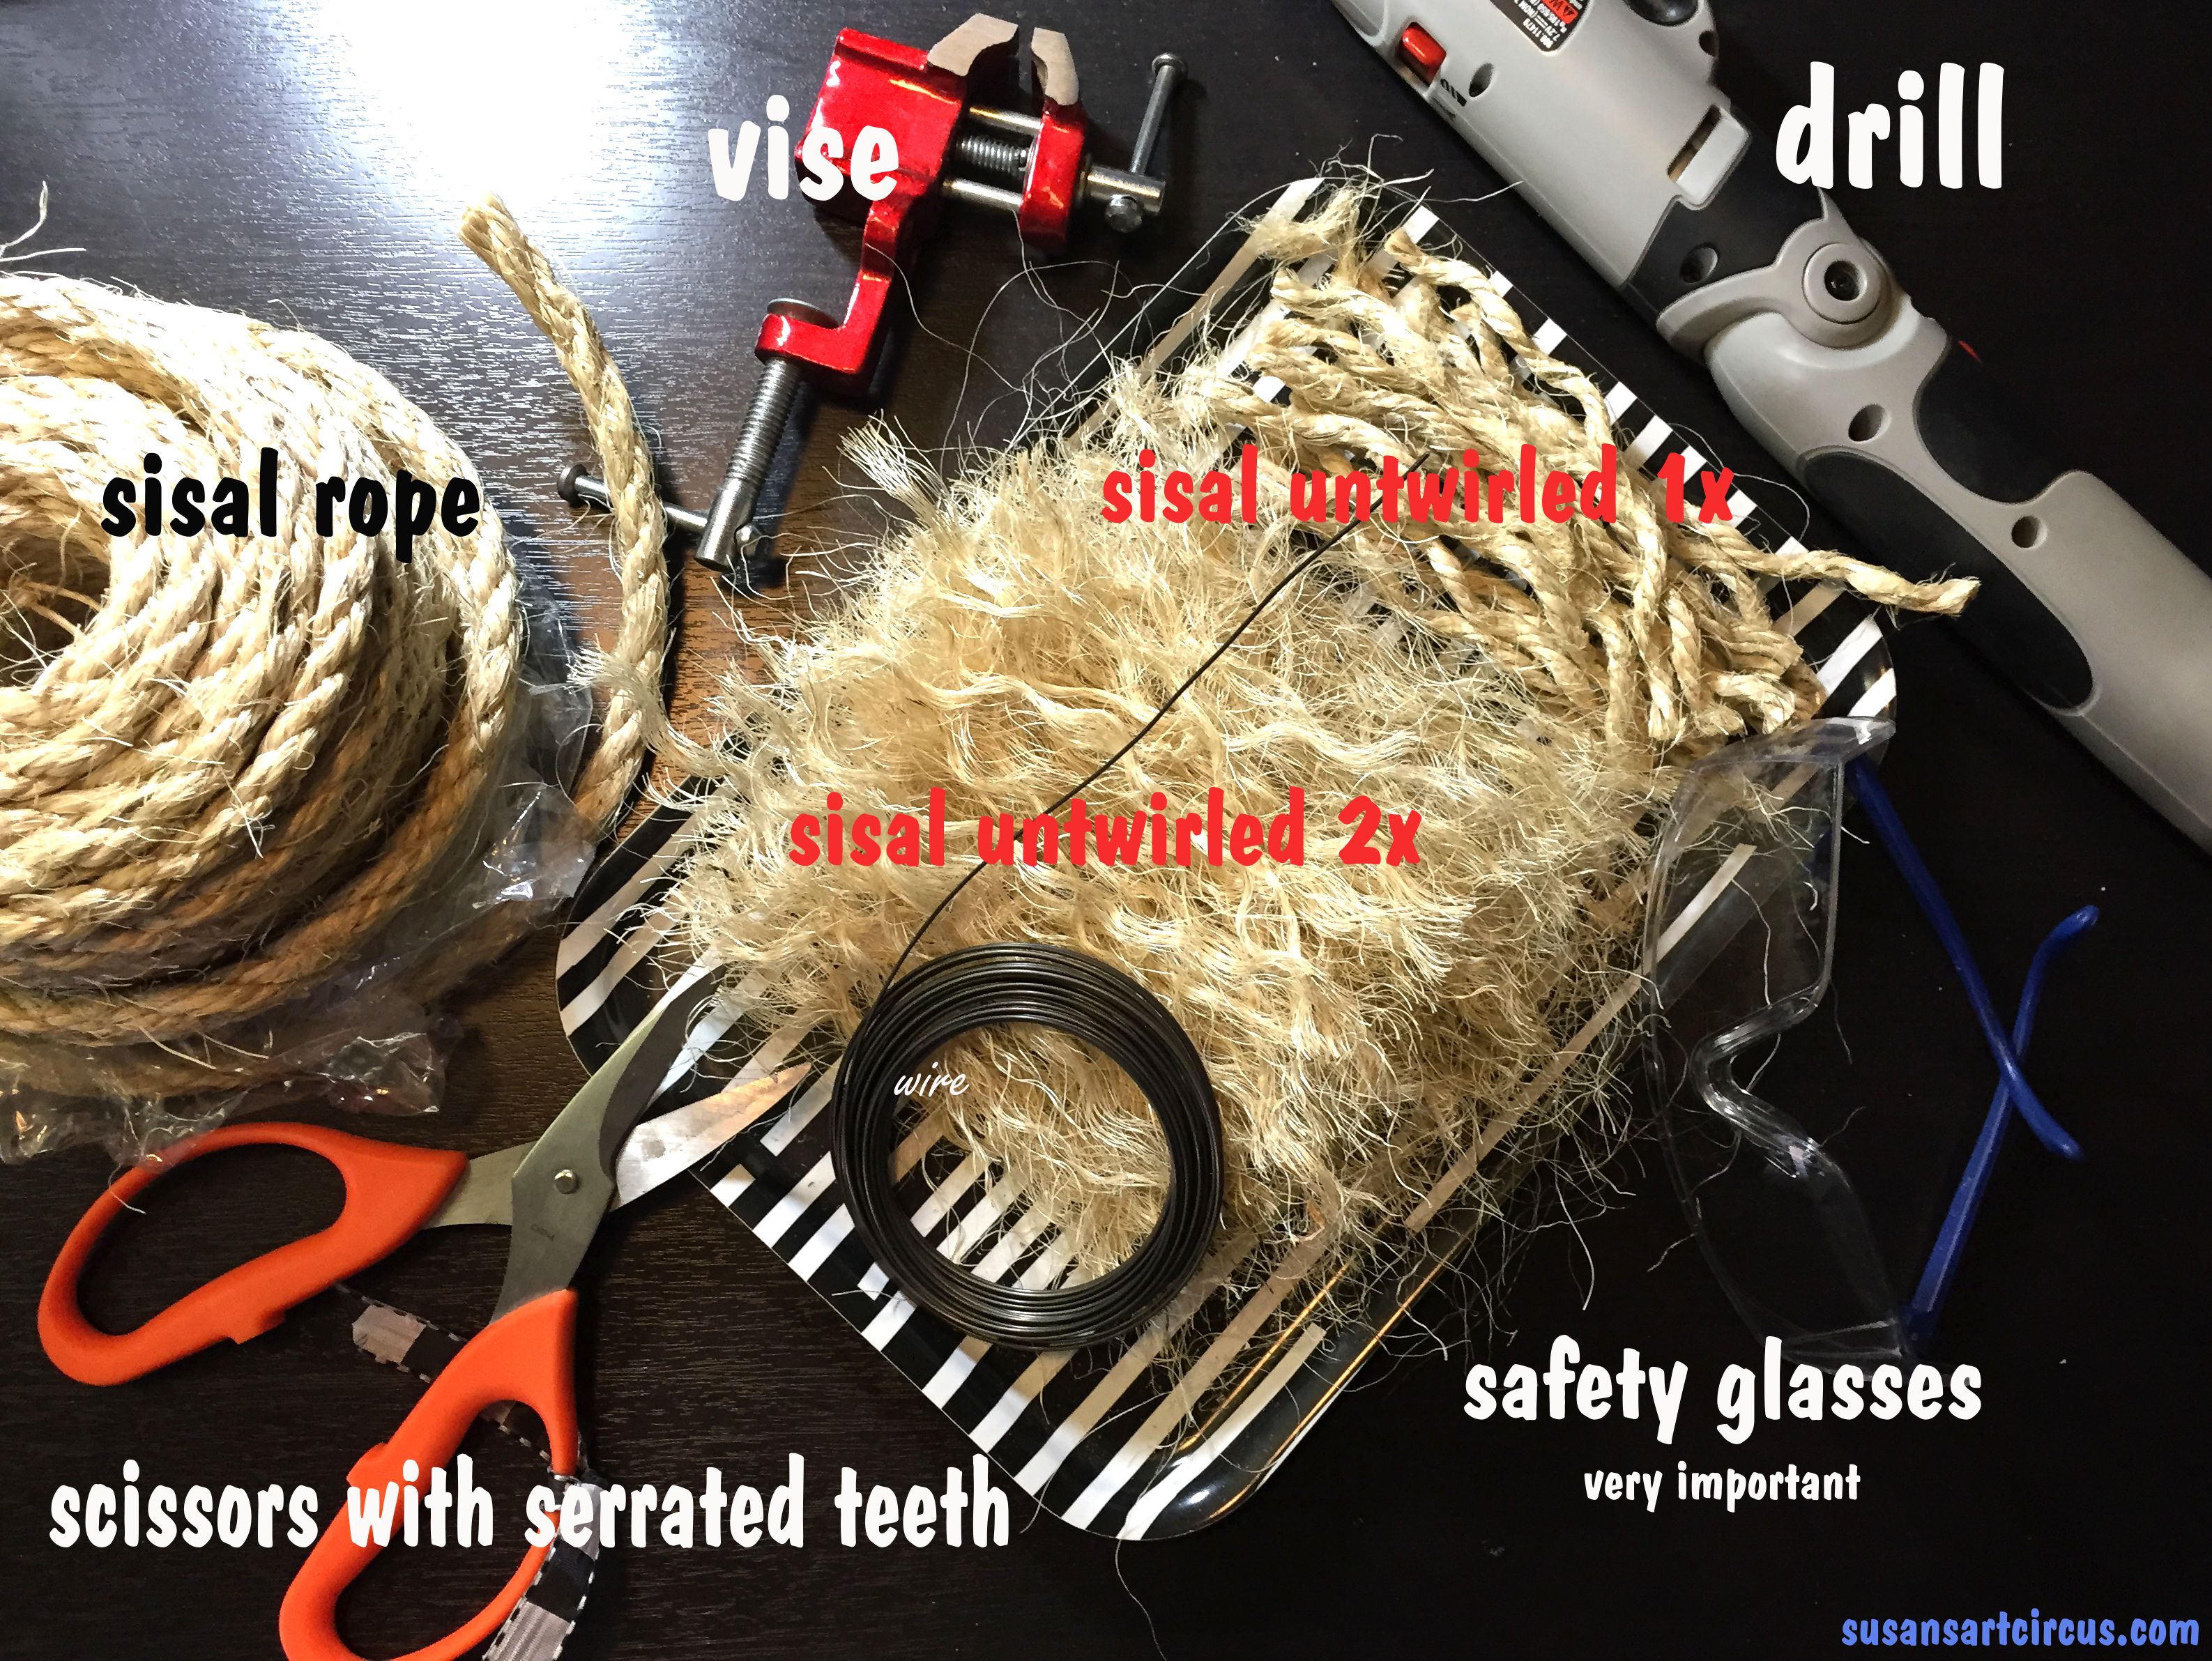
So I headed off to Home Depot for some ingredients:
Based on my inspiration tutorial, which you can find here: DIY Bottle Brush Trees, these are all the necessary things.
sisal natural rope
heavy duty scissors (I went with serrated blades)
18 gauge wire
vise
drill
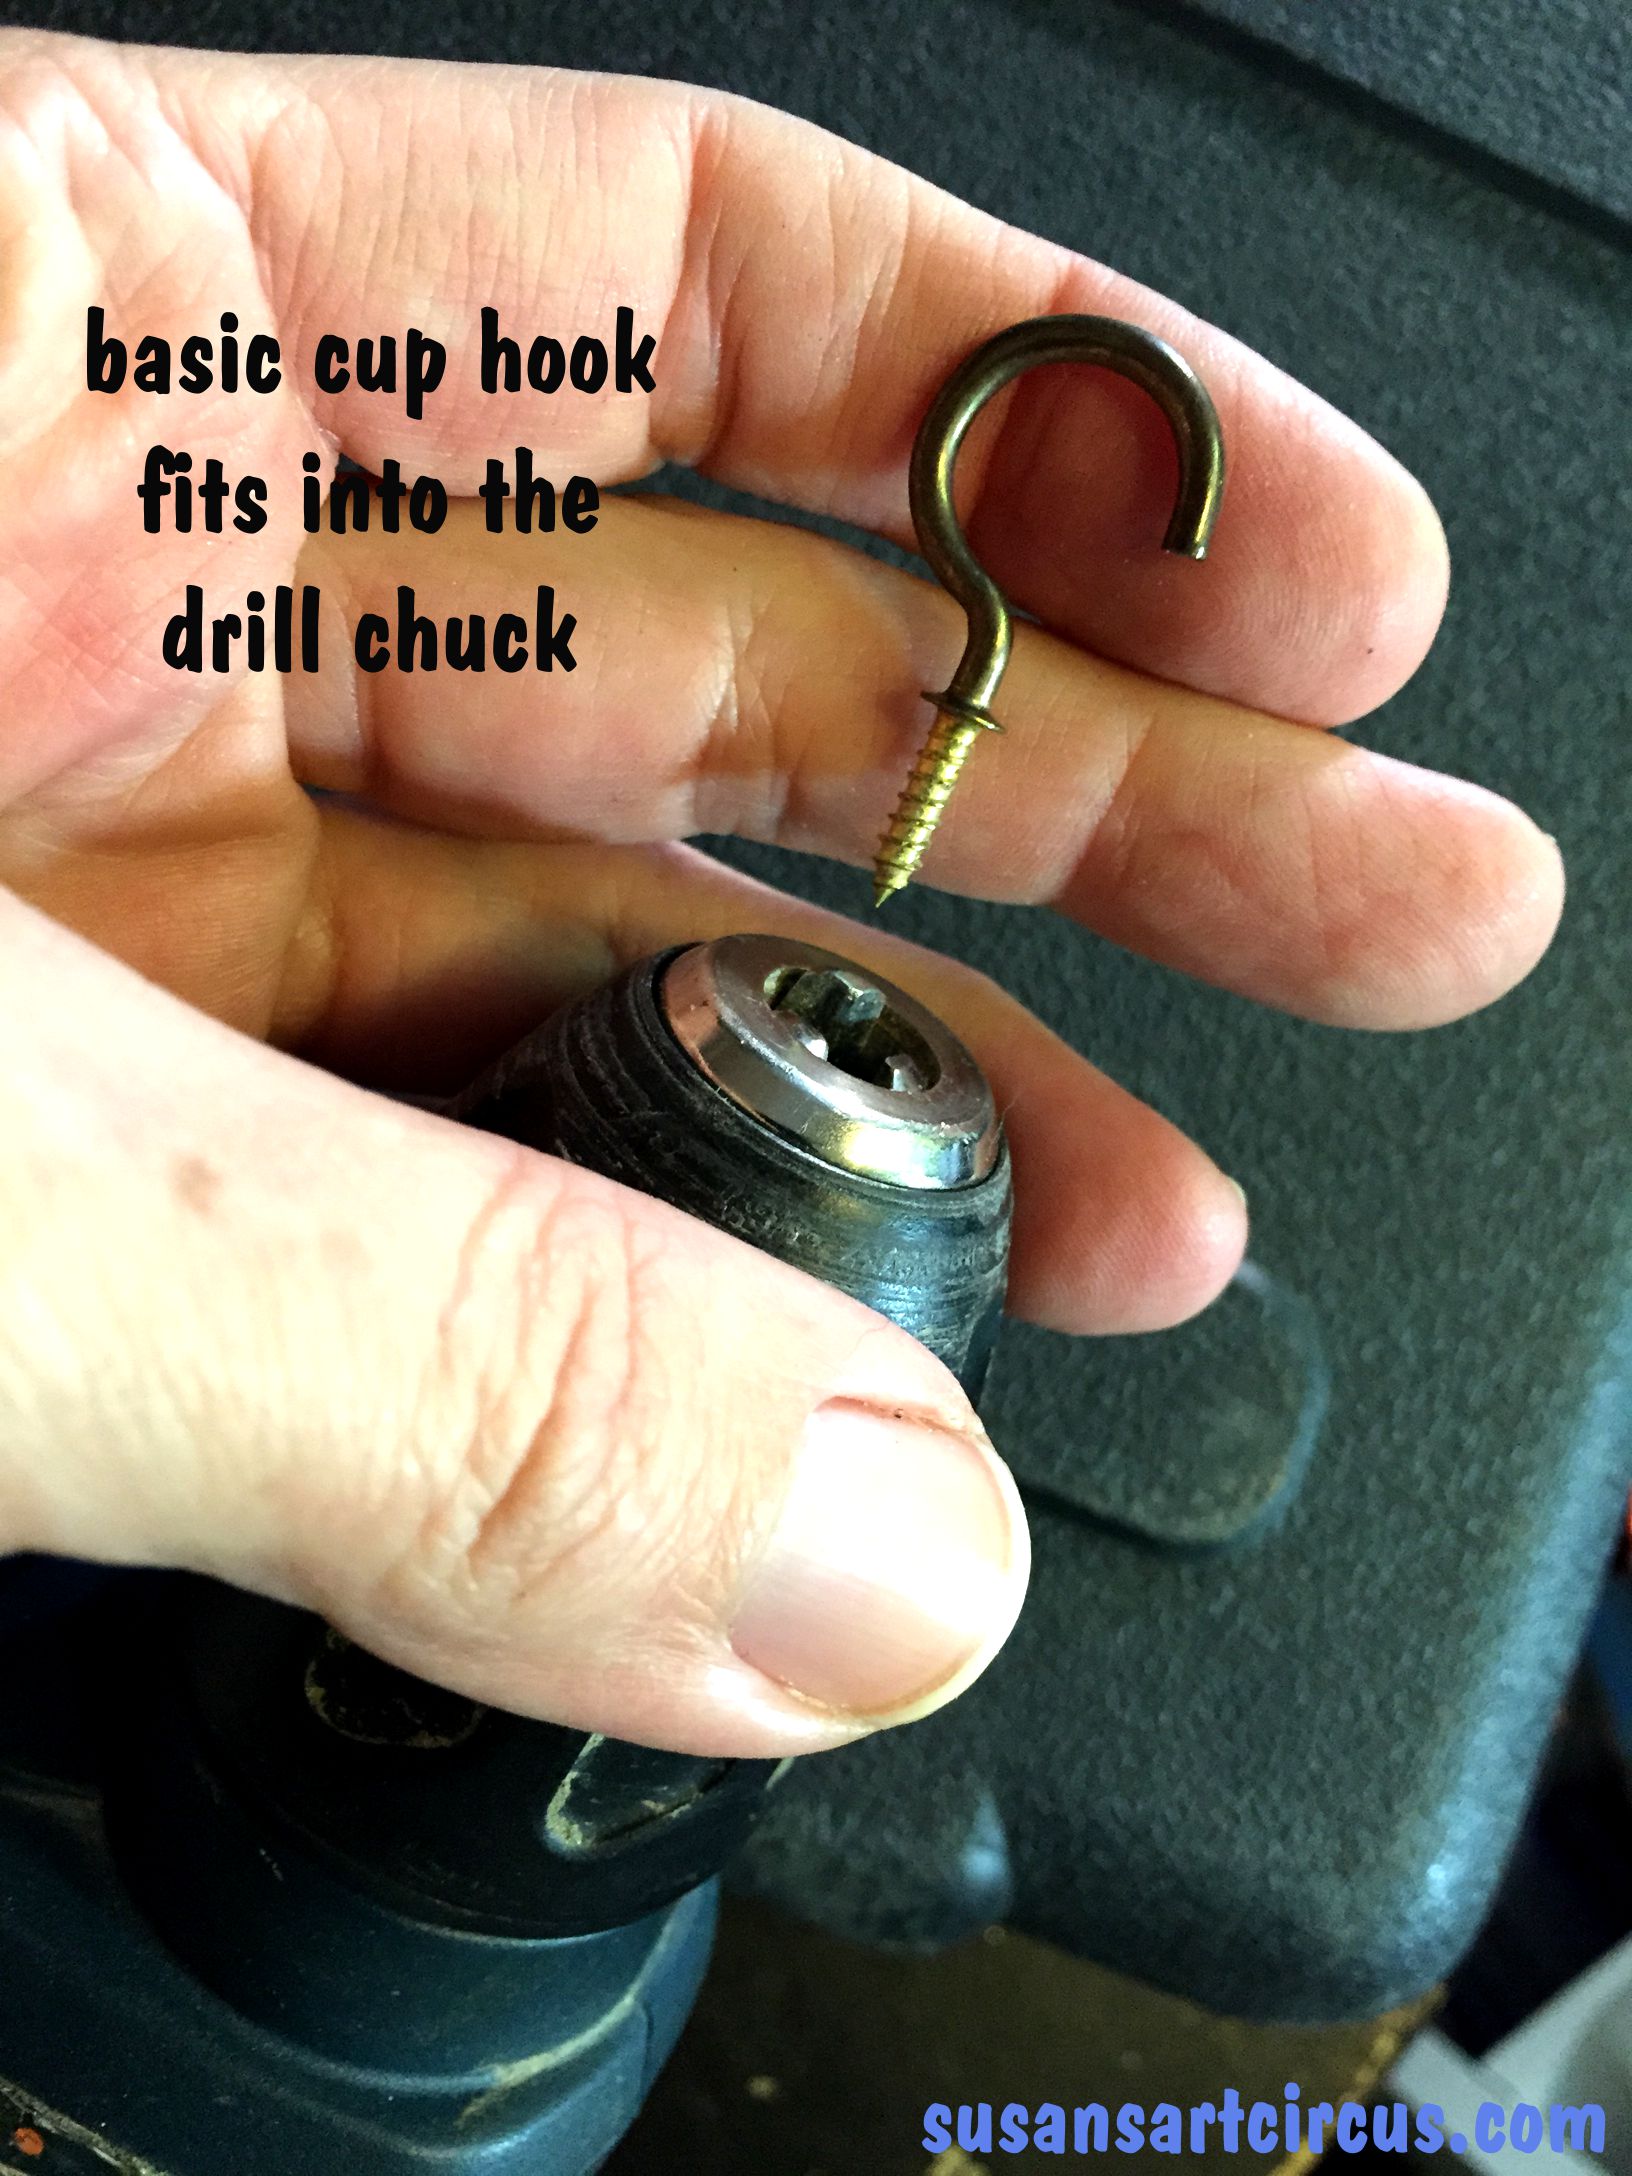
I added safety glasses and a cup hook to this list. Also the above picture shows my household drill that doesn’t have an adjustable chuck (the thing that holds the bit) so I needed to upgrade into this…
It has three movable parts where the bit is held so I could do this with the cup hook…
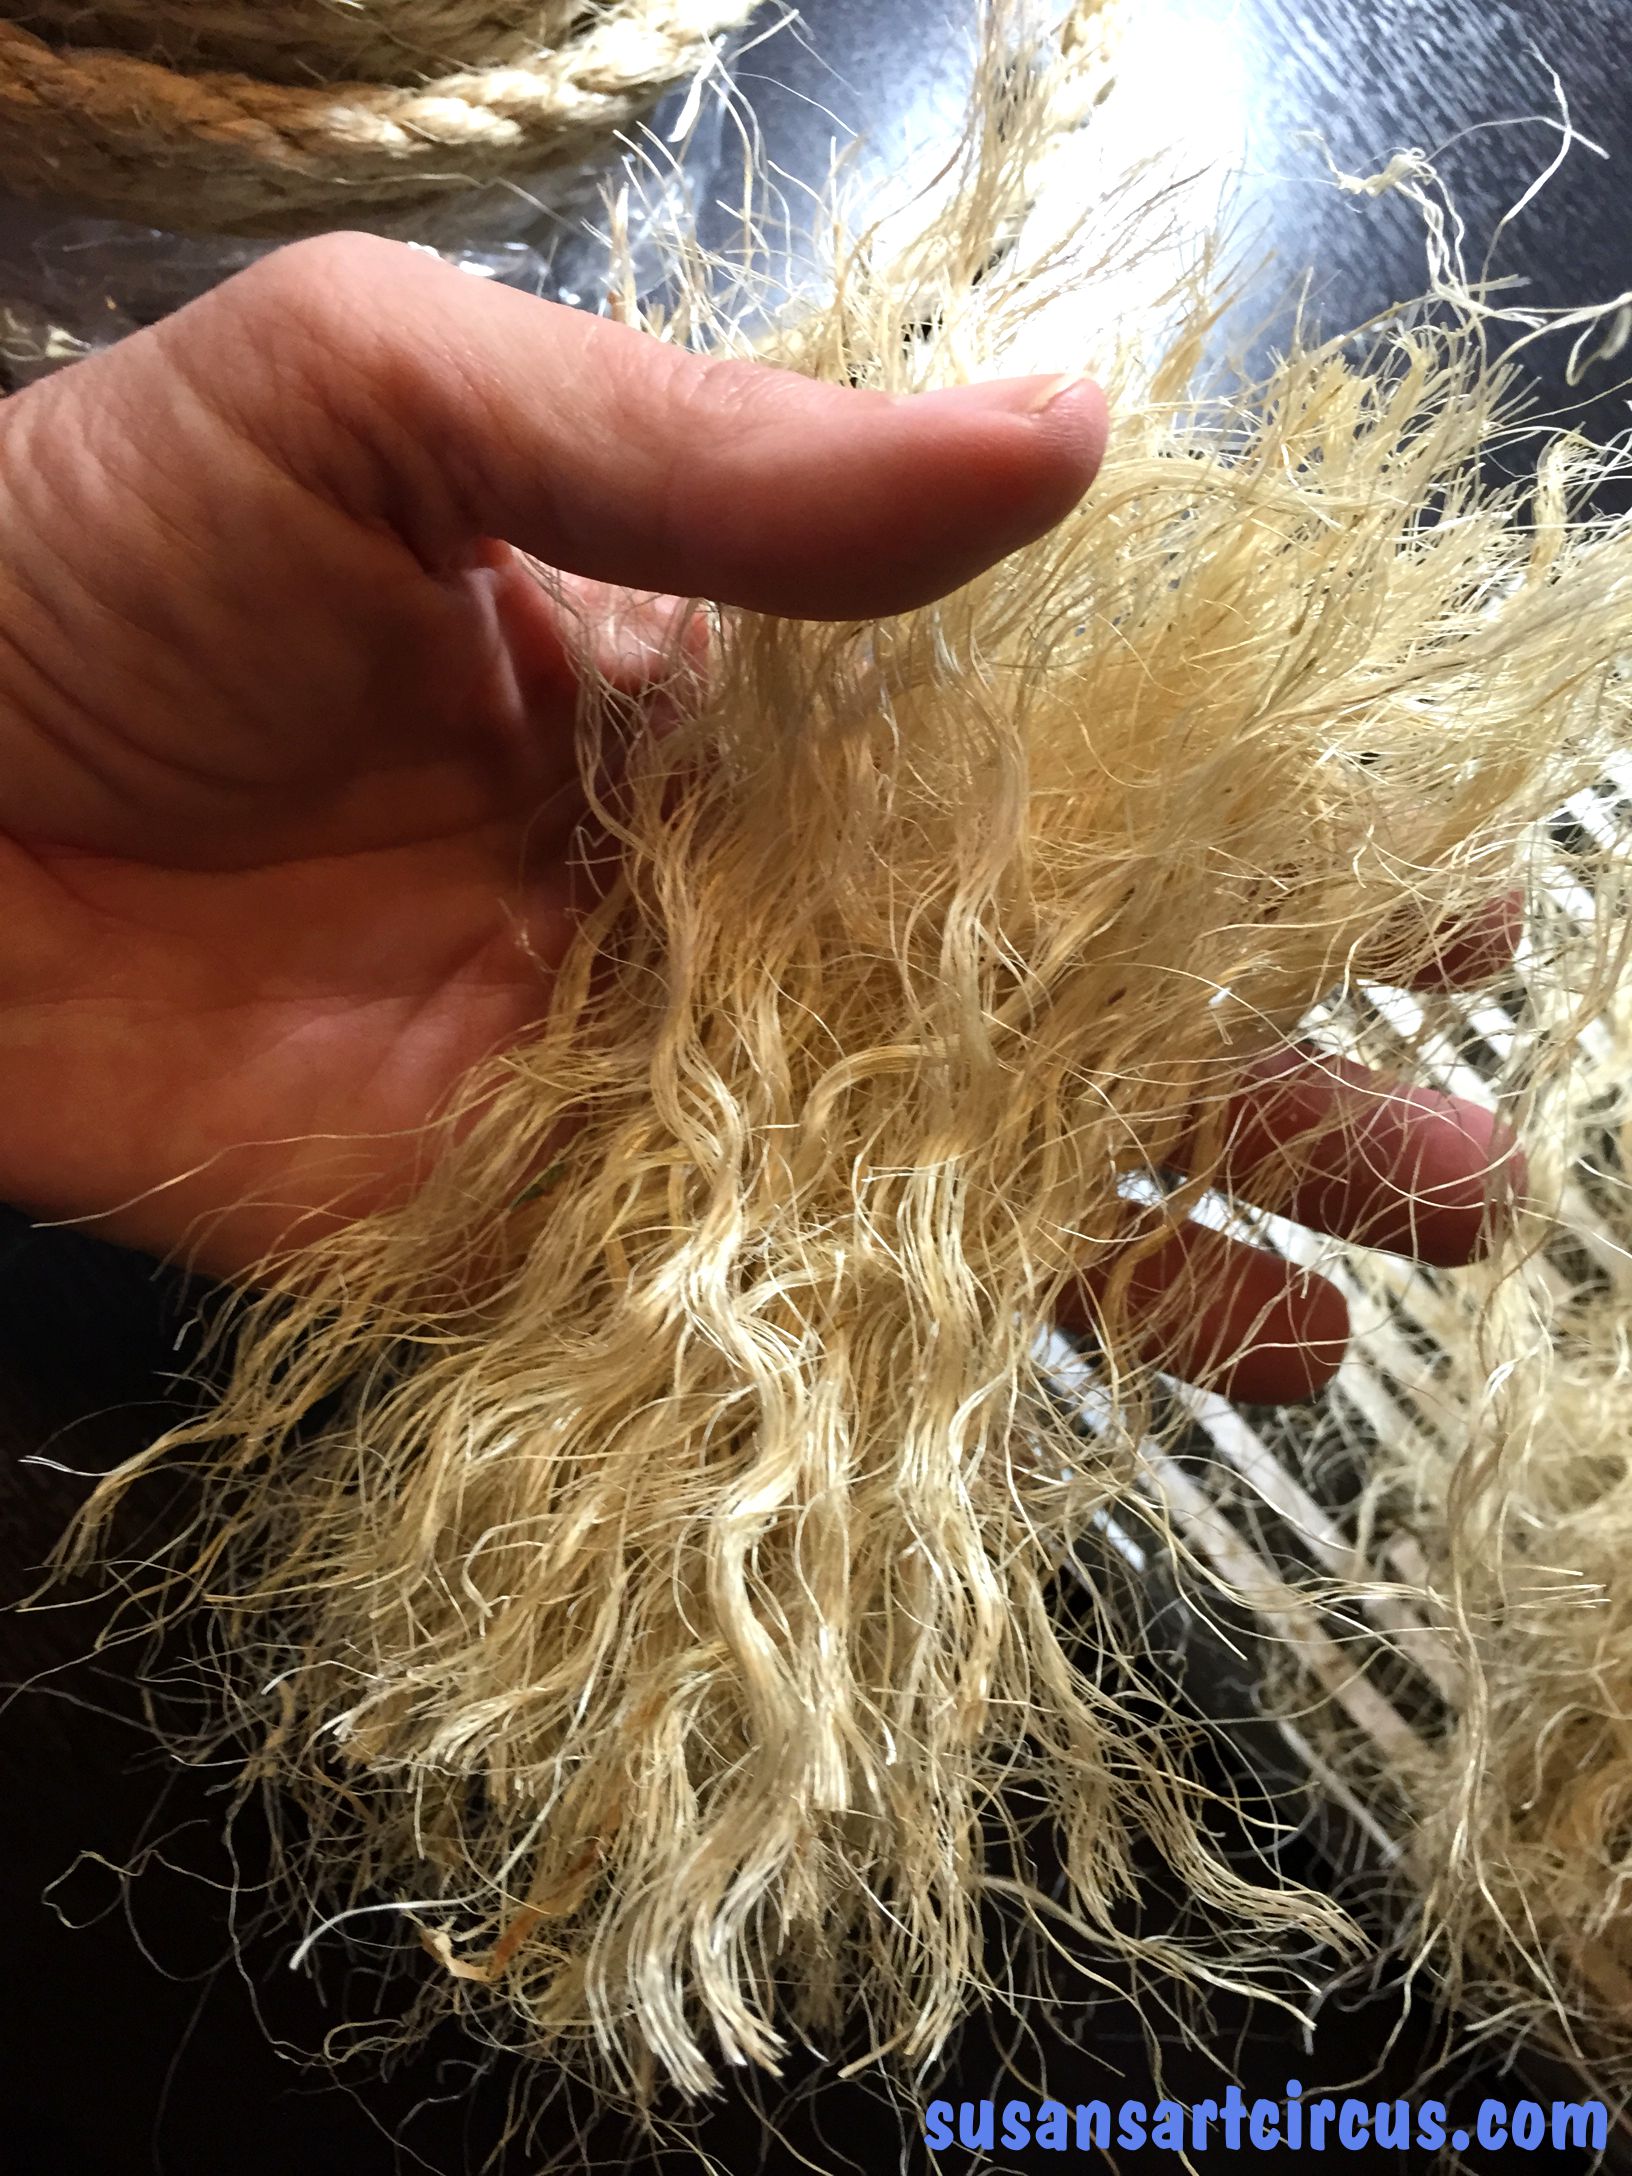
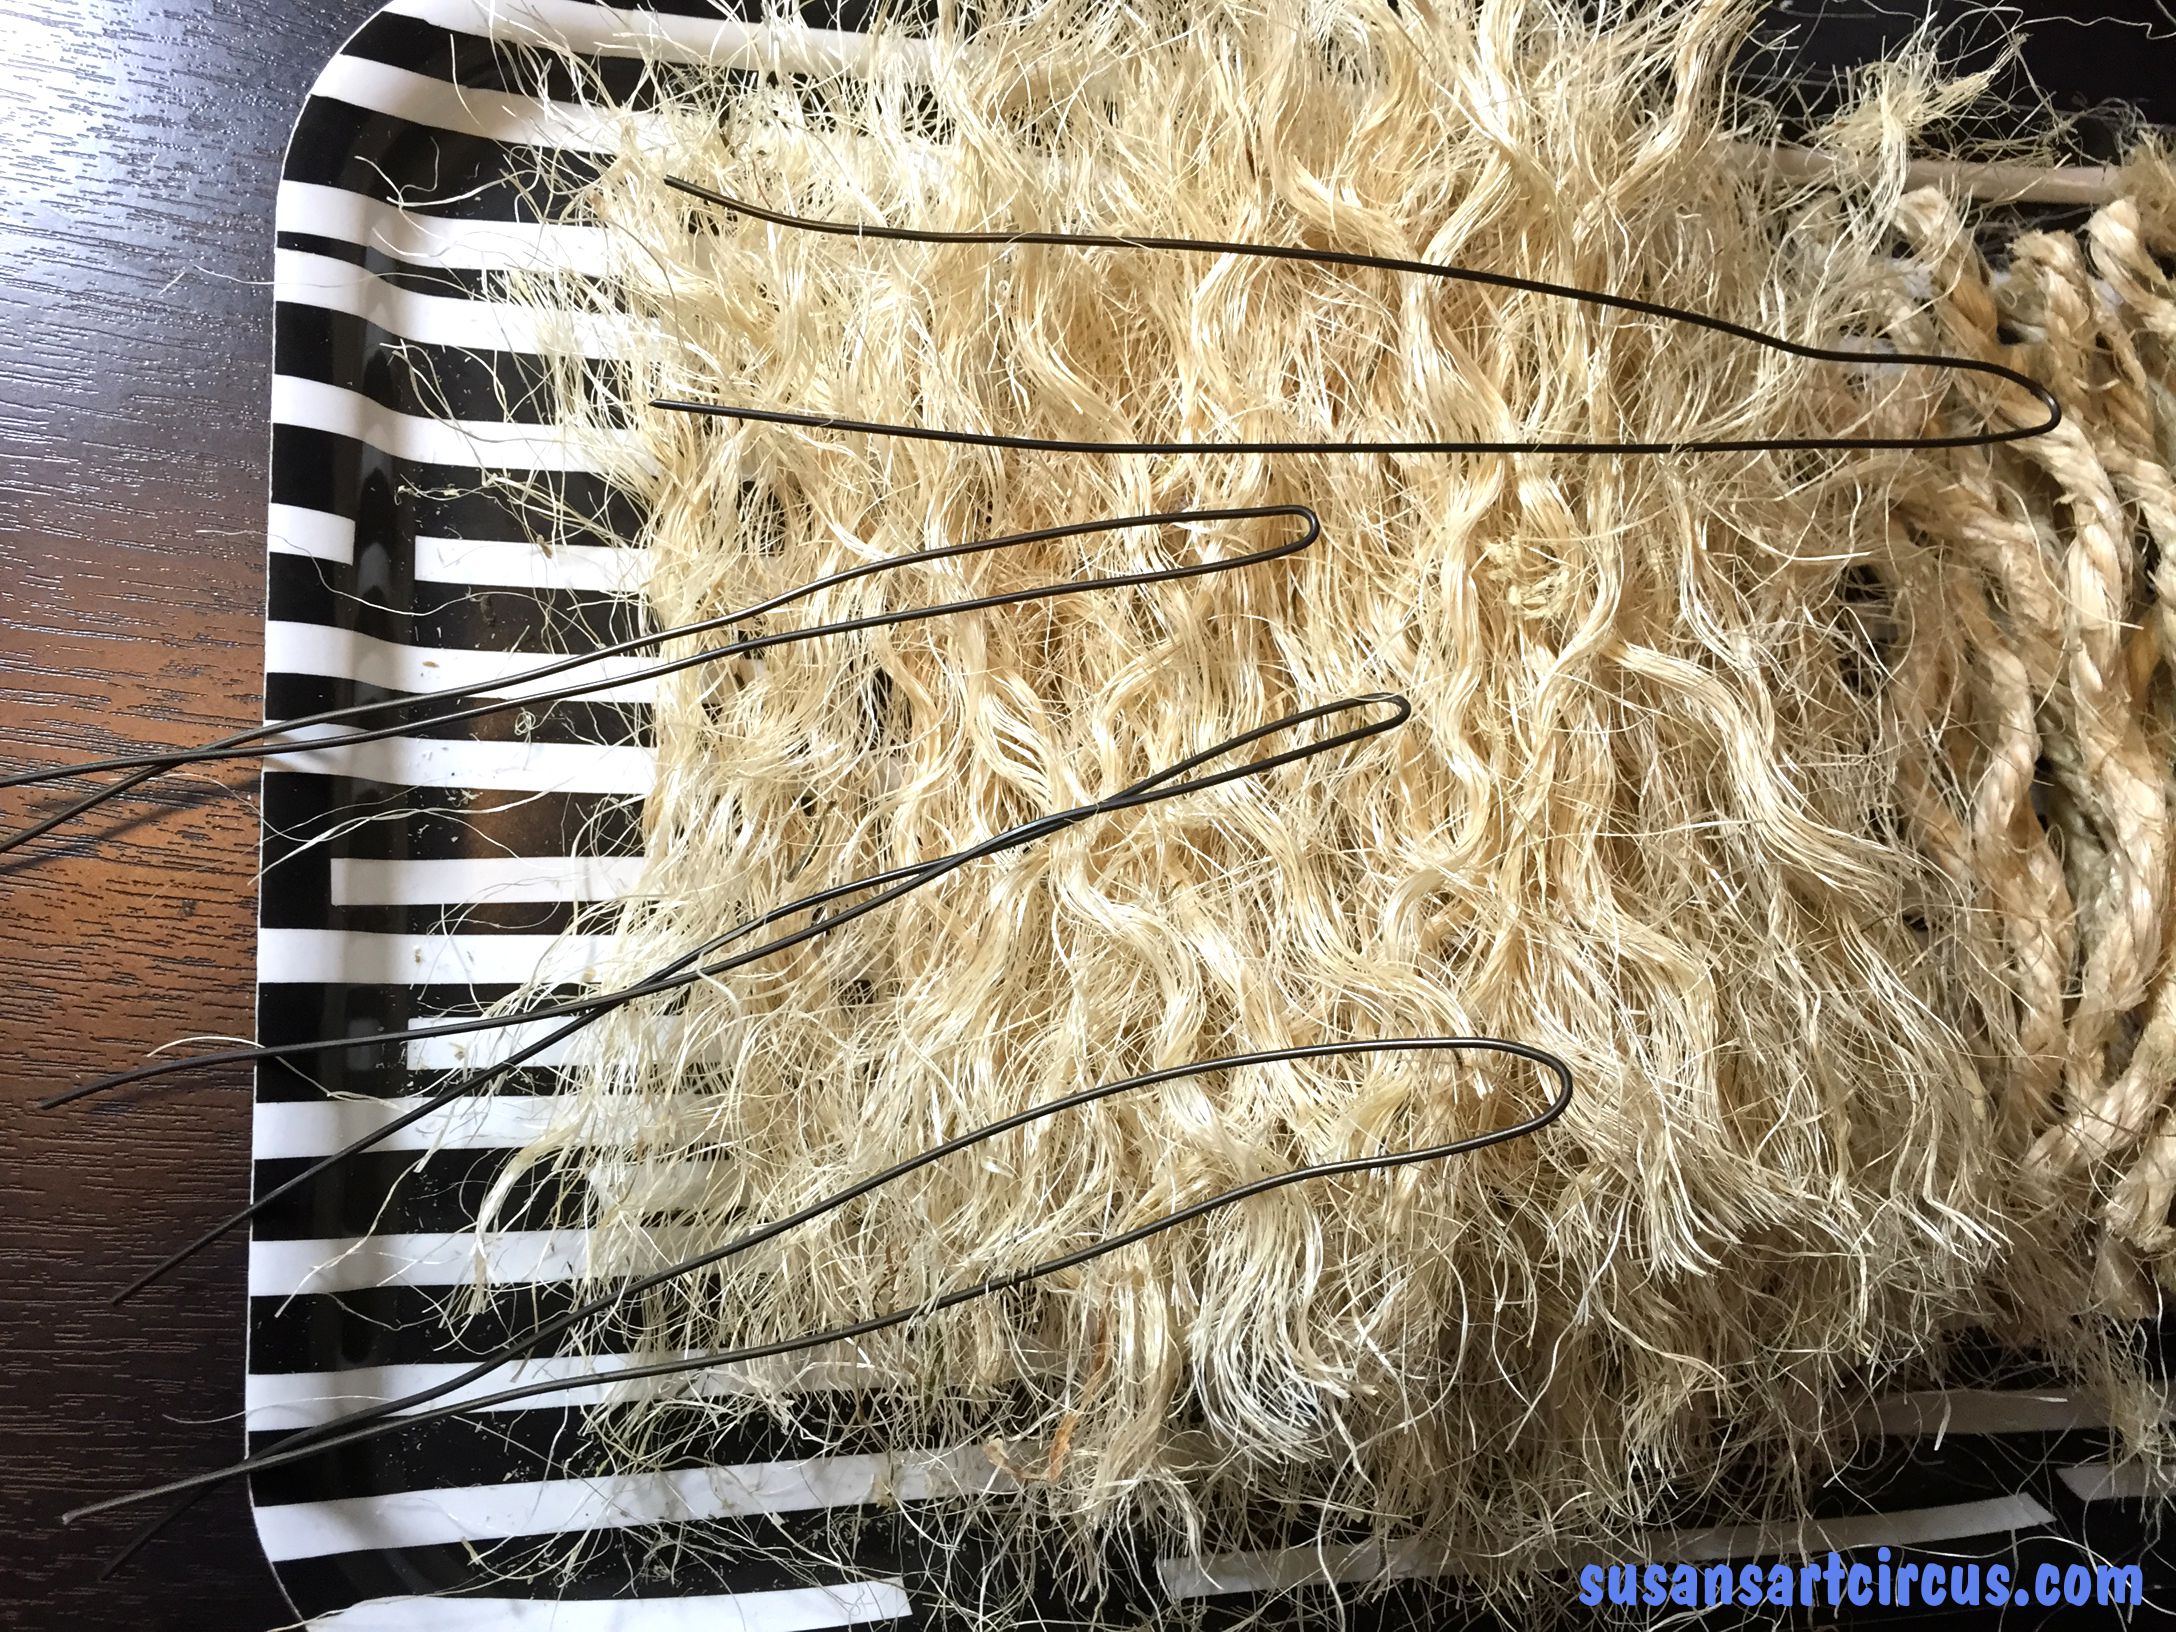
I stuck that in there for twirling of the wire necessary to make the tree. But let’s back up a little and start with the sisal. First you want to cut some lengths of the rope to work with. I cut 6 inch pieces, about 20 to start, then untwirled all the fibers. You will have to untwirl two times. The first will take apart the rope. The second will take apart the fibers and look the picture below. At least this is what you are shooting for.
Looks like my hair! Keep doing this until you have a nice full pile. Mine were about 6 undone strands of rope each but you can really do more or less depending on your aesthetic.
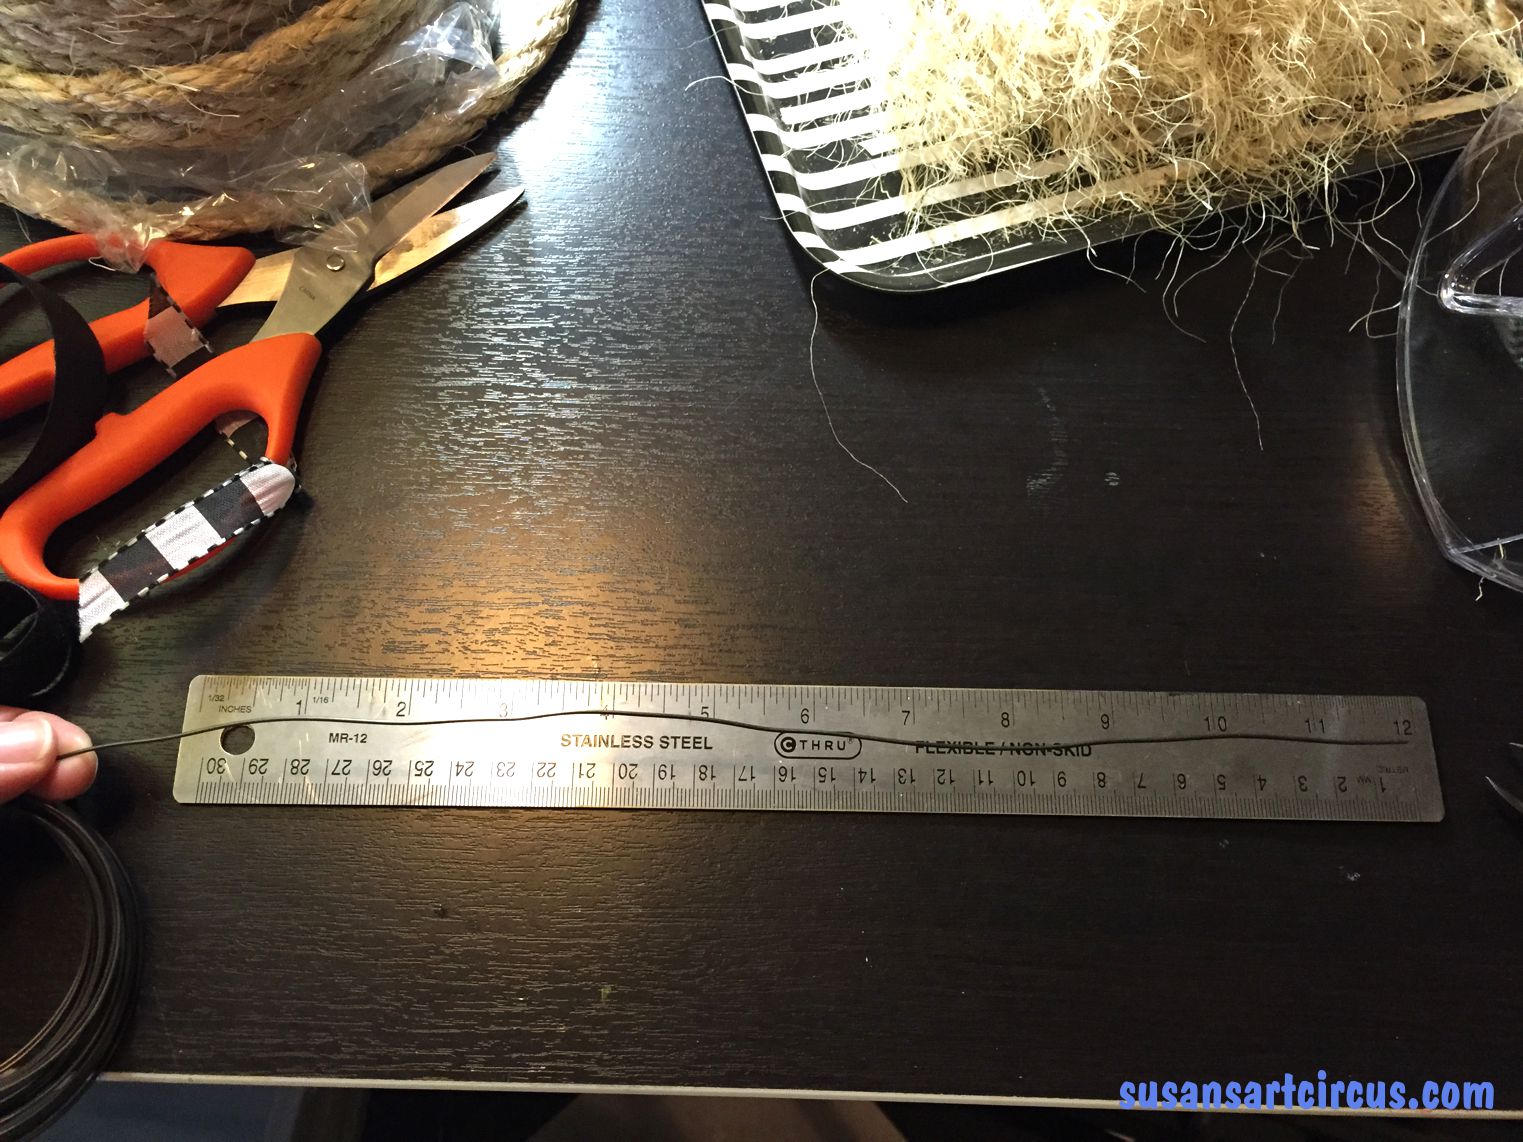
Next you will need to cut the wire.
I started with 12 inch pieces which then are folded in half.
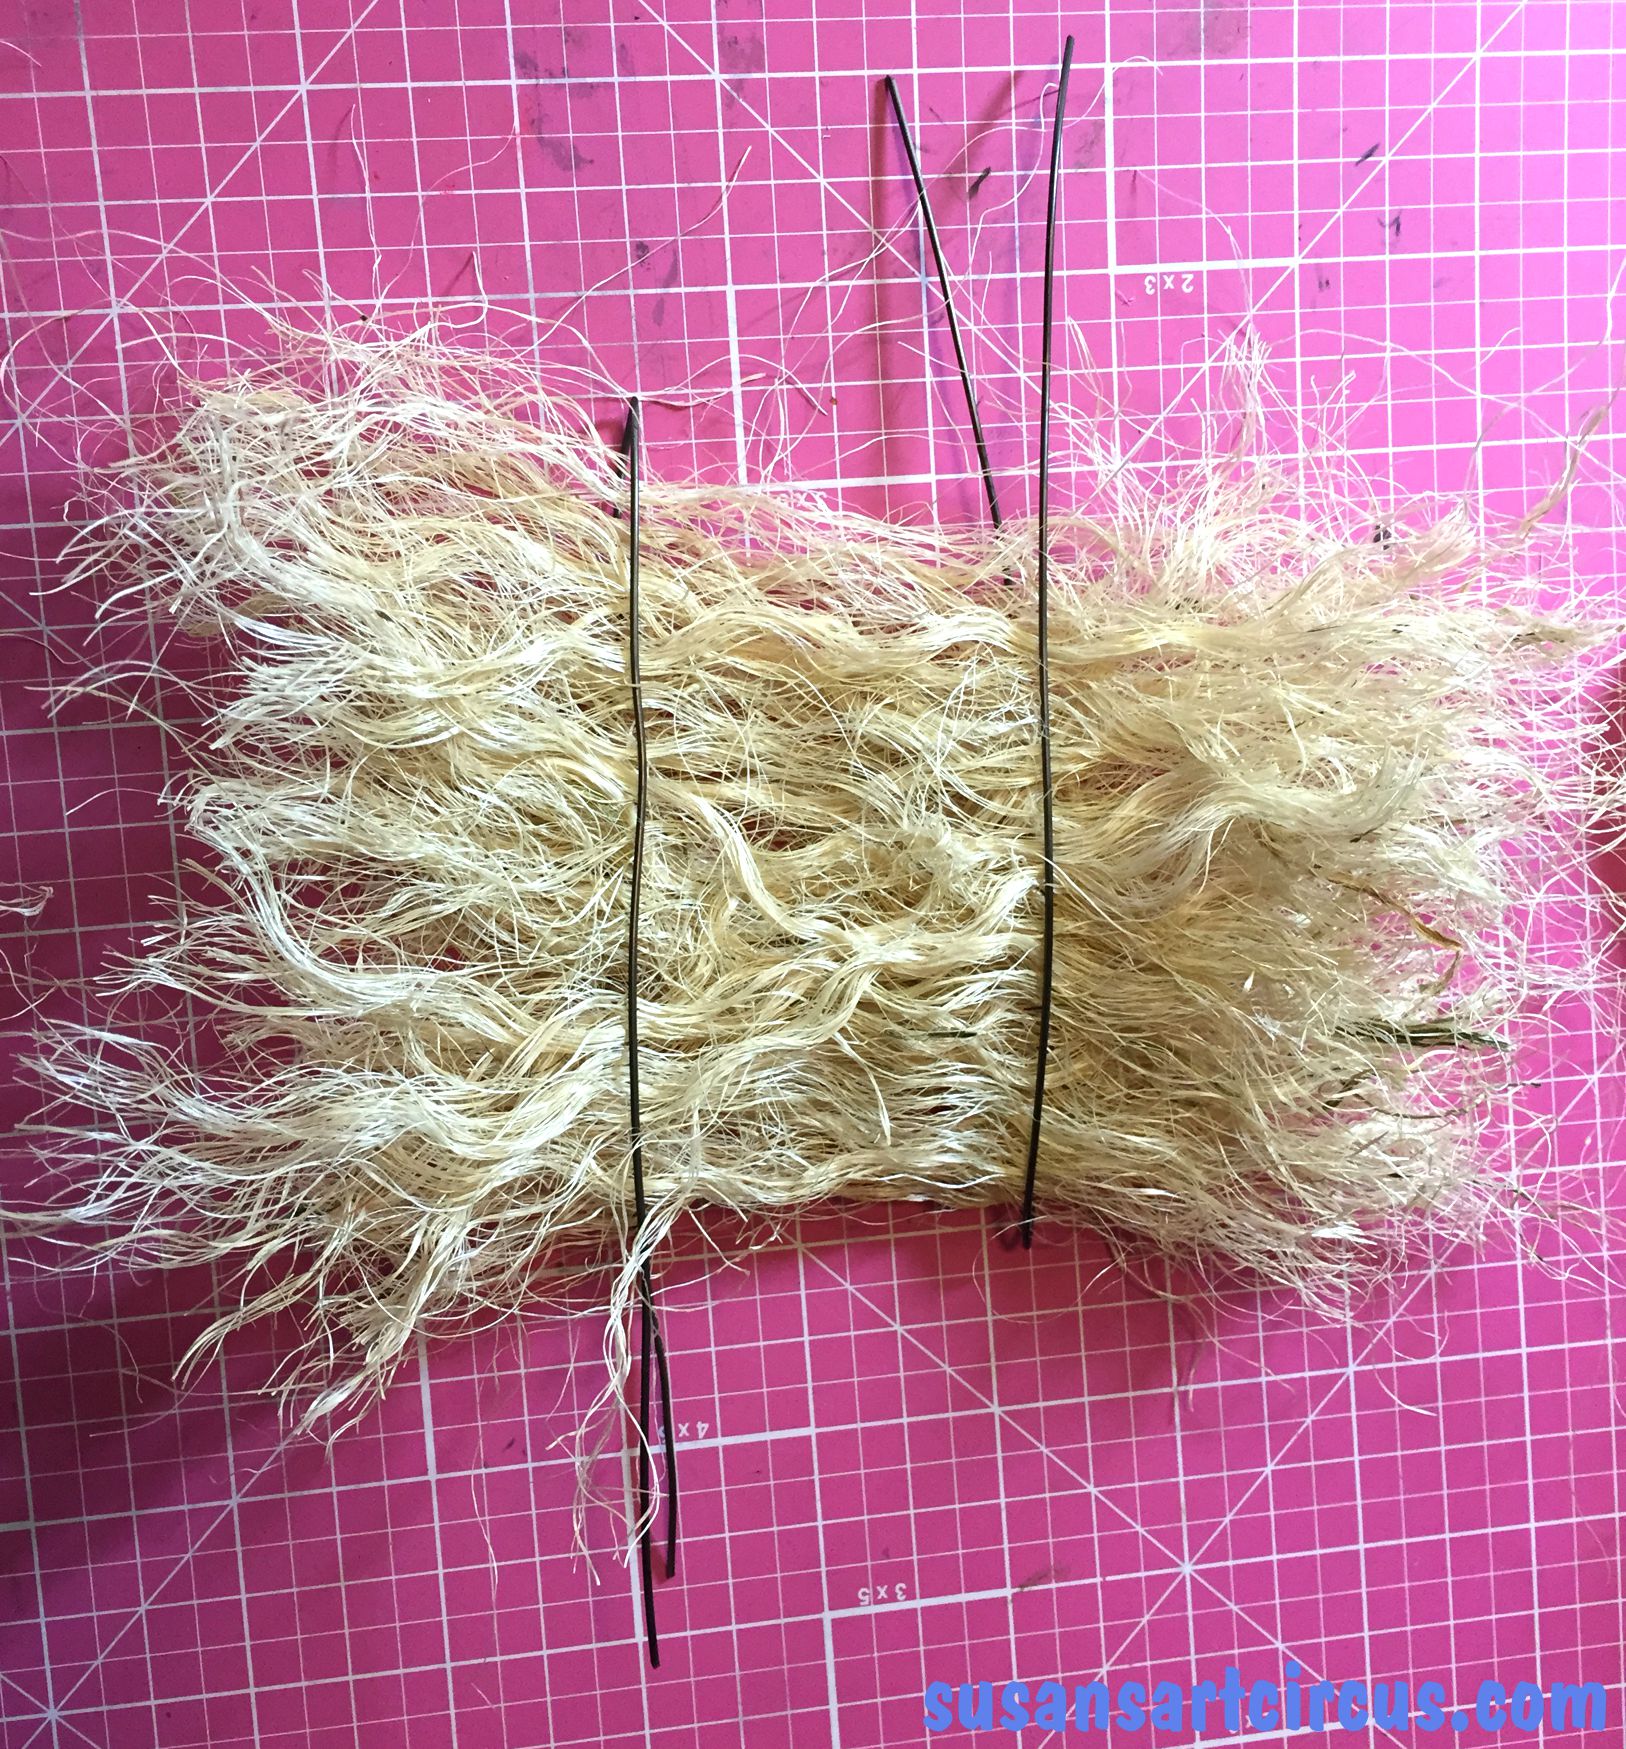
Now take your pile of fibers and fit them in between one of the folded wires. Take a second wire and place it over the fibers in the opposite direction. Slip these to each side of your fiber pile and it should look like this.
Trust me…at this point you’ve made a big mess and you’re wondering if this is even going to work. But be patient because it’s slowly coming together.
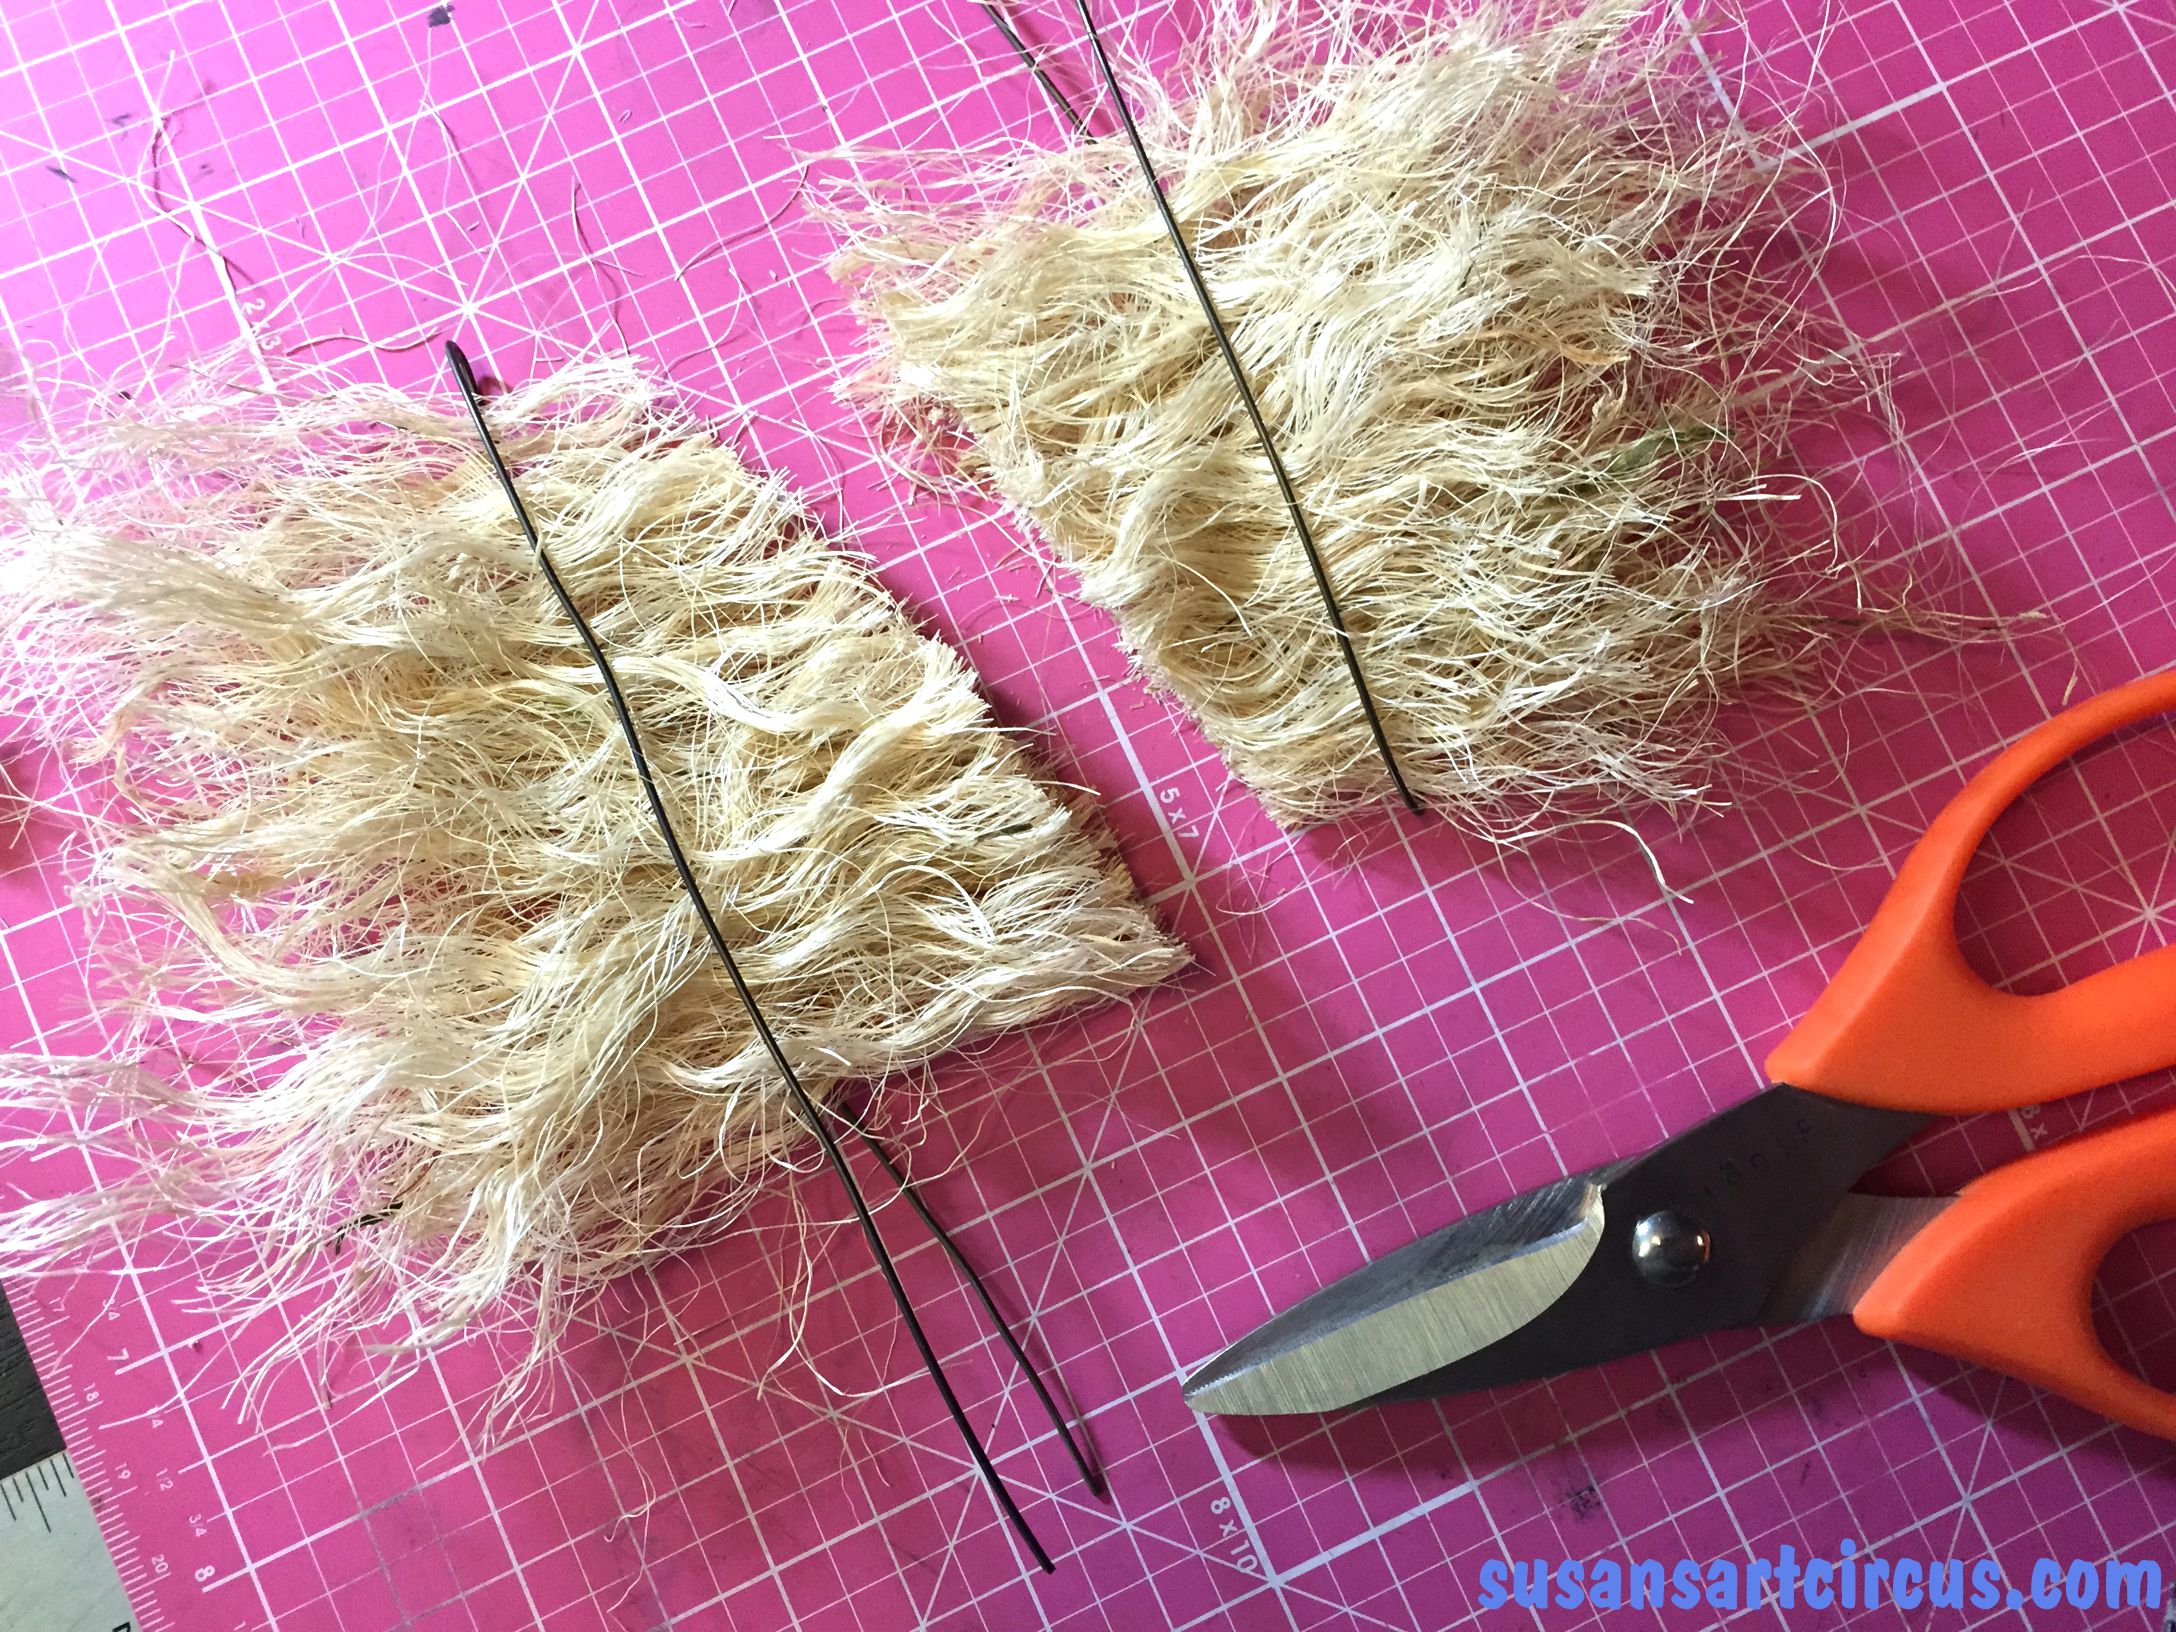
Get your scissors and we are going to cut diagonally in between the wires like so…
Then go back to each side and make some more diagonal cuts so you have basic tree shapes.
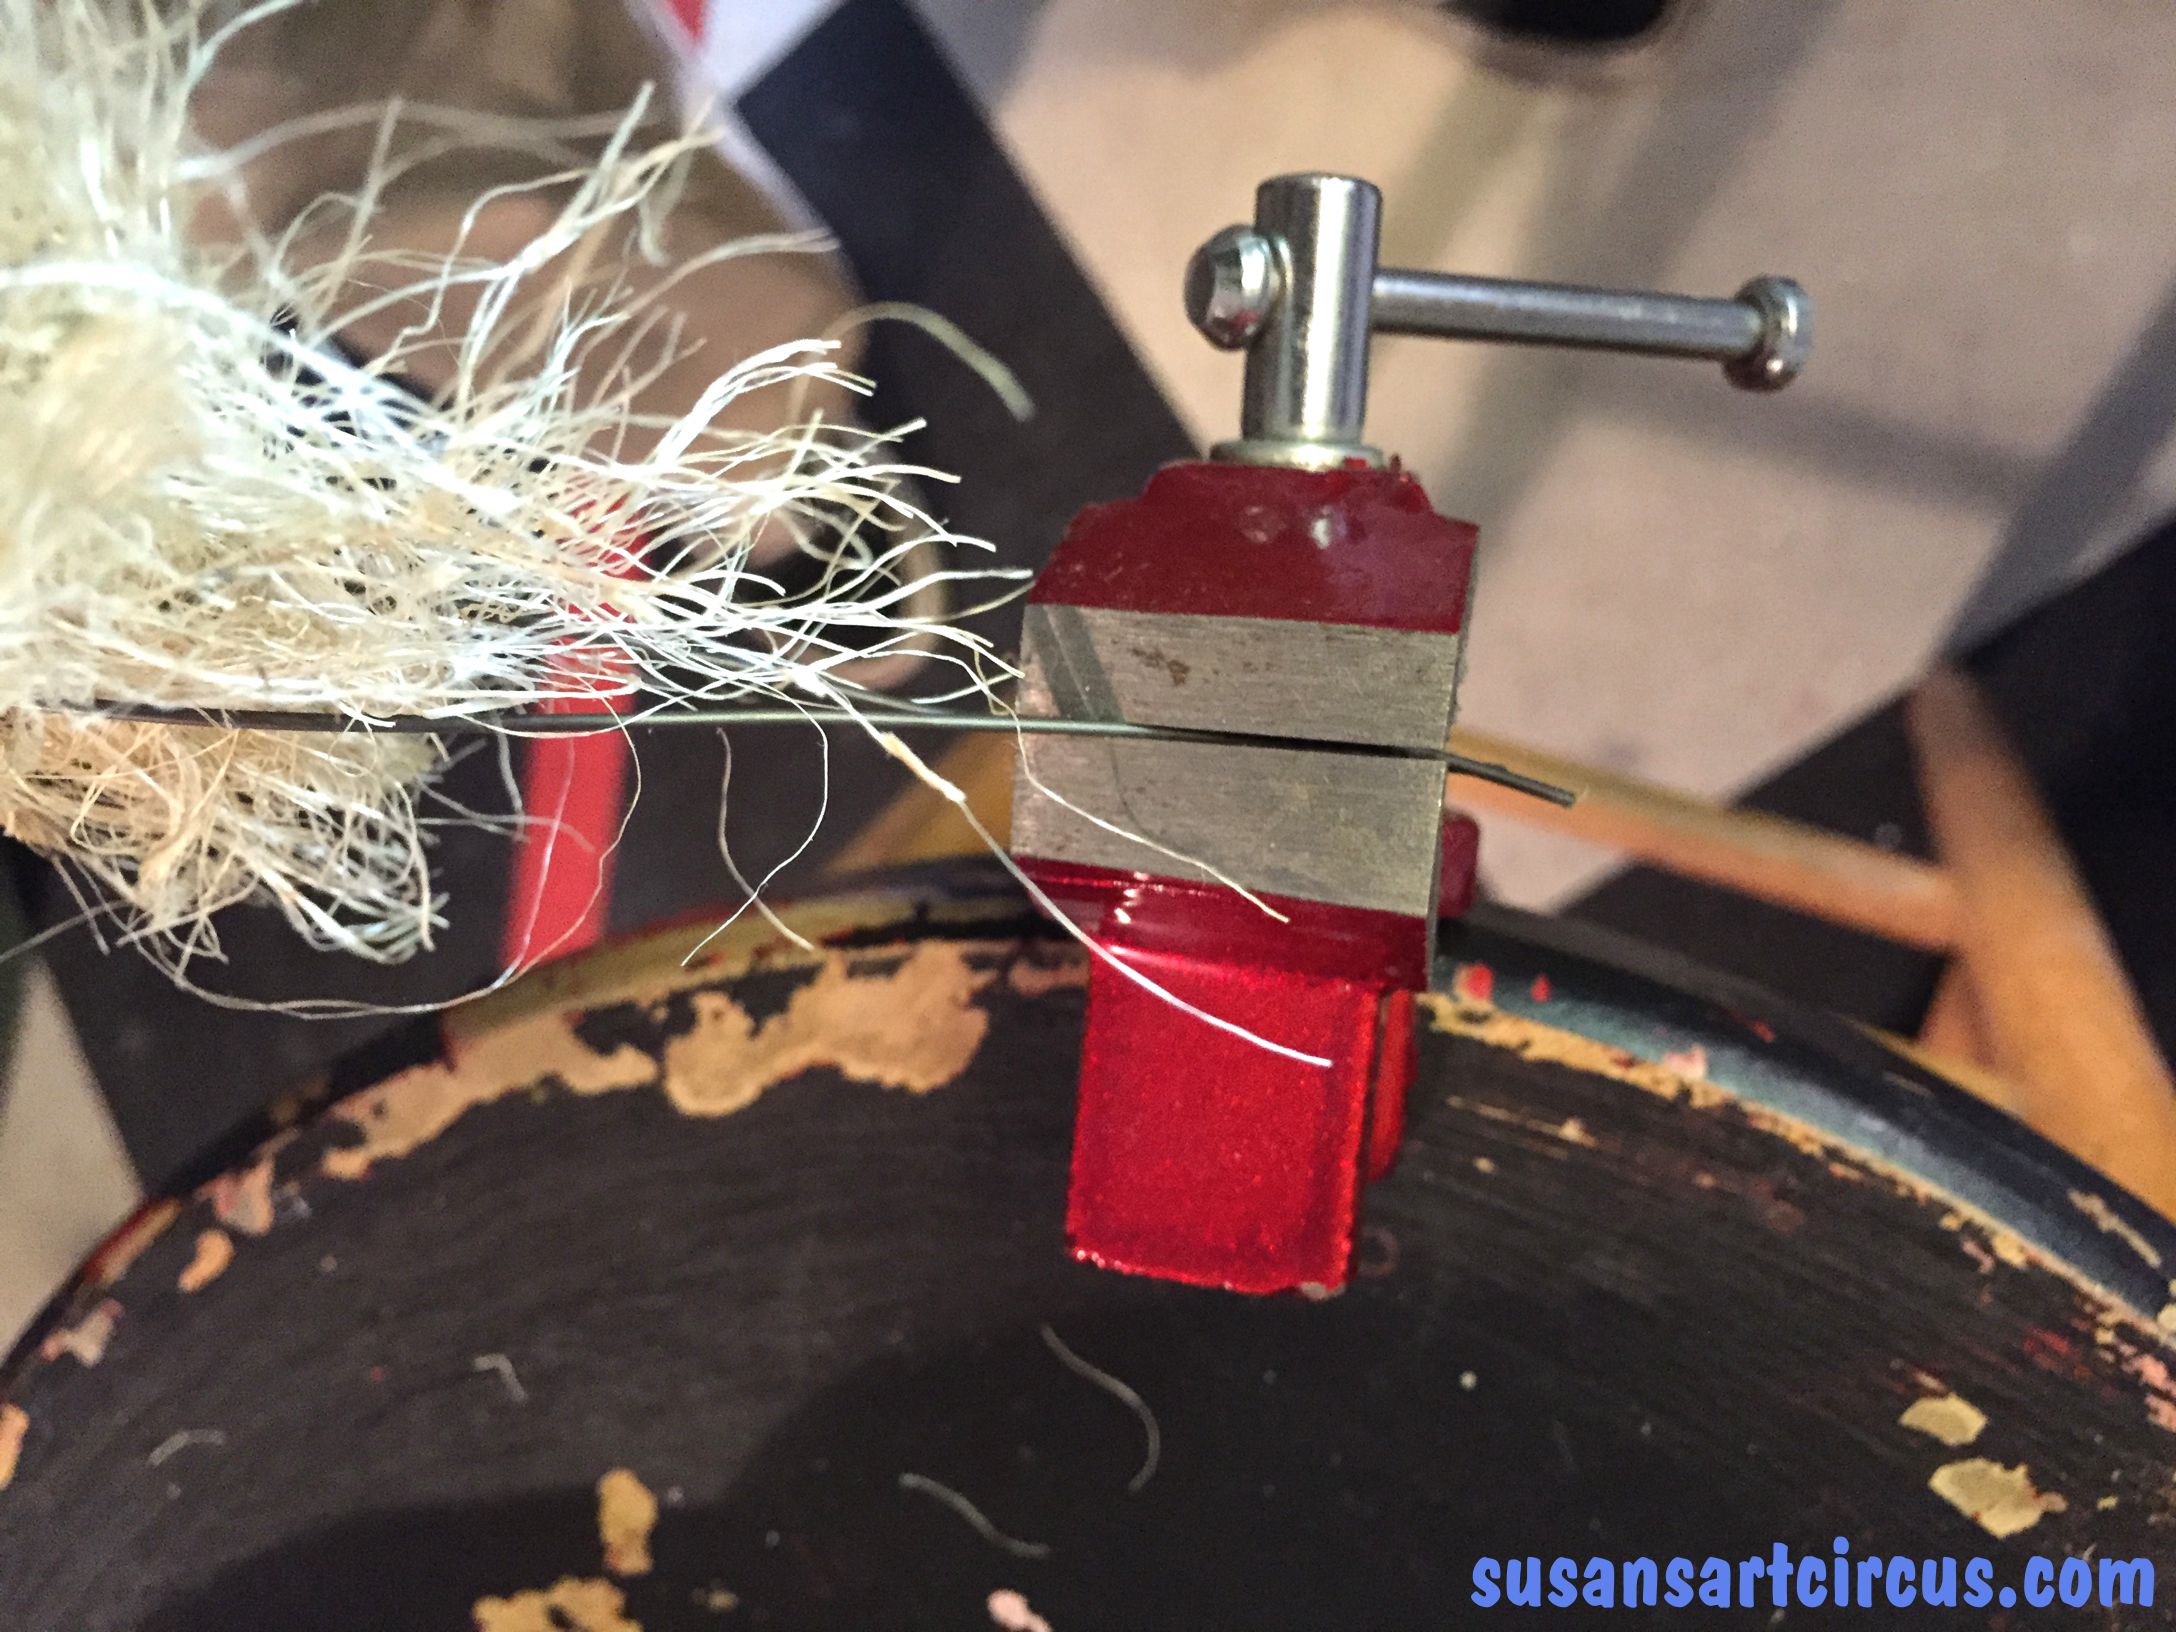
Here’s where that cup hook and larger drill come into play. Placing the bottom of the wires, the open end, into your vise screw it down hard so they will stay put.
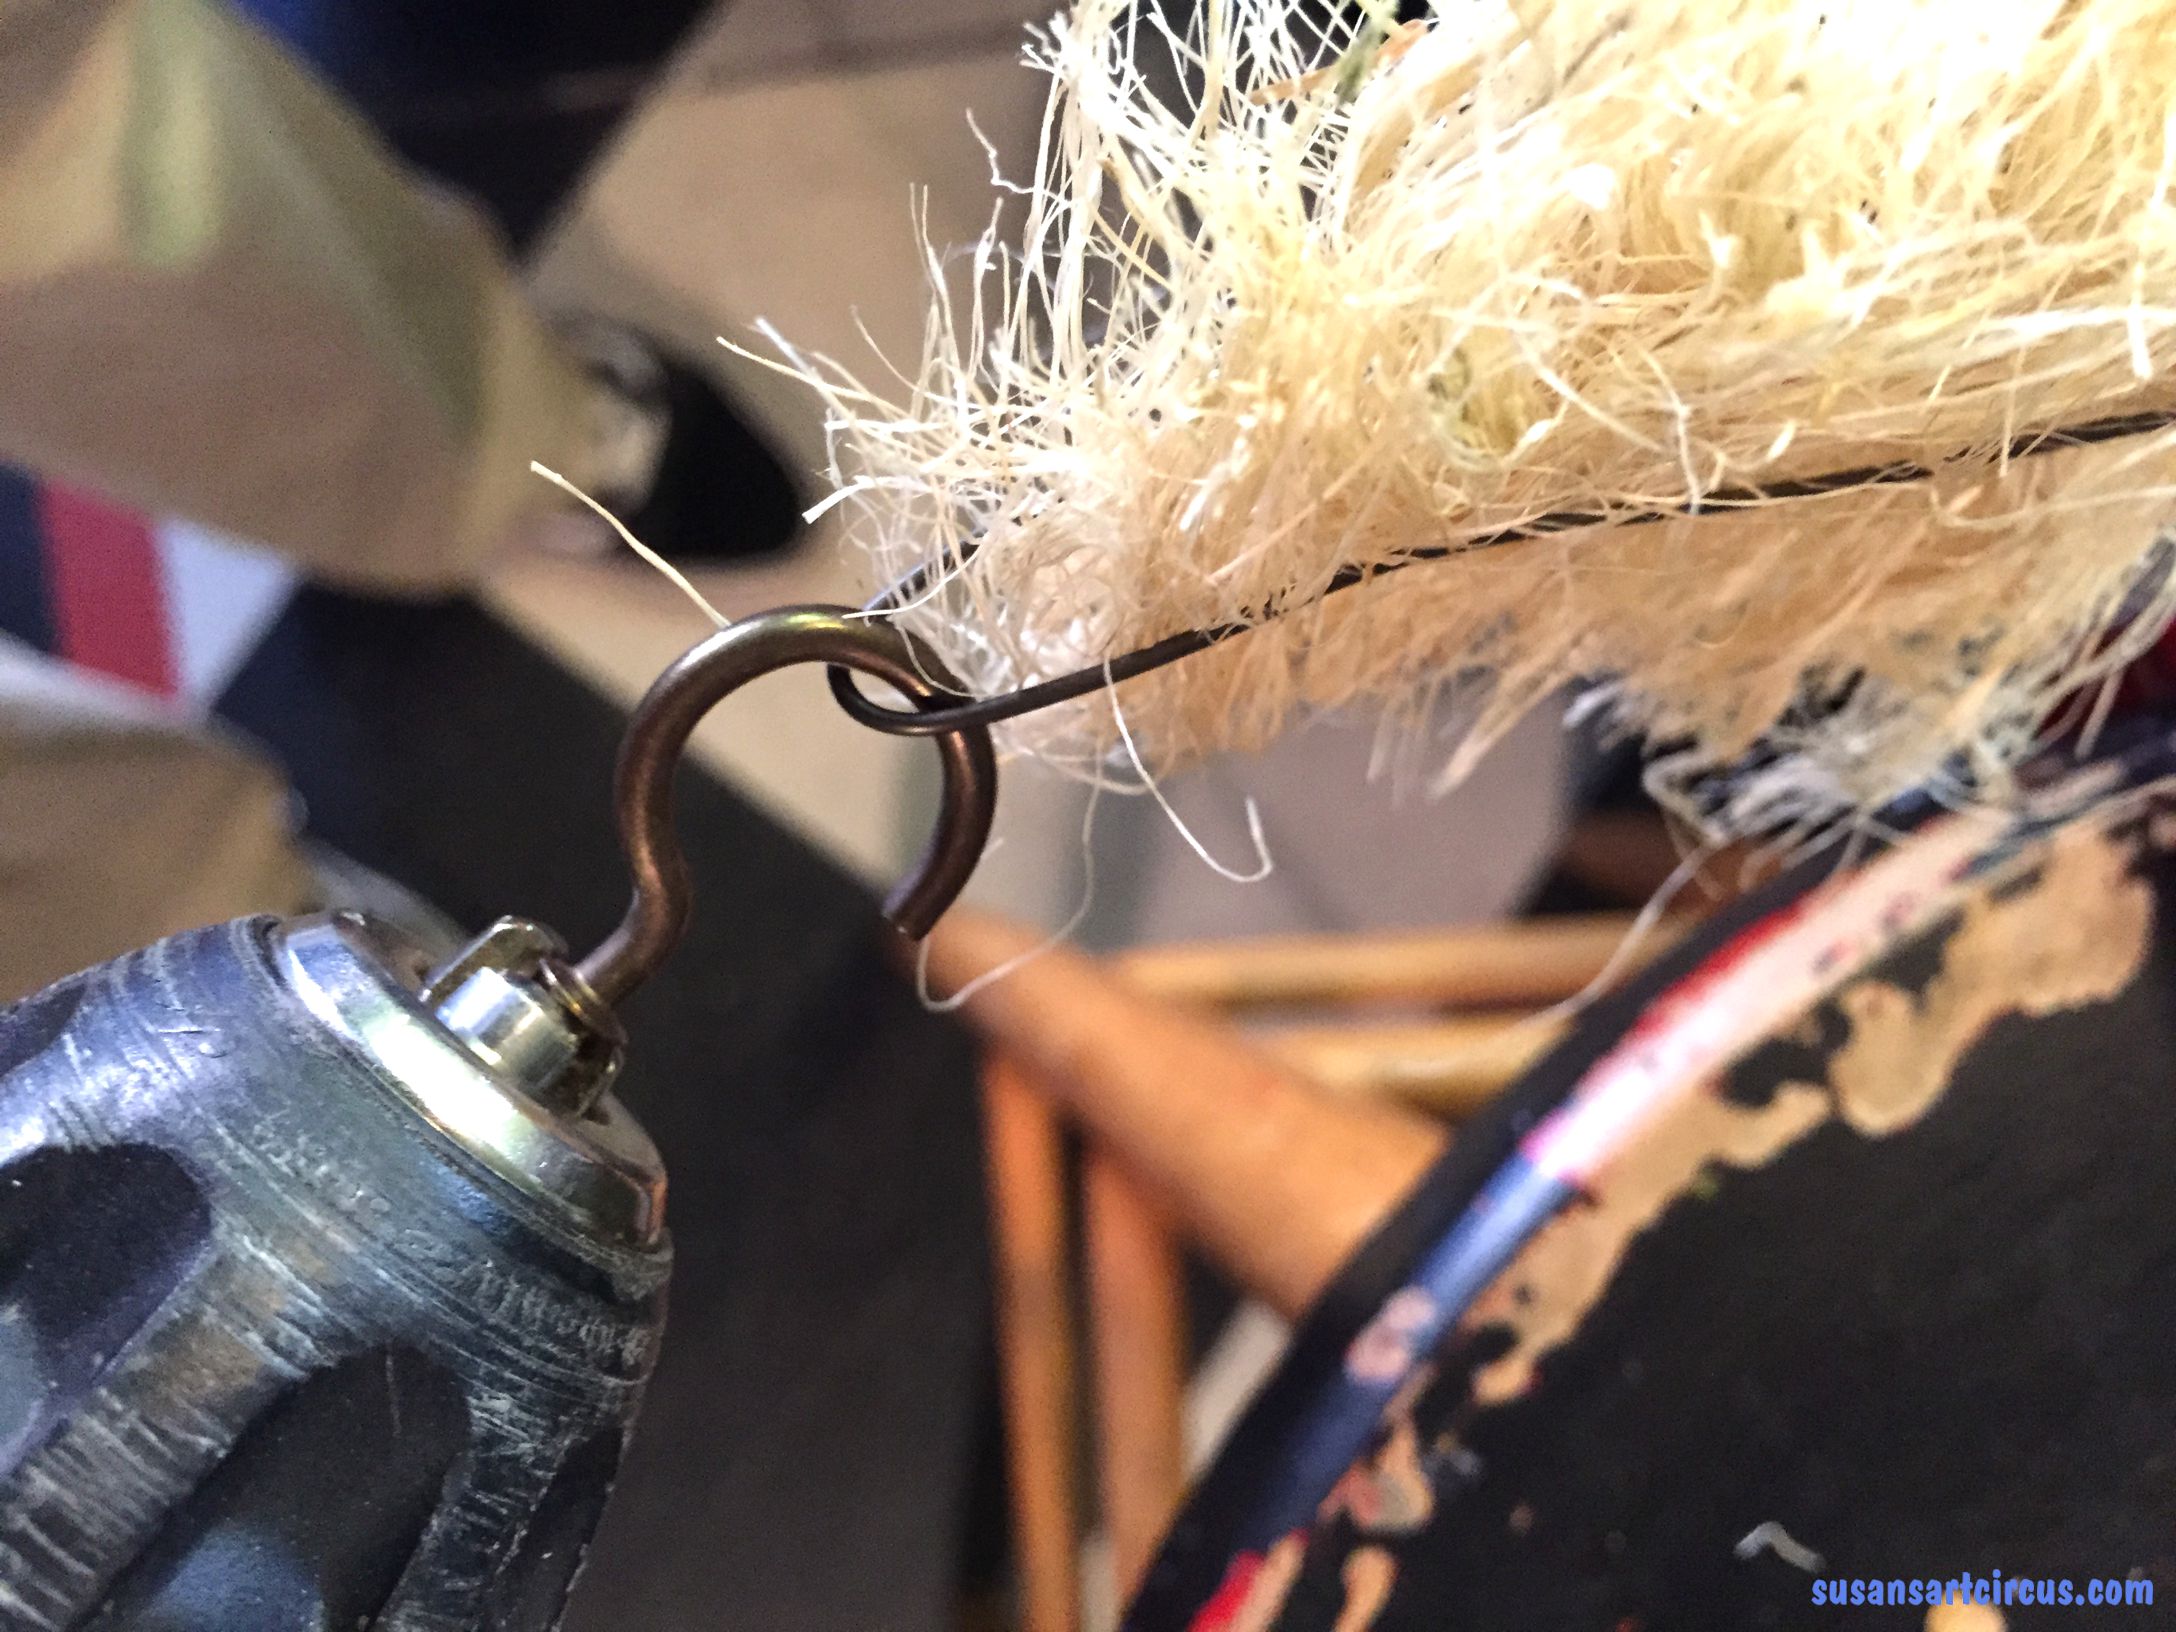
Then take your drill with the cup hook and place the hook like so in the folded portion of the wire…
Pulling up slightly with the drill start to allow the wire to twirl. The hook will probably catch a bit more wire here than you would like but keep twirling with the drill moving slowly until you get the hang of it. The wire will be very twisted when it’s done but not so twisted that it breaks or twirls over on itself. This took me a few tries before I felt comfortable. AND WEAR YOUR SAFETY GLASSES! You don’t want things spinning through the air to hit you in the eyes!
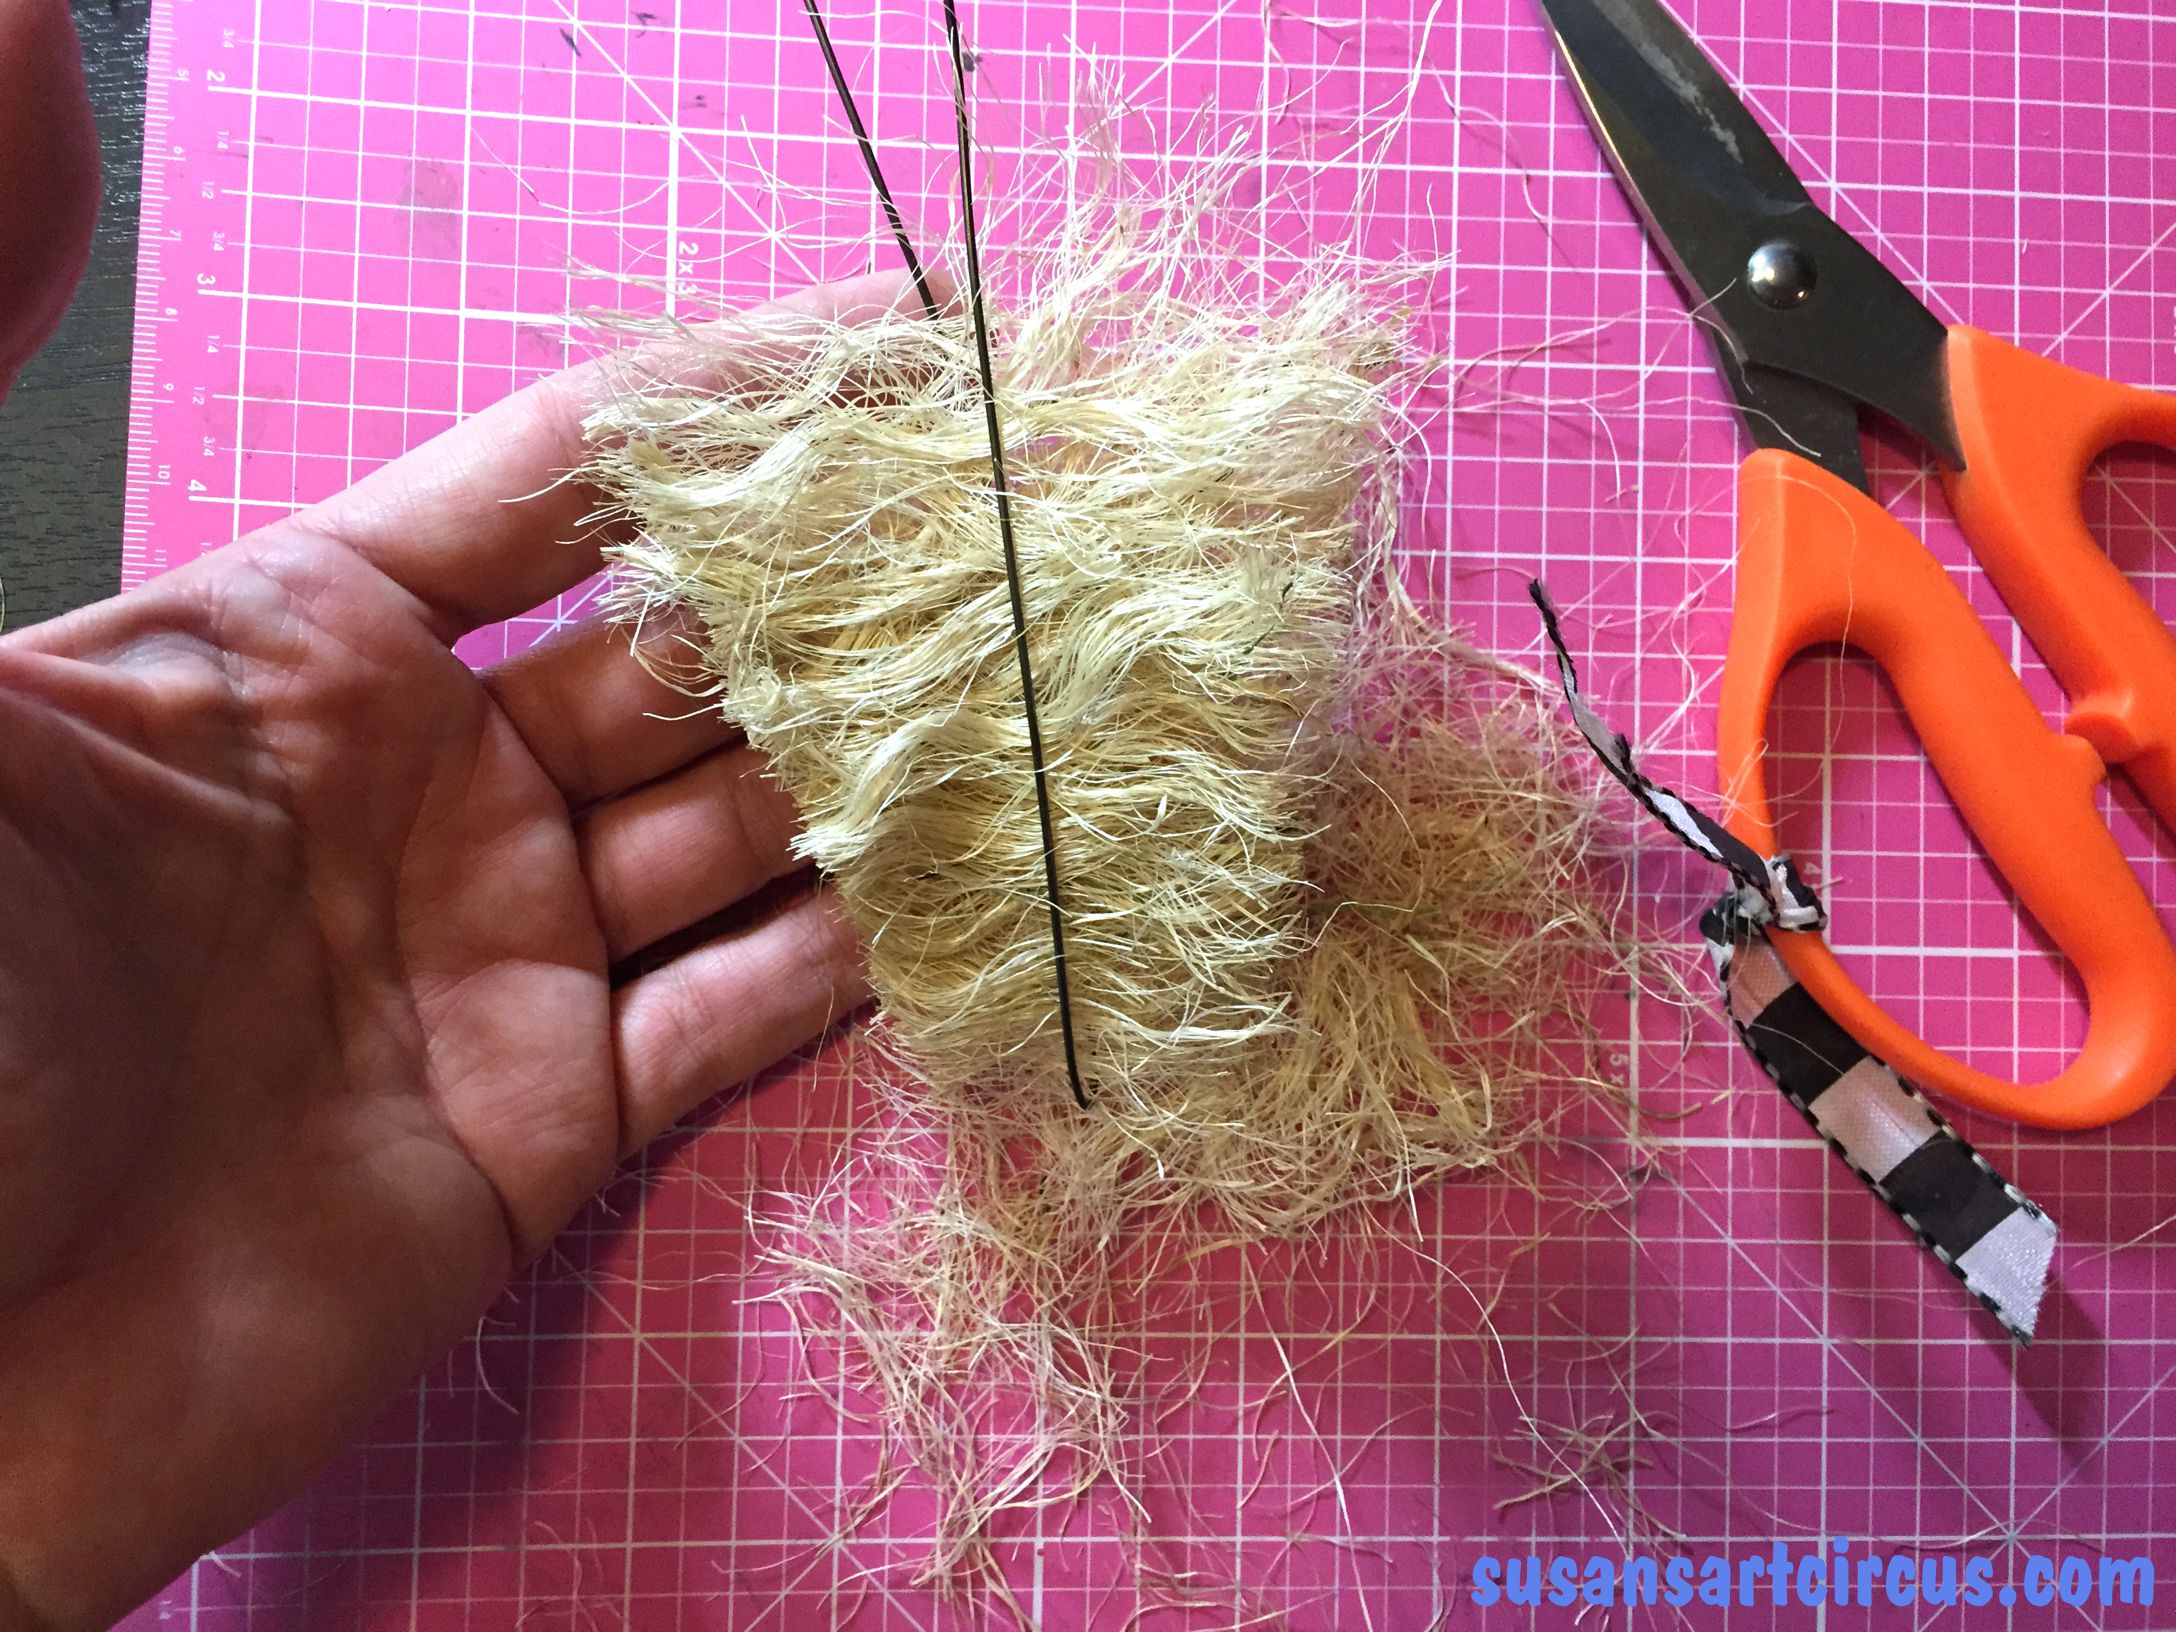
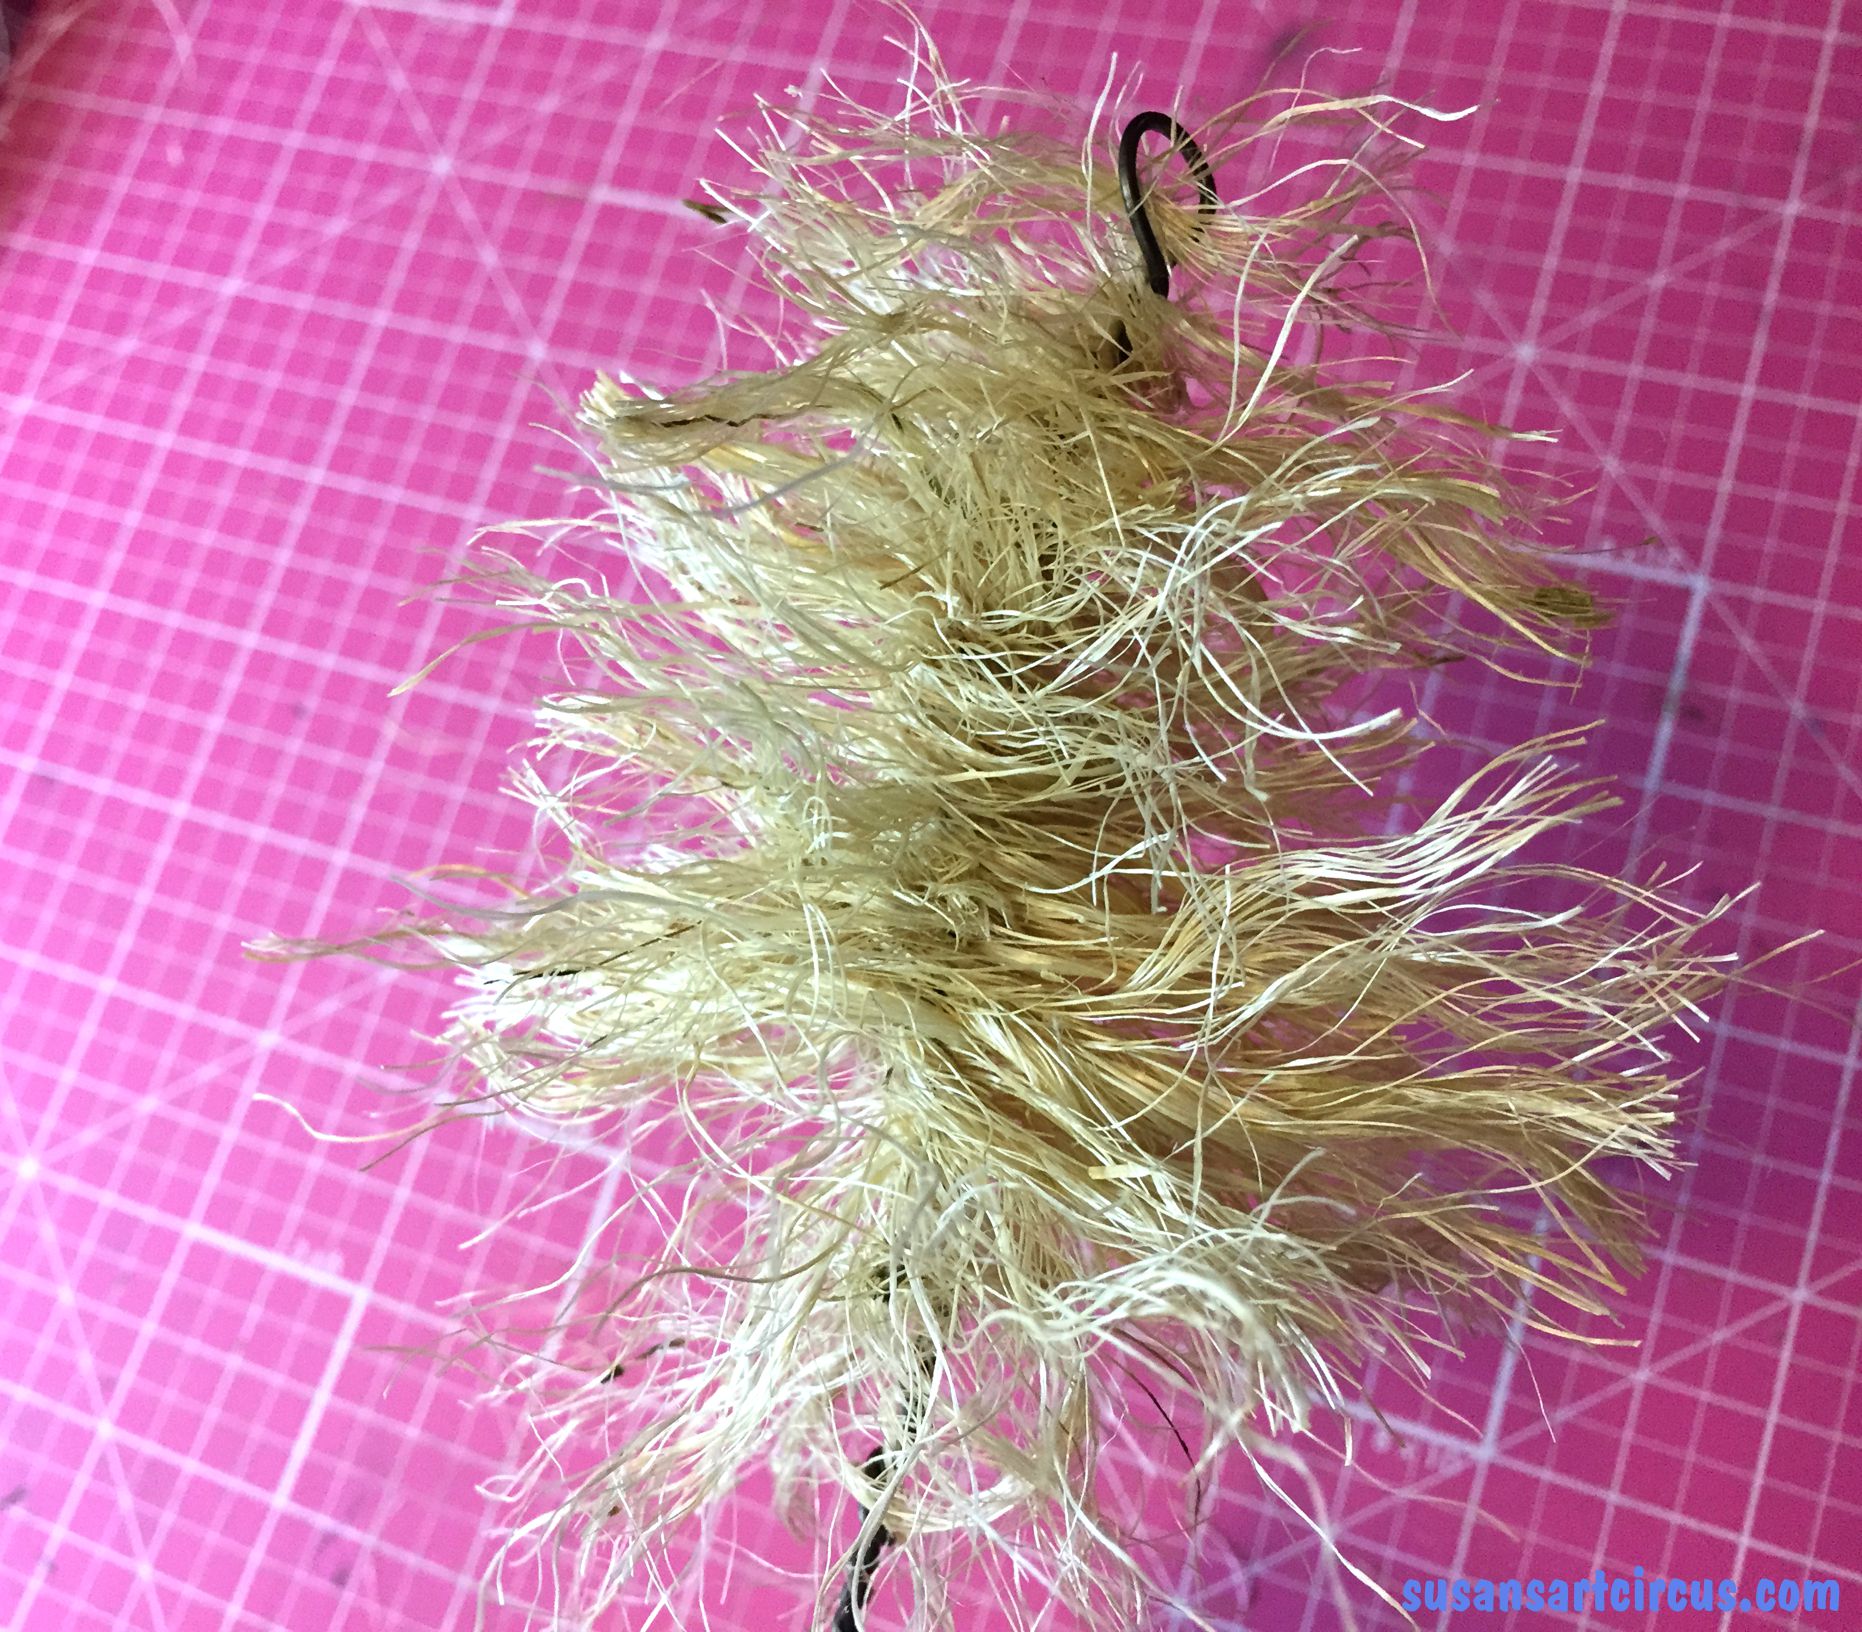
So here is the pay off…
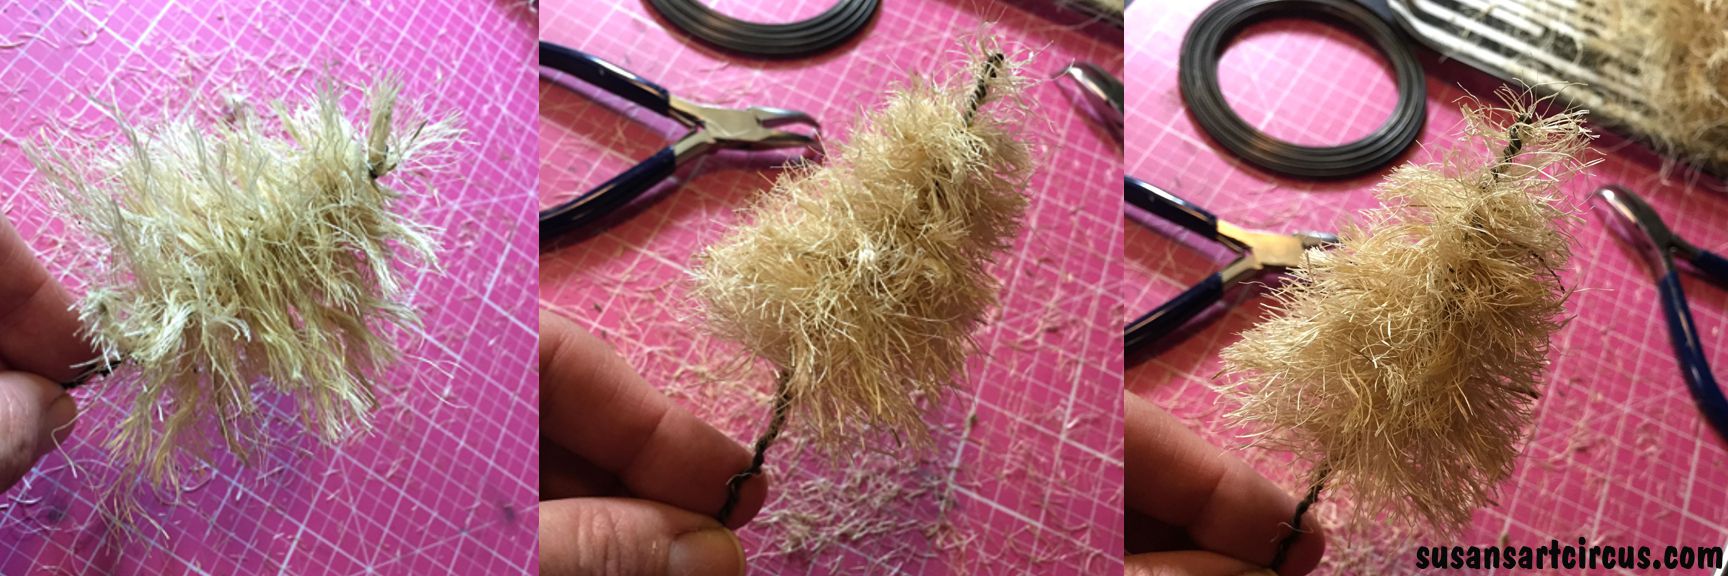
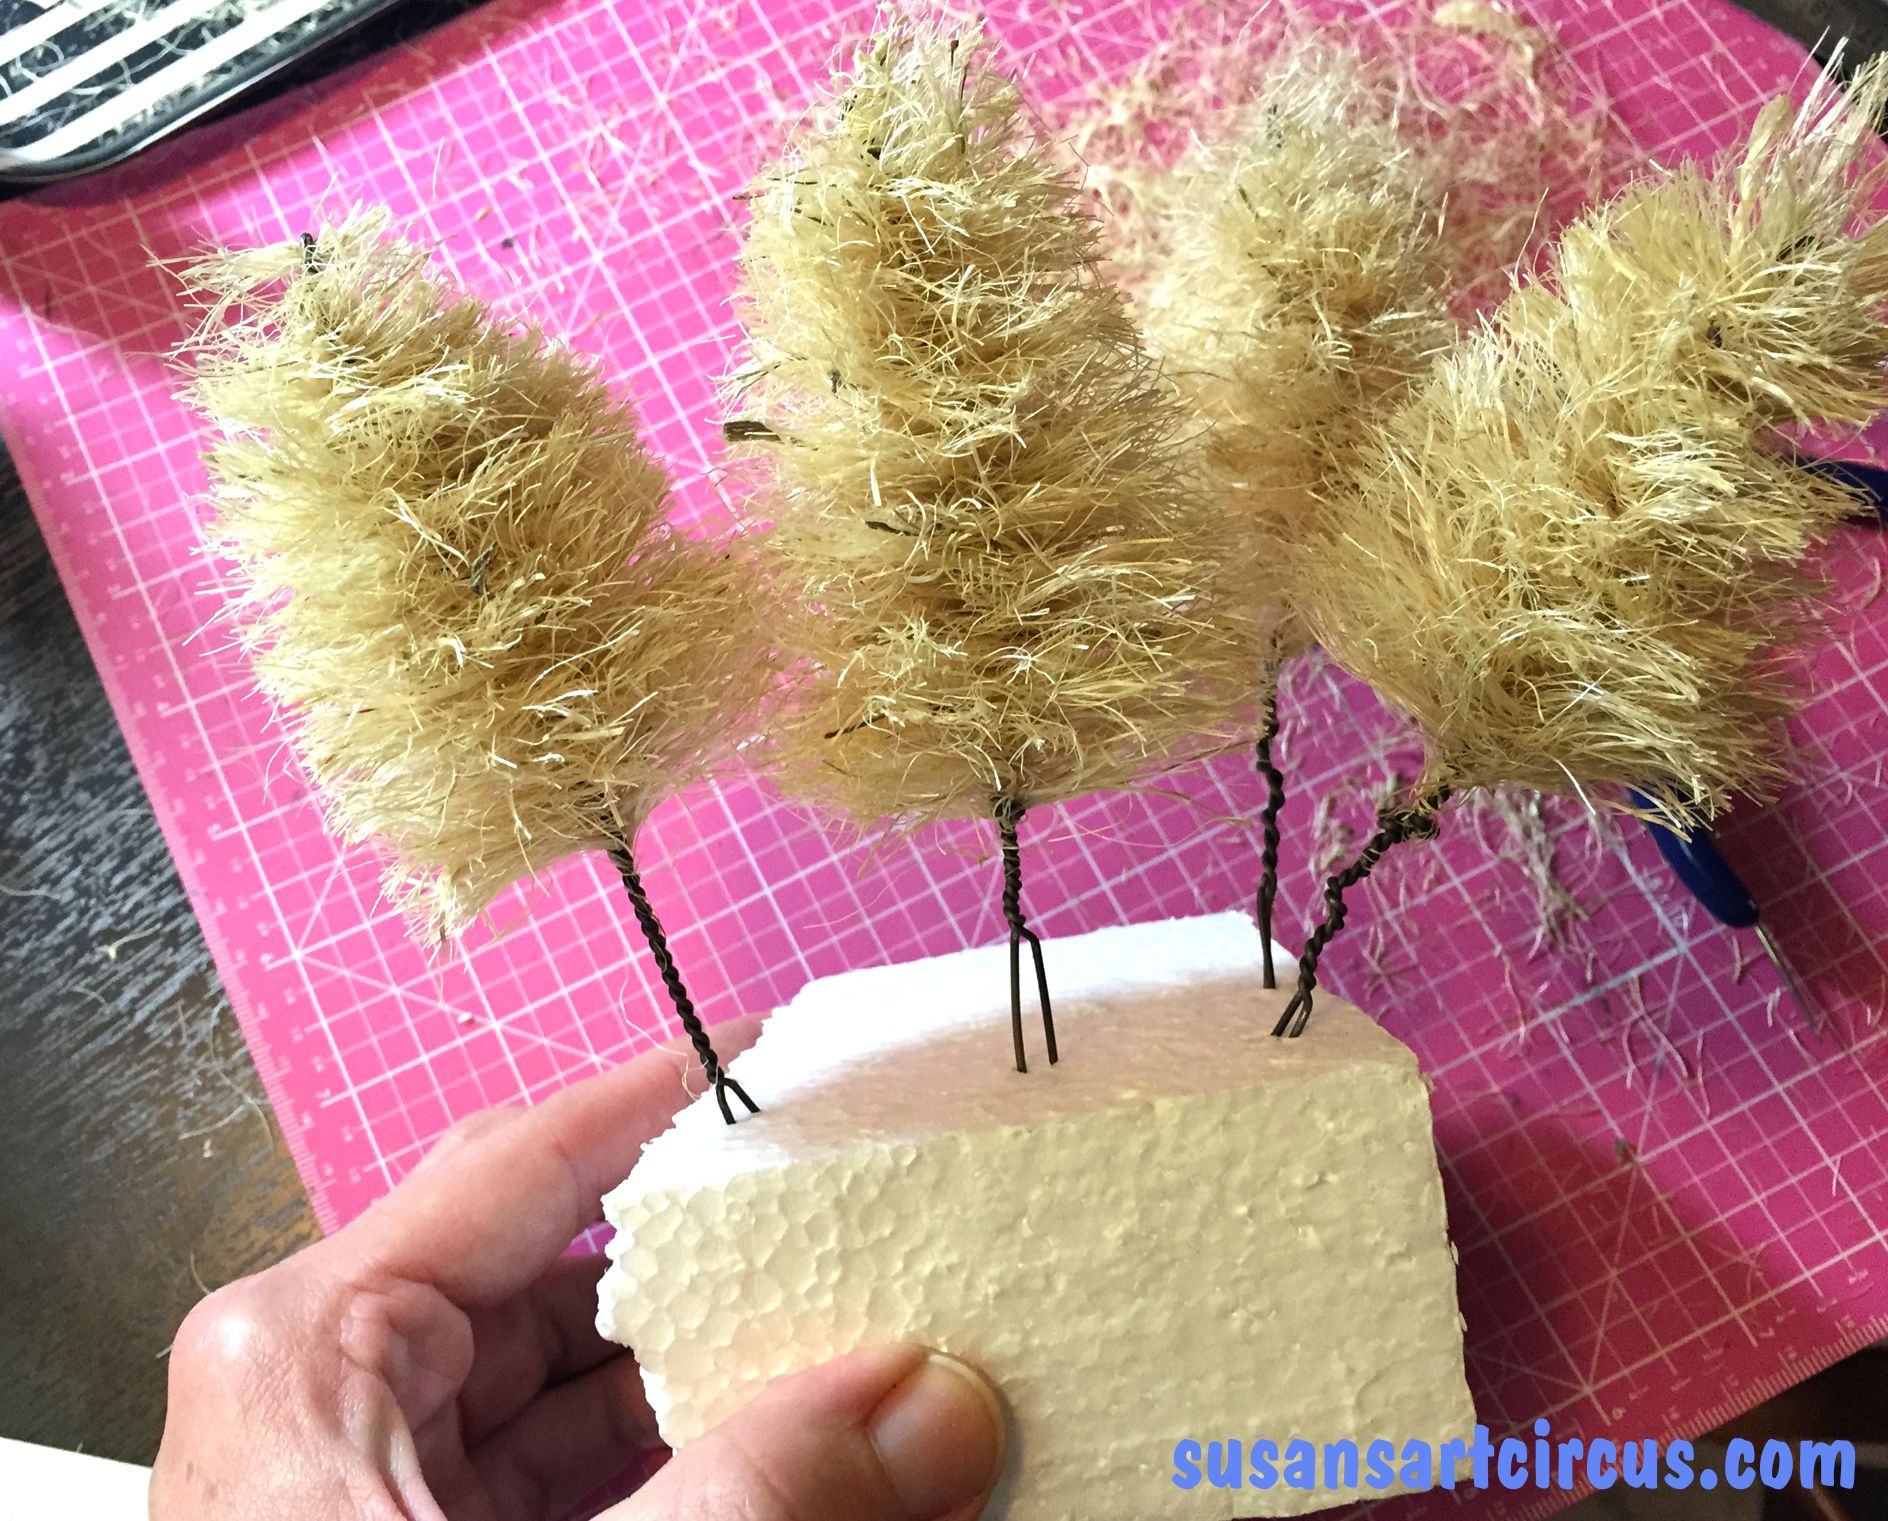
A messy tree like thing…but wait! Take your scissors or, I used a needle tool, and brush out the fibers. I found it best to work in one direction. Then using your scissors trim into a tree shape. Keep trimming…and trimming….and trimming and a tree will appear!
Miraculous! All of a sudden you really have a mini sisal Christmas trees….but they’re beige. And now the real fun begins!
Don’t hate me but I’m not going to show you until tomorrow!
Hello Susan , That is one super cool DIY ! I have always wondered how these trees are made ! Wow , I must try my hand at this ! Thanks so much for sharing ..

Hello Susan , That is one super cool DIY ! I have always wondered how these trees are made ! Wow , I must try my hand at this ! Thanks so much for sharing ..