Wild Wonders

cheetah1

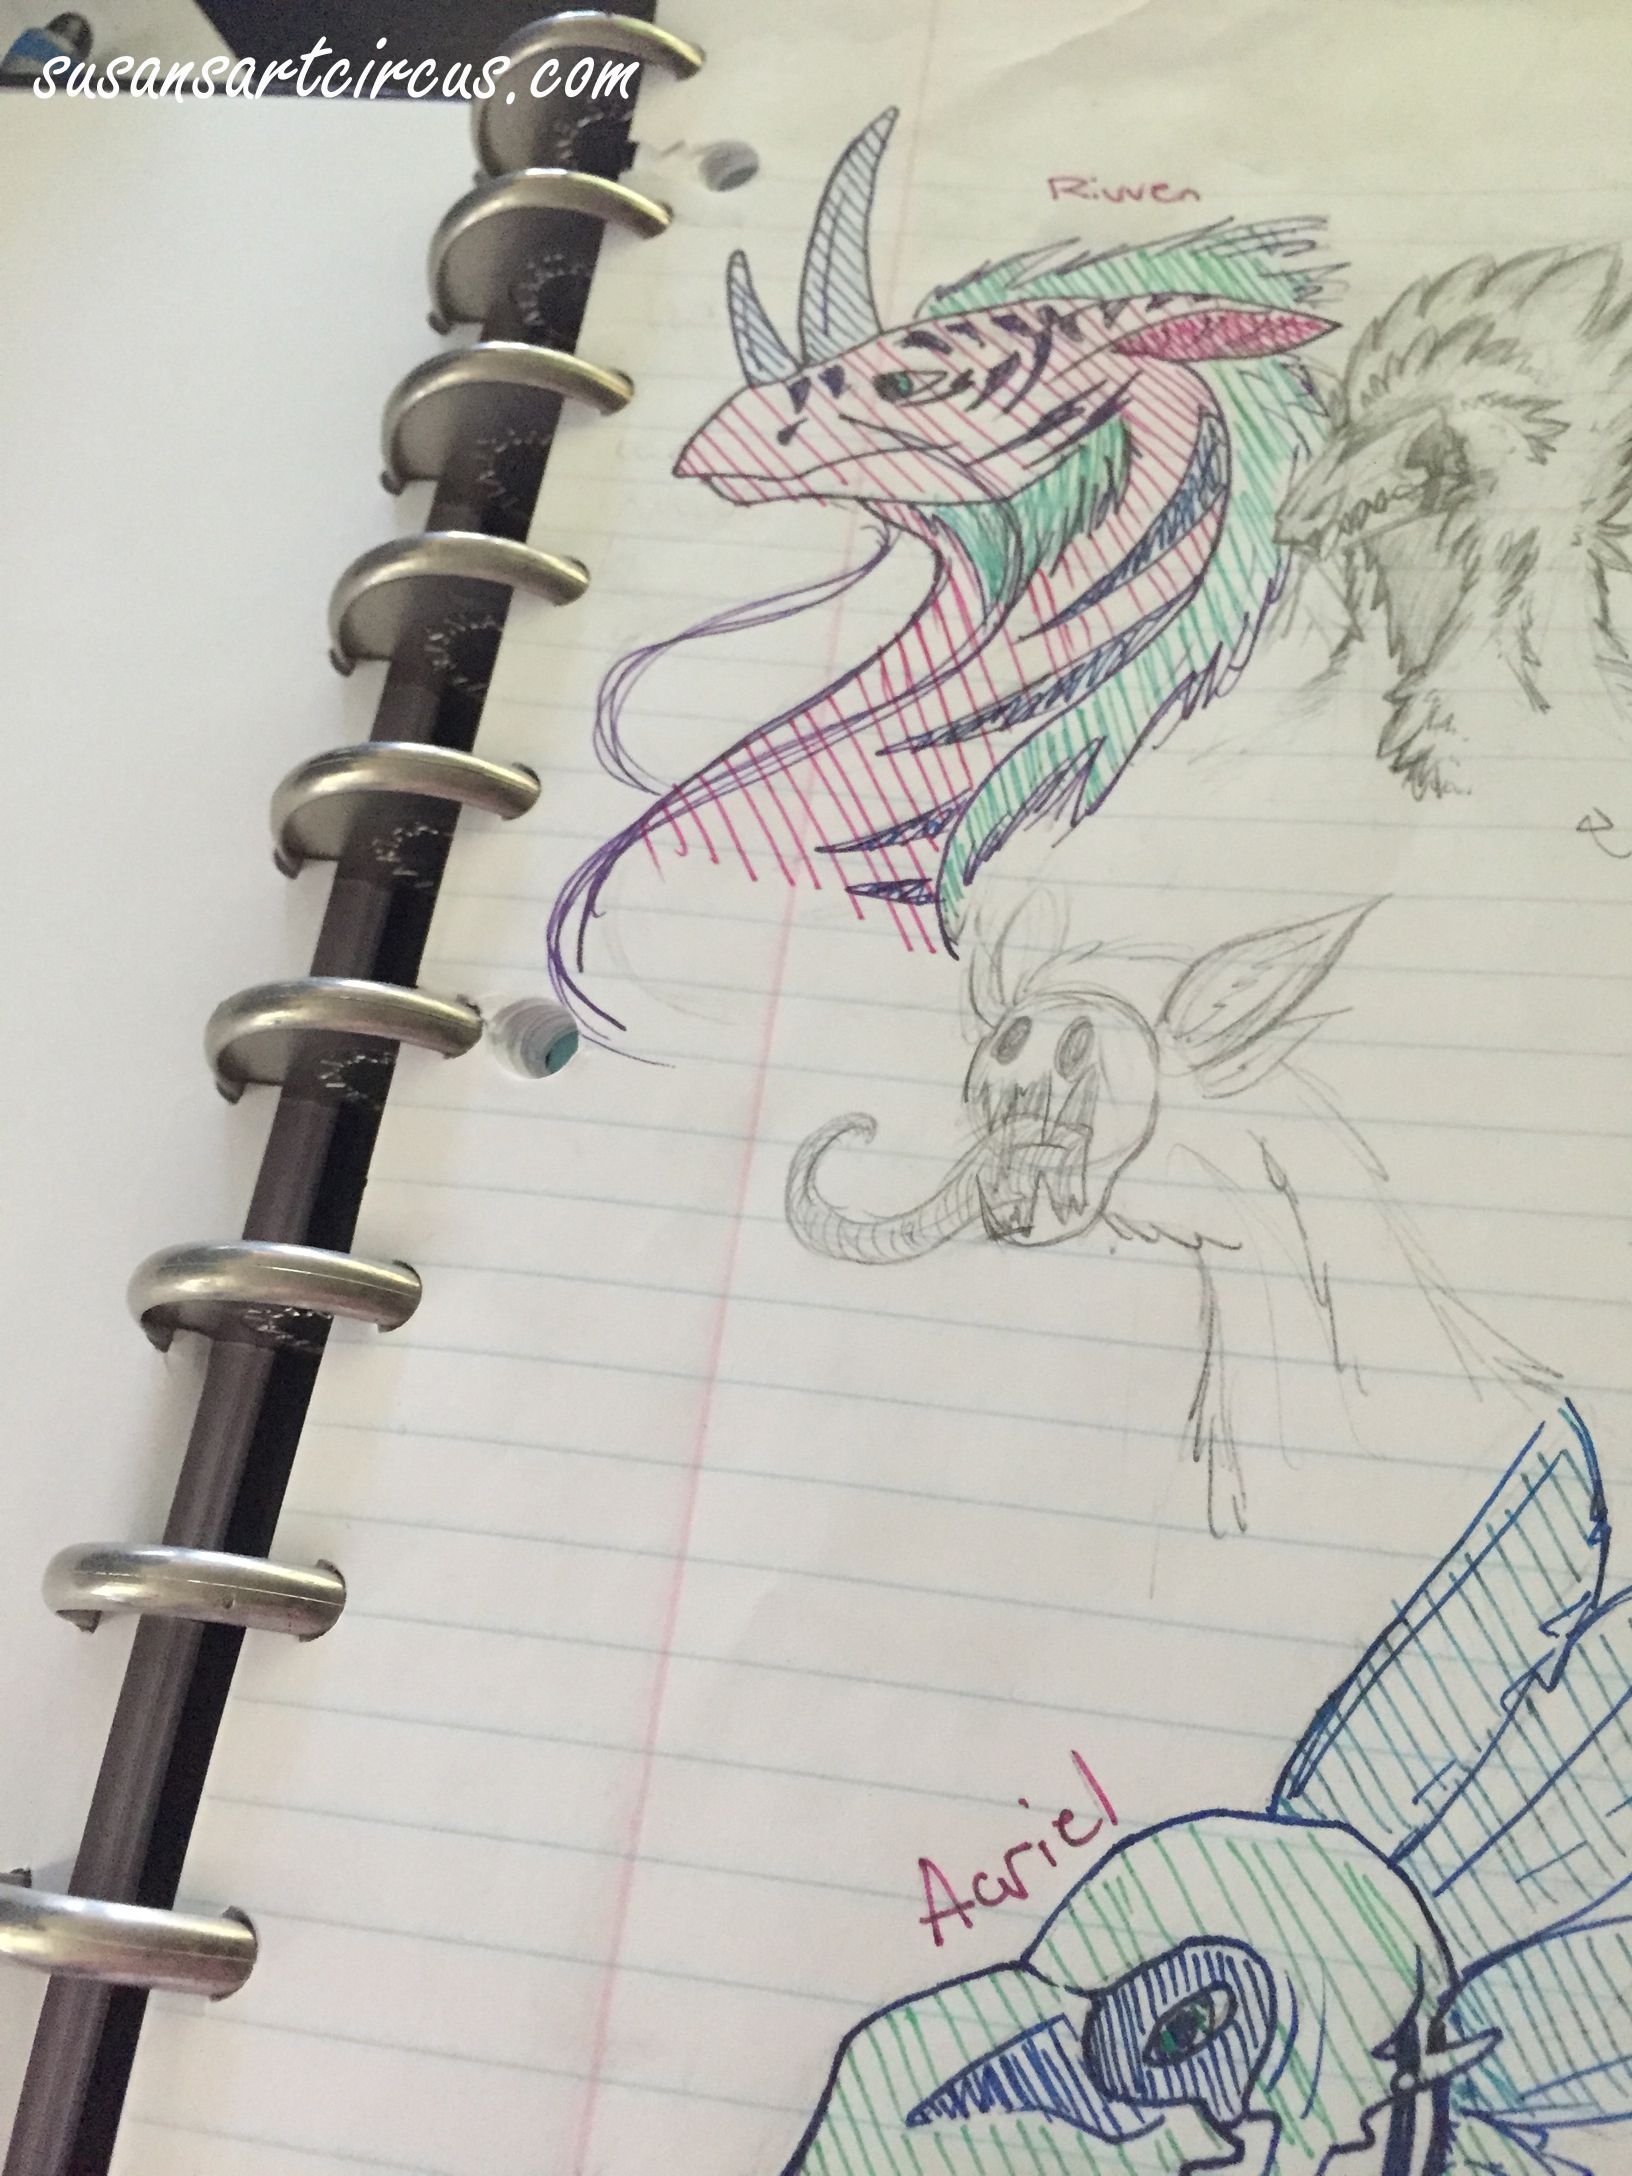
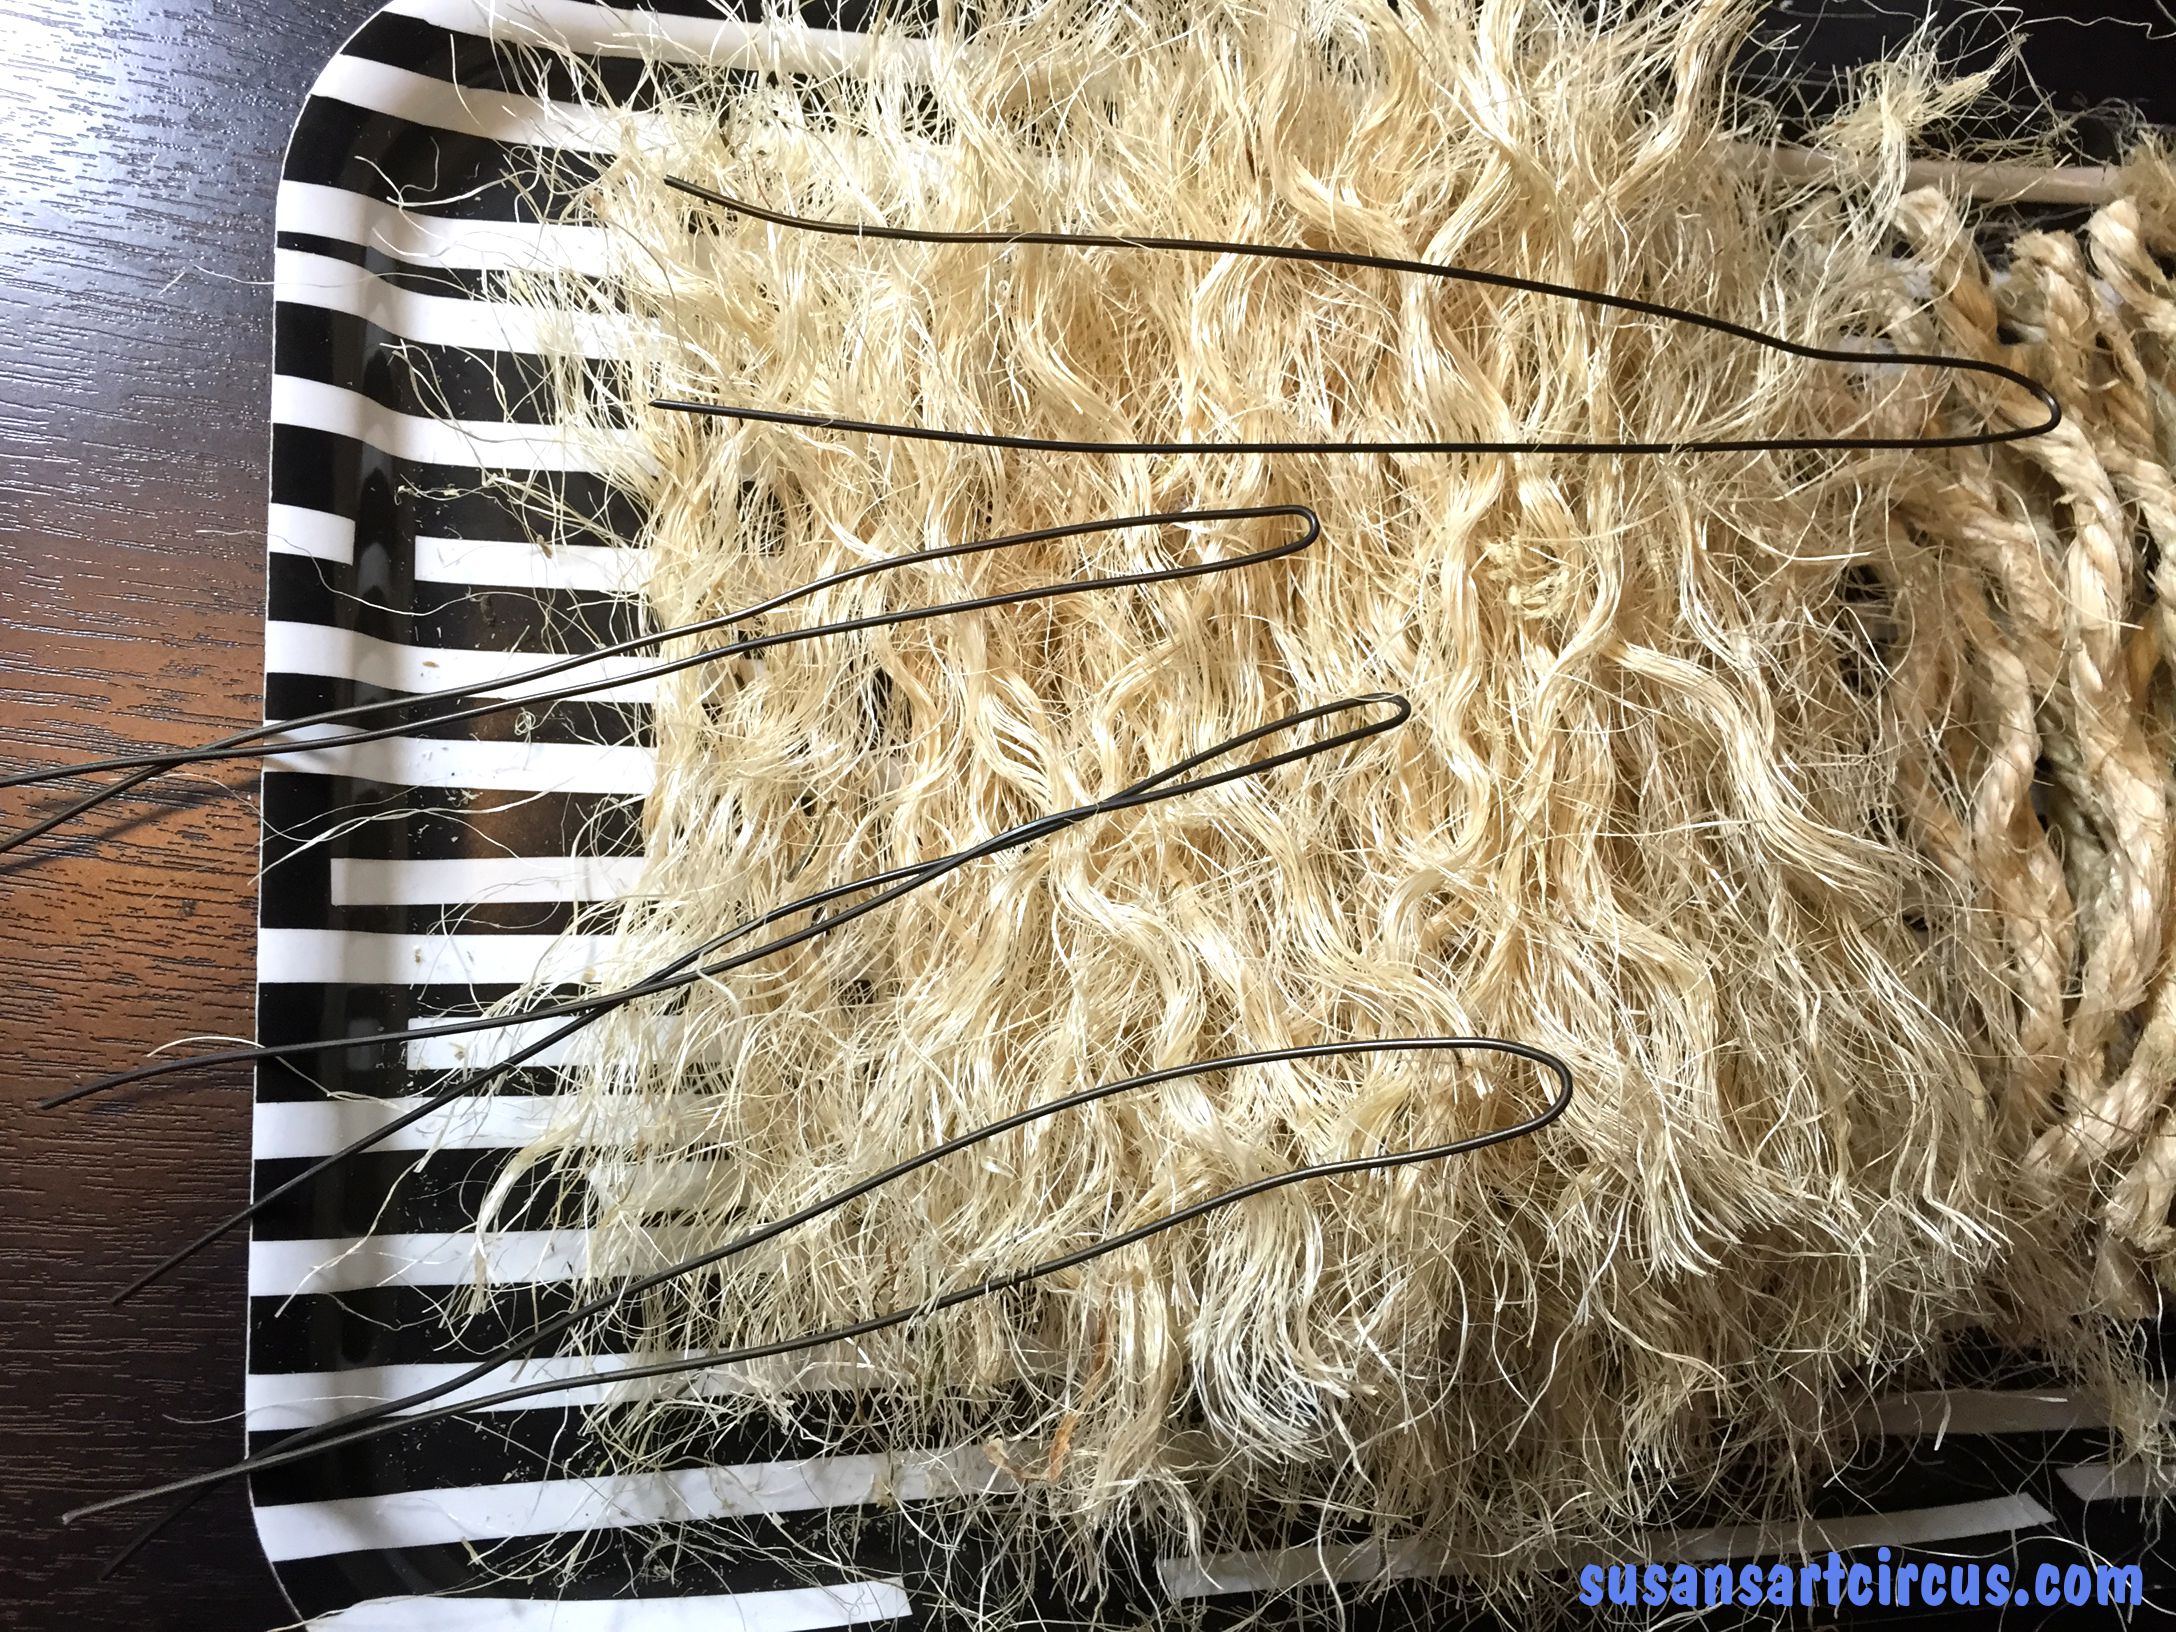
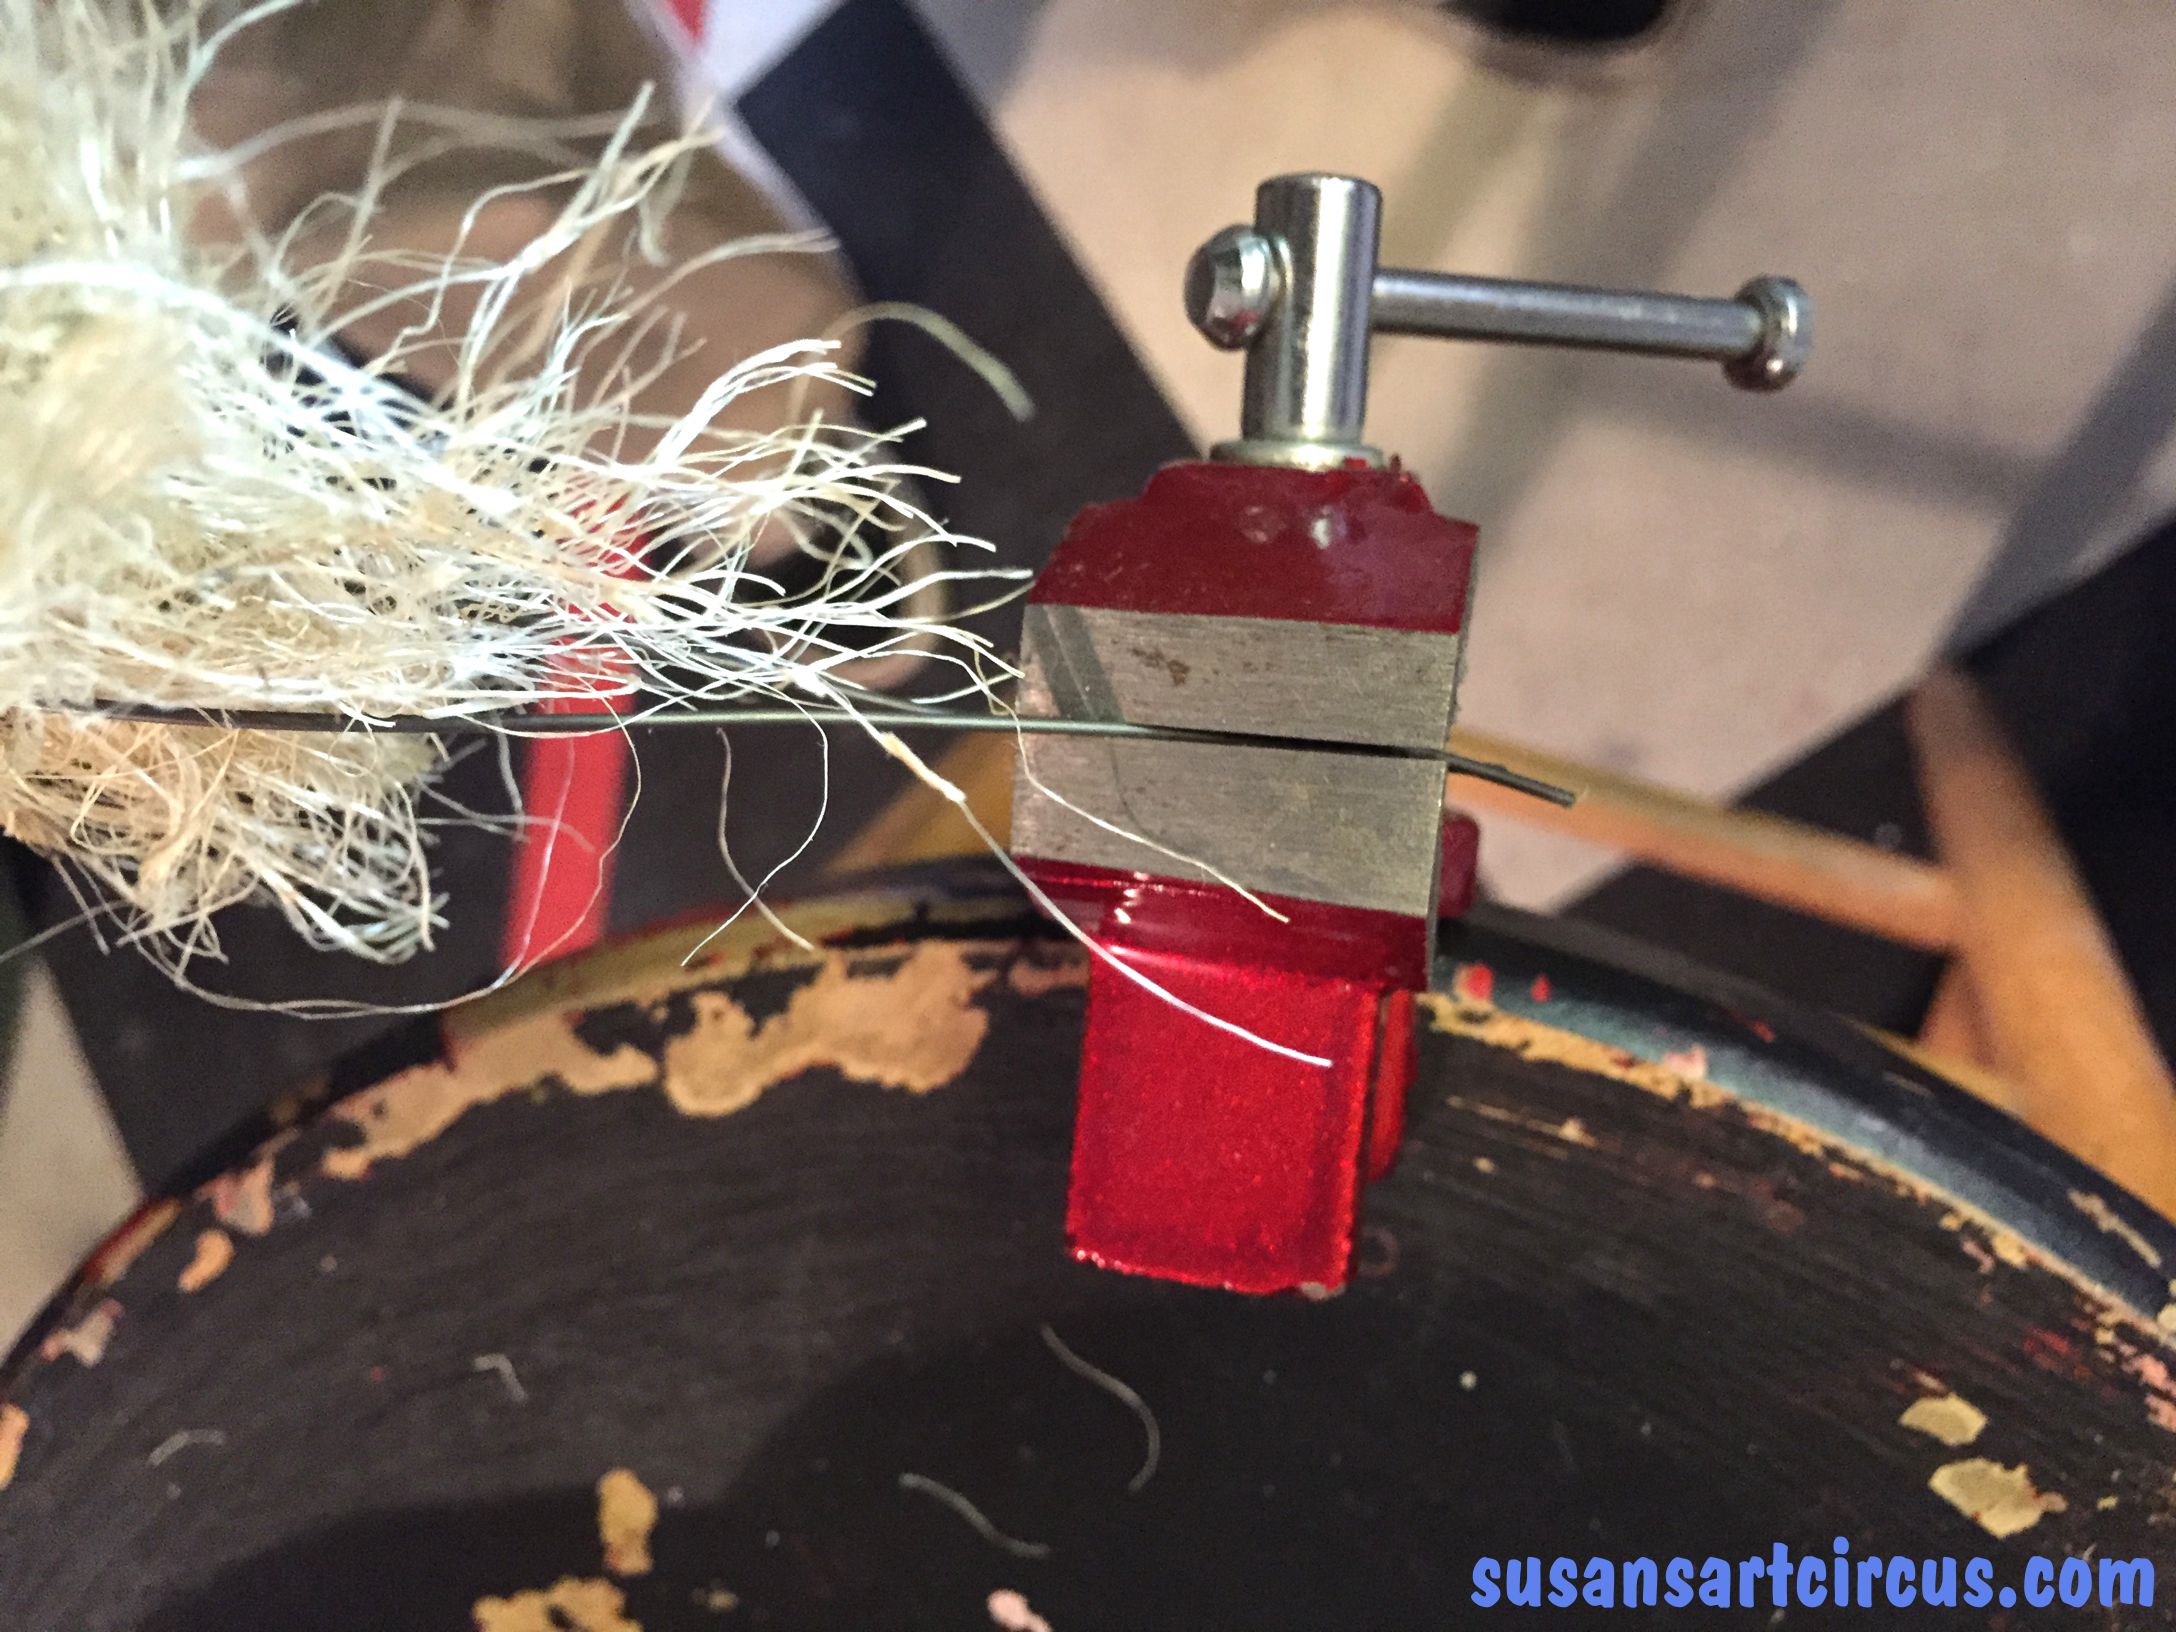
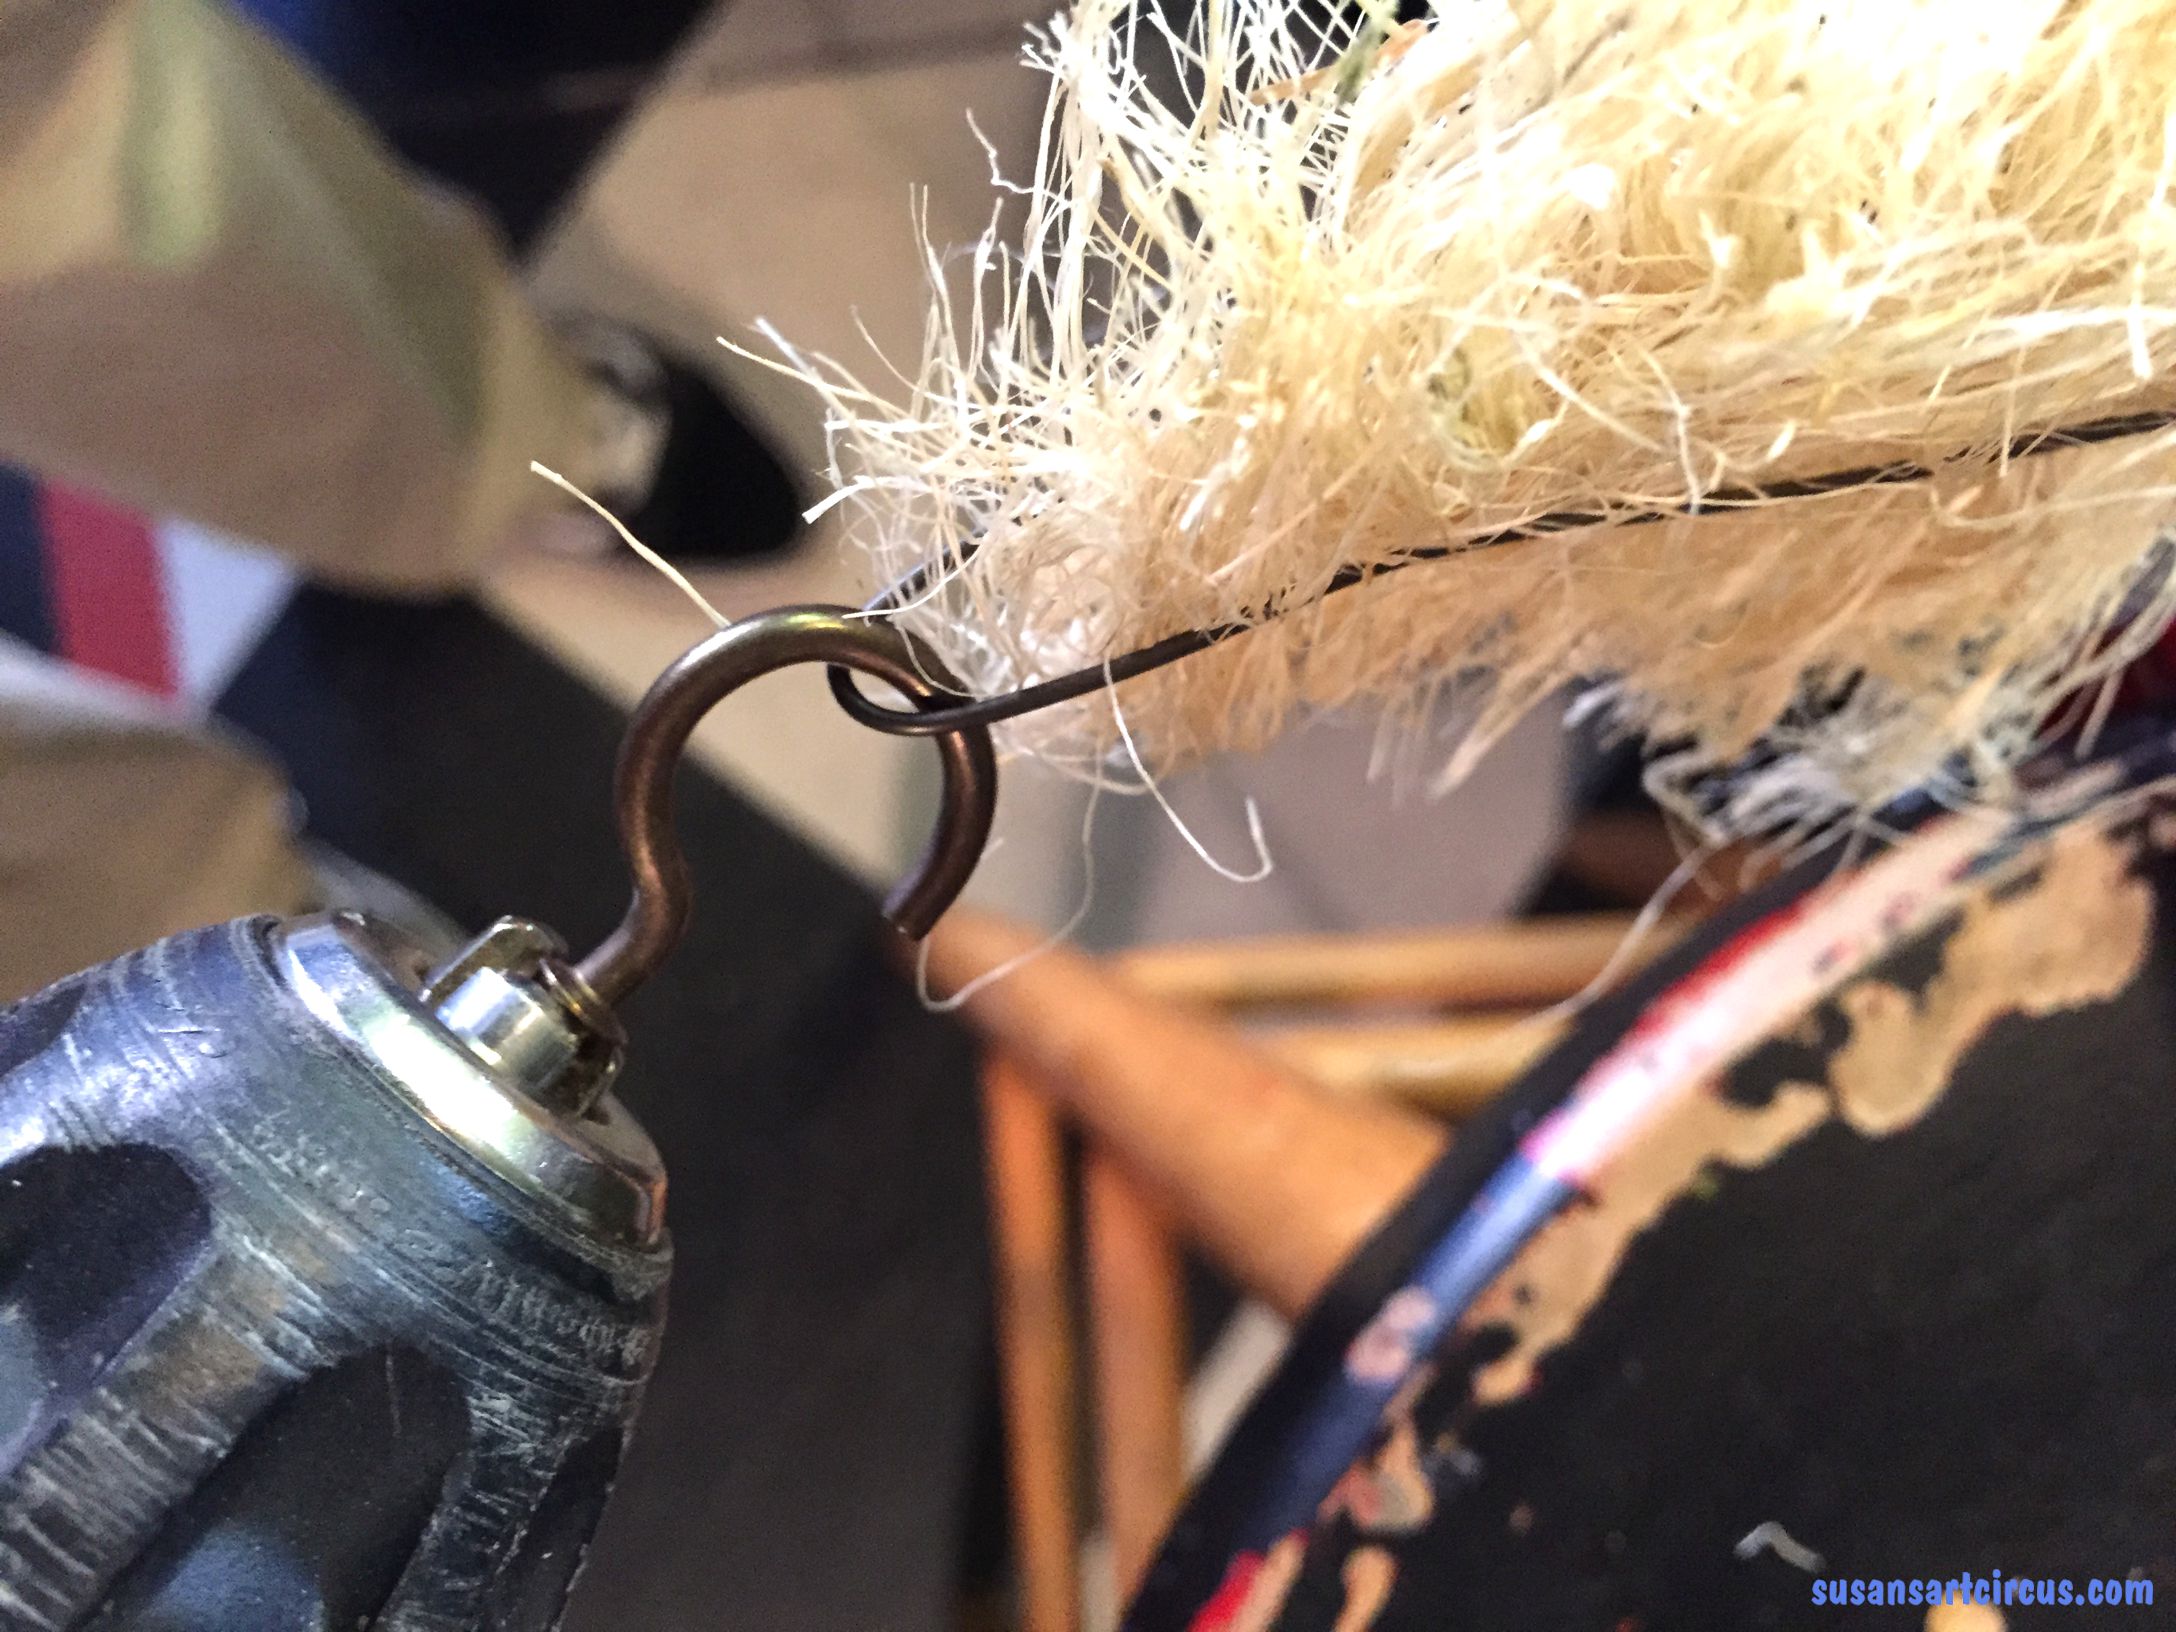
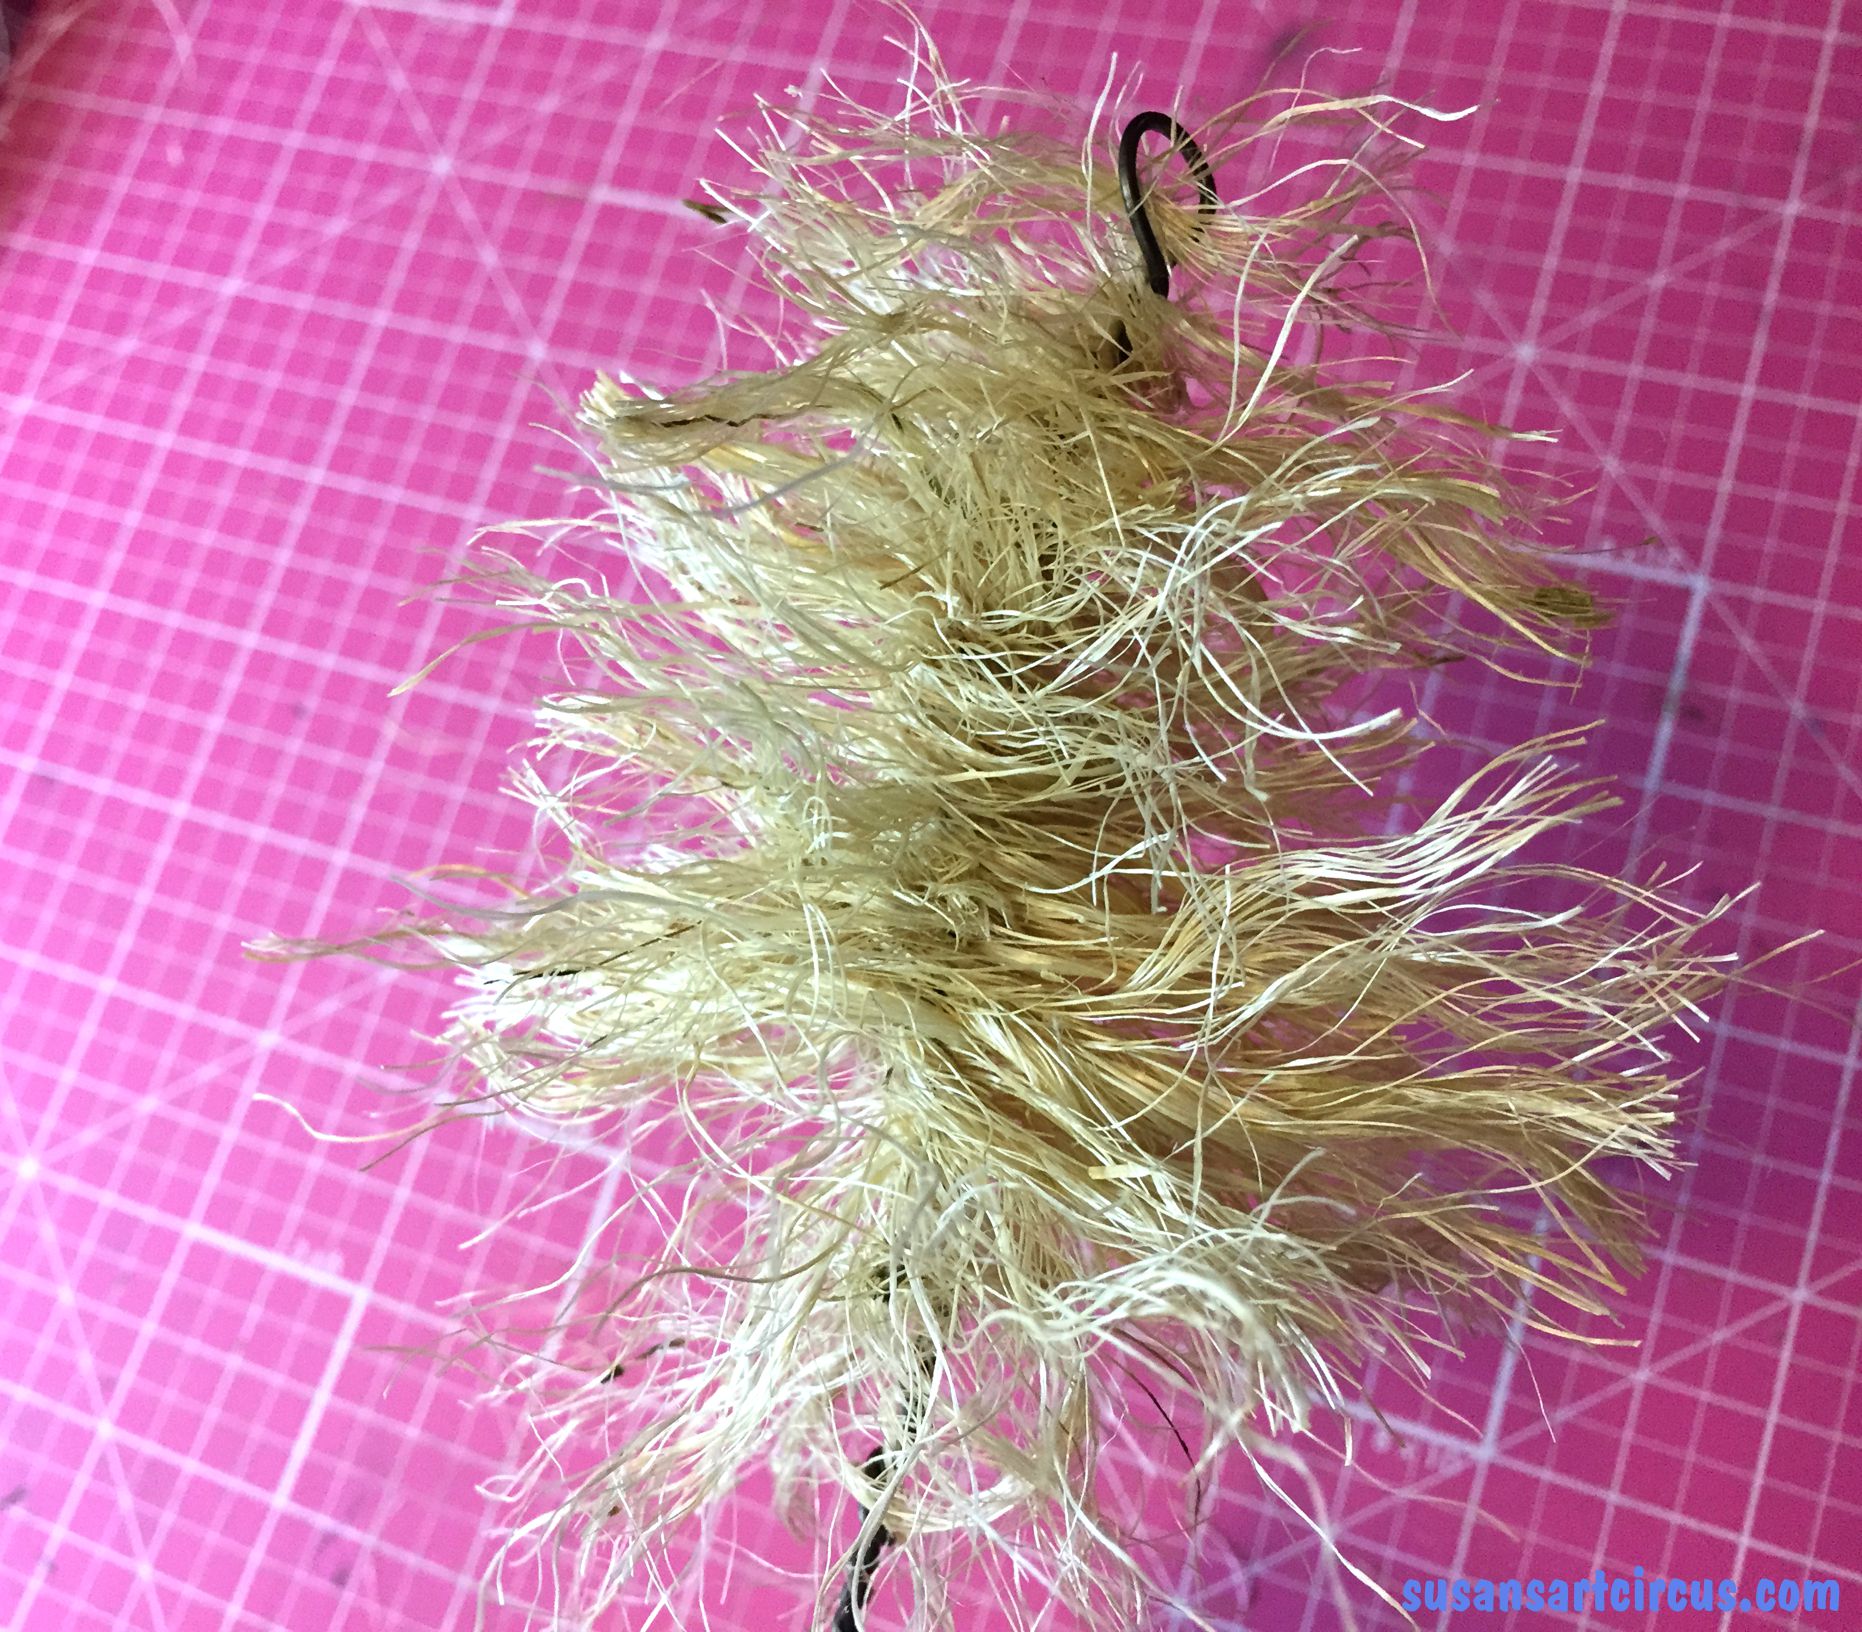
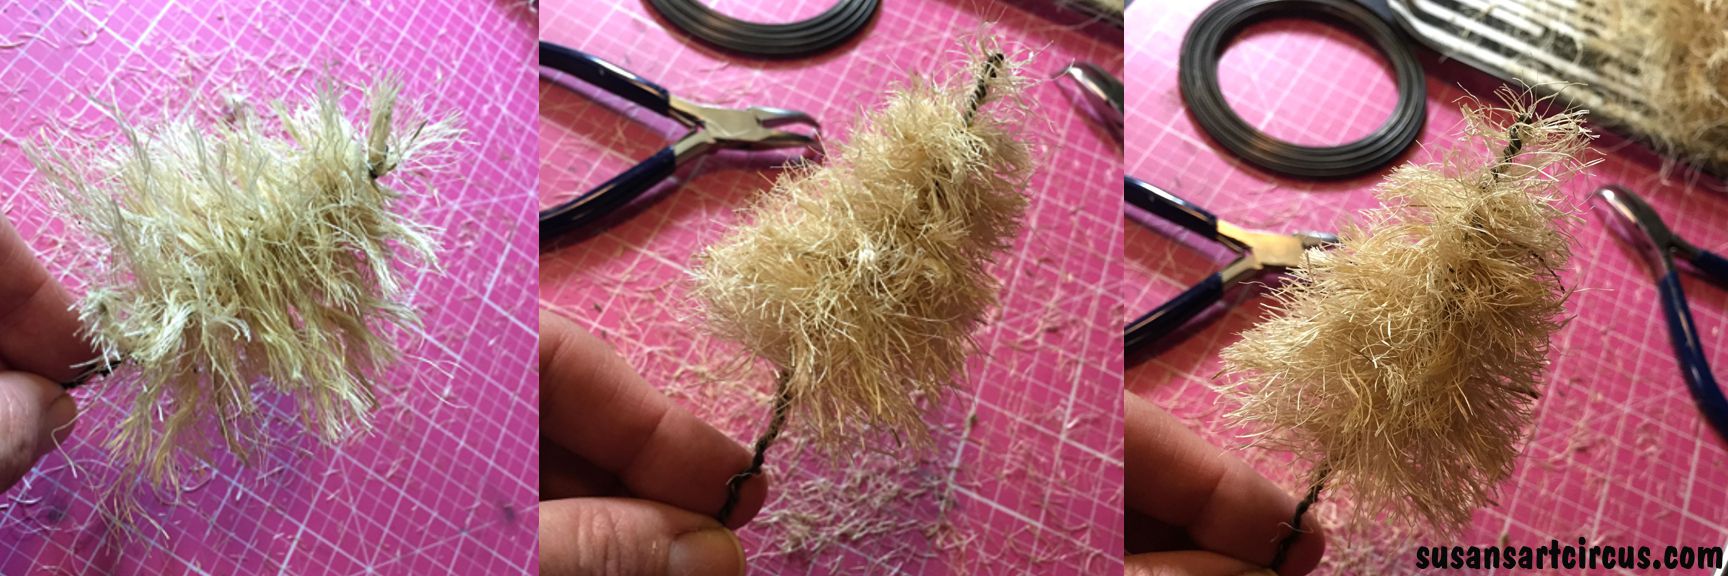
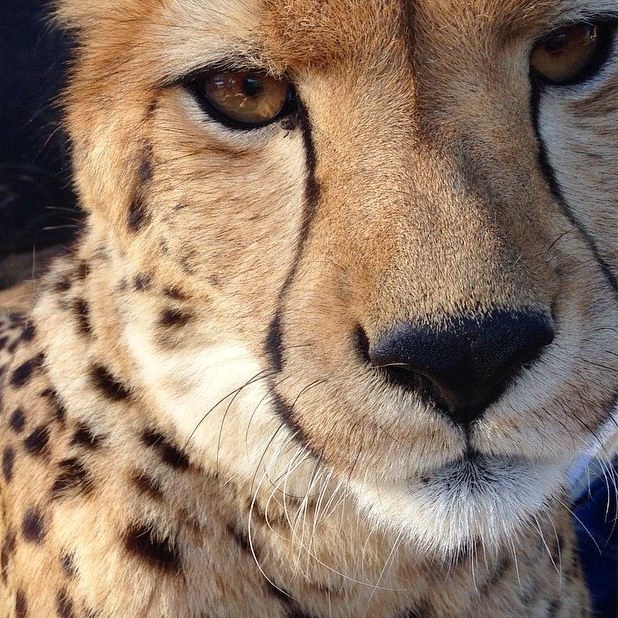
Just a quick reminder that some of my pieces are made for, and of, the creatures of Wild Wonders. Isn’t that face up there wonderful?

From their website:

Welcome to the world of Wild Wonders, Inc. where kids and adults can “tame” their curiosity for “wildlife.” Through live interactive programs and tours at our site or yours, our wildlife educators and our 150 animal-ambassadors will take you on a dynamic adventure you will not forget. Our goal is to excite the public and foster a desire to preserve and learn about the wildlife and the important role they play in the planet we share.

In order to help support their journey I get to make wearable jewelry pieces from their wonderful collection of critters that are Wild Wonders!

Mix of Critters

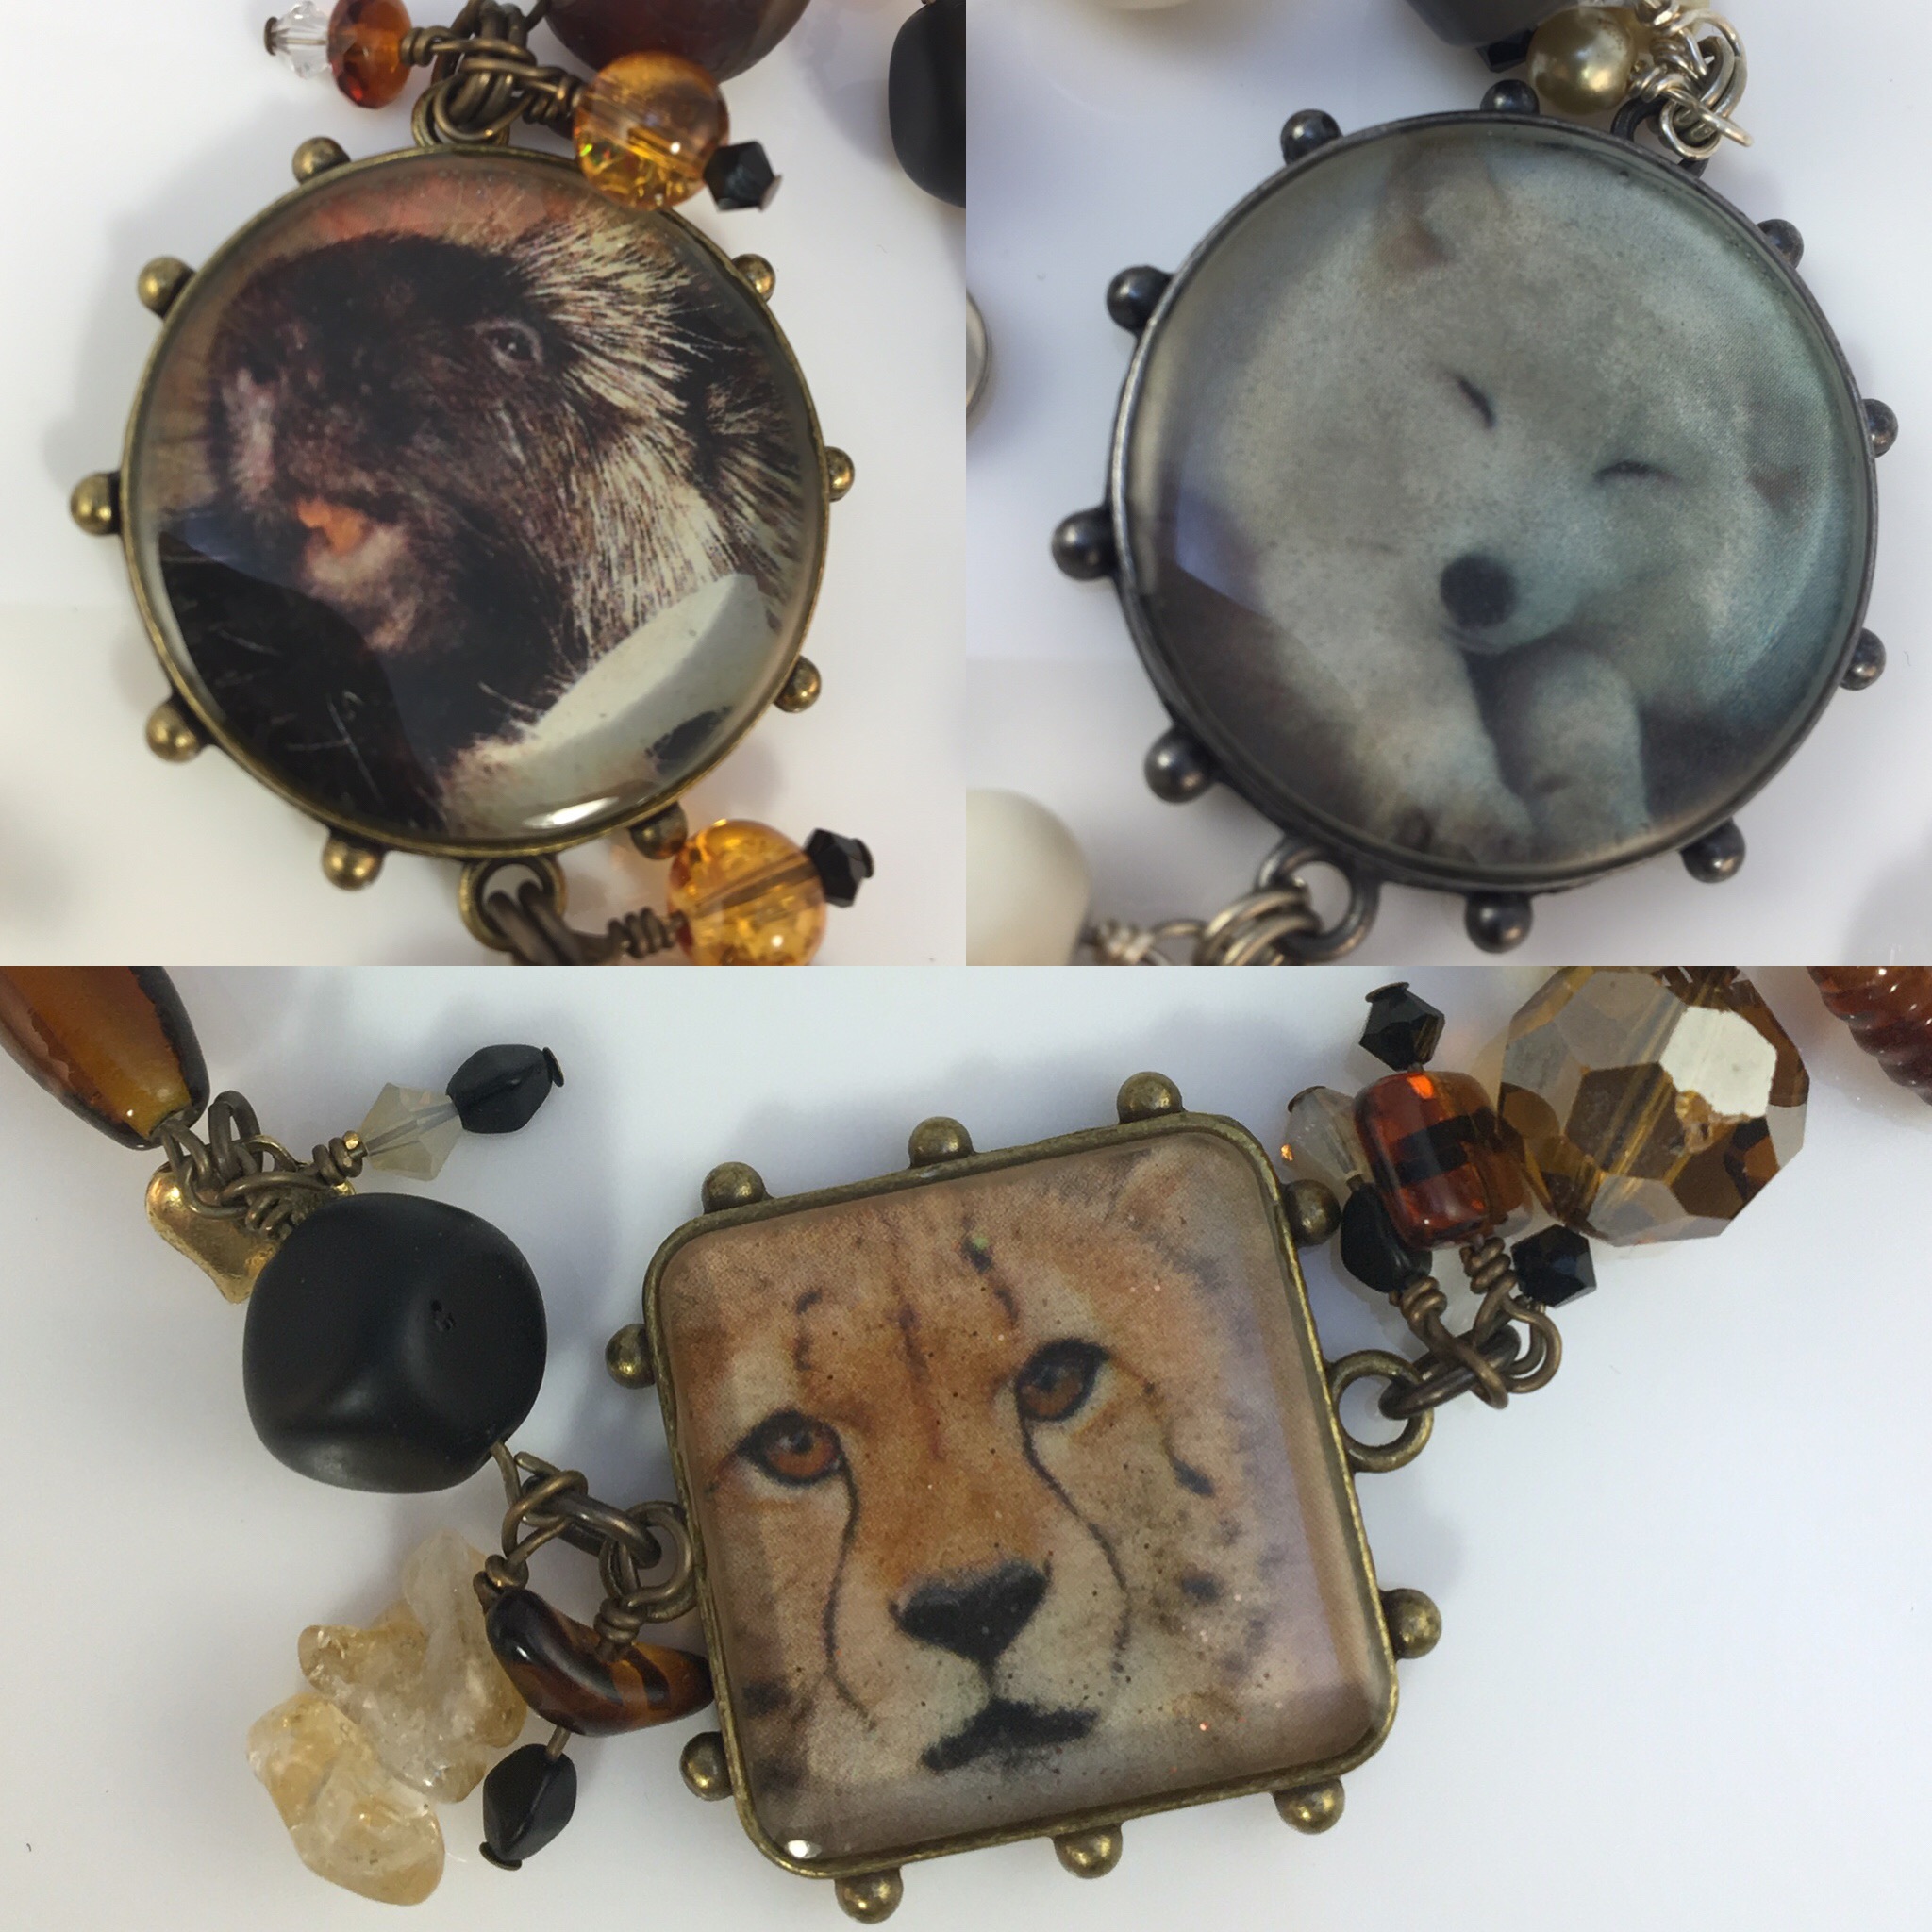
Zoo items that you purchase from me either in person or from my online shop section “The Art That is Wild Wonders” sends 20% of the profits back to the zoo! (click on the word “shop” at the very top of the page and all the sections will show up, then click on “The Art That is Wild Wonders”) If you happen to be visiting the zoo in person they have a gift shop area and anything you purchase of mine donates 50% of back to the critters!

bgreyfox2

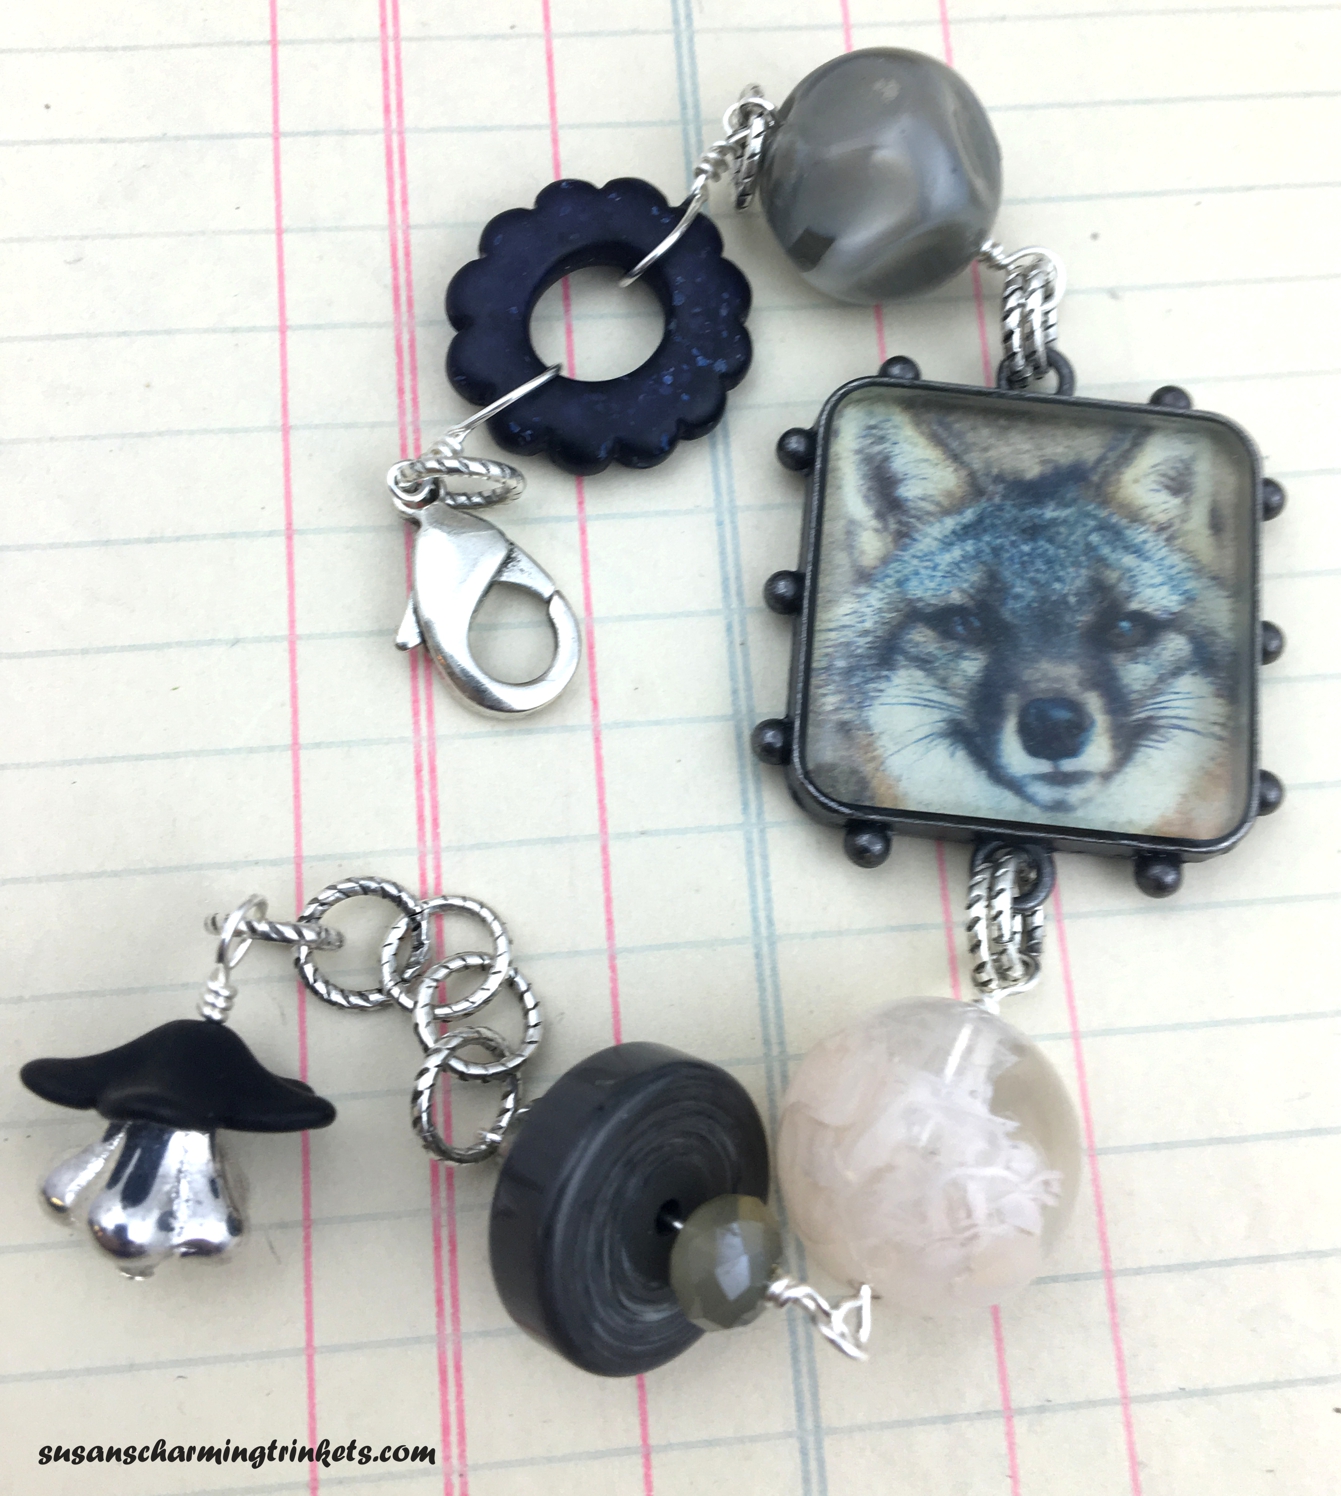
Do you have a favorite animal that isn’t shown? If I can get a picture then we can make a custom piece for you…drop me an e-mail lets chat about it!.

Take a moment and peek at their website for special events or to make a reservation to visit!

Until next time,
Susan


Arc Planner: My Daughters Point of View

Hi! Hello! I’m AdaLee, and I’m writing a guest blog post for my mom about our Arc Planner!!

Recently my mom and I both started to get more organized and we got ourselves an Arc planner organizer and notebook.

AddiesplannerAddiesplanner

The Arc planner is disc based, not three-hole-based, which means that instead of the normal three-hole rings, they have 11 discs as the binding. We both have a faux-leather cover arc filled with dividers and paper and what nots of our choice.

Addiesplanner (1)

Mine happens to have normal three-hole-punched college-ruled paper, graph paper, and even some blank paper. Since these papers are not already compatible with the Arc because of their inferior three-hole-punches, the Arc planner has a punch system that makes pretty much any kind of stationery into something that can be put into the arc!

arcplannerpunch2

I love this thing. I honestly do.

I had a super lame three-hole binder that had d-shaped clips instead of the default O shaped or C shaped ones normally in three-hole binders. What the meant was that papers in the binder would be incredibly difficult to maneuver without putting unnecessary stress on the punched holes. This resulted in a lot of torn paper, including some that was (or would be) important to class.

Addiesplanner (6)

 With the arc, I can now not have to worry about any paper tearing too much, for the way the Arc punches the paper that fits in it, individual papers put under too much stress simply pop out.

 Addiesplanner (4)

No worries. No damage. Just pop them back in again and
***ta da!!!*** you’re all good!!

On top of that, having to repunch and reformat all of the paper that I put into this thing requires me to be more organized about my schoolwork. My failed organizational days are gone!

Thank you Arc!!


Arc Planner: What Is It?

So I would bet by now that you’ve seen some edition of the Arc Planner System from Staples around the interwebs…no?

I’m here today to give you a peek inside my own and how I got into it.

So I was wandering around Staples looking for nothing in particular when I happened upon this Arc planner system. I looked it over for quite awhile while my daughter shopped elsewhere and decided to try one notebook. Just to see if I liked it.

I comes with blank lined sheets. (you can see two Arc planners in this picture because one leads to two leads to three…you get the idea)

Plain Arc Pages

They are hooked together with these multiple discs. Normally they come with small discs which I knew immediately wouldn’t be enough so I bought some larger ones from the Martha Stewart collection that also has a few disc based items.

Large Discs

I also prettied up the edges of the pages with colorful washi tape.

Washi Tape Galore

 I also made a can of goodies that I knew I would want to use with the planner. Things like colored pens, large and small post-it notes, graph paper post its, mechanical pencil with eraser. (yeah, I know. I’m getting obsessive) And it’s portable so I can take it from room to room as I jot down thoughts and ideas.

Can O'Goodies

Then, because enough is never enough, I designed some pages for the Arc planner as well as made some downloads from the internet work for it too. This meant that I take trip number two to Staples and buy the punch plus additional inserts. Now I knew what I would do with it I could better accessorize it…ha!

Triple Pic of Supplies

Yes…there are page dividers, pages with pockets, some of the post its are heavier paper and make great tabs.

I designed my own calendar.

My Calendar Design

That’s right…just use the punch to put holes in the side and it fits right in! This is on legal paper so I just folded it over so it wouldn’t stick out.

I also used Passion Planner weekly calendars. (if you haven’t seen a Passion Planner you really need to) You can only see the beginning of the weekly version here on the left side. The right side is a sheet I designed so I could have all my Etsy product notes available. Now I can photograph, jot down measurements, prices, and whatever else I need to know when I’m putting items into my shop. All on one page.

Passion Planner page 1

Passion Planner Plus

 Here’s the other side. You can see with the Arc planner punch I did both sides of the Etsy sheet. That way if I’m not finished, but the weekday has changed or I printed another copy of it on the reverse, I just flip it to continue. No fuss, no muss! No more ugly rings to wrench open…and how many times have you had a ring binder close on your finger? Ouch! Never again.

And here is the illustrious Arc planner punch!! Yes…that’s a plastic page cover and it will punch for you! Any kind of paper you want can be customized for this system.

Arc Planner Punch

 So there you have it! Now I have the book shown here, a custom recipe book you can see on January 7 over at the Cre8ive Klatch blog, my daughter will be here posting about her Arc planner on Thursday January 8, and there are some great posts by fellow artists and friends.

Lori Leissner of Leissnerart shows you her intro book planner here and her creative idea for tracking her health here.

Cindy Jones Lantier tells about how she was hooked into the system here.

You might be next to catch the Arc planner bug!!

Until next time,

Susan

Polyvore Collage Play!

Ice resin play...


Today has currently been spent playing and making Polyvore collage pictures.  Do you know what that is? I call Polyvore an aggregate app or a place that stores tons of information, photos, and tools pulled from many sites all over the web and keeps them all in one place. Then you and I can go in there and pull out the pieces that we like and put them into these fun Polyvore collages. Like the one above. You can even add text and other elements for a great graphic effect.

When I was finished with this collage it allowed me to copy and paste the html code so it would show up here. Now if you click on the picture you will be taken to Polyvore where it will show you the link to purchase. Pretty nifty! You can then purchase directly by clicking those links…if anything appeals to you. And the best part is they are linked to my supply shop on Etsy. I think that’s very cool! It makes me think of a million ways to use Polyvore collage boards for other aspects of my business.

Polyvore could be a great tool for anyone who blogs or reps their own creations. Membership to play is free and you can also poke around and follow other folks you might know who are making Polyvore collages too! (like me!)

So go on over and give it a try! Then come back and put your links in the comments so I can see what you chose for your Polyvore collage!

Until next time,

Susan

Sisal Christmas Trees DIY

Inspired by another artist I decided to make some of those little sisal Christmas trees this year. Of course you can buy bags of sisal trees but I needed to make them from scratch. (of course)

So I headed off to Home Depot for some ingredients:

Project Ingredients

Based on my inspiration tutorial, which you can find here: DIY Bottle Brush Trees, these are all the necessary things.

  1. sisal natural rope

  2. heavy duty scissors (I went with serrated blades)

  3. 18 gauge wire

  4. vise

  5. drill

I added safety glasses and a cup hook to this list. Also the above picture shows my household drill that doesn’t have an adjustable chuck (the thing that holds the bit) so I needed to upgrade into this…

Bigger Drill

It has three movable parts where the bit is held so I could do this with the cup hook…

sisaltree1cuphook

 I stuck that in there for twirling of the wire necessary to make the tree. But let’s back up a little and start with the sisal. First you want to cut some lengths of the rope to work with. I cut 6 inch pieces, about 20 to start, then untwirled all the fibers. You will have to untwirl two times. The first will take apart the rope. The second will take apart the fibers and look the picture below. At least this is what you are shooting for.

sisaltree1untwirled

Looks like my hair! Keep doing this until you have a nice full pile. Mine were about 6 undone strands of rope each but you can really do more or less depending on your aesthetic.

Next you will need to cut the wire.

Cutting Wire

I started with 12 inch pieces which then are folded in half.

sisaltree1wirebend

Now take your pile of fibers and fit them in between one of the folded wires. Take a second wire and place it over the fibers in the opposite direction. Slip these to each side of your fiber pile and it should look like this.

sisaltree1lineupwire

Trust me…at this point you’ve made a big mess and you’re wondering if this is even going to work. But be patient because it’s slowly coming together.

Get your scissors and we are going to cut diagonally in between the wires like so…

sisaltree1cut

Then go back to each side and make some more diagonal cuts so you have basic tree shapes.

sisaltree1cutotherside

Here’s where that cup hook and larger drill come into play. Placing the bottom of the wires, the open end, into your vise screw it down hard so they will stay put.

Wires in Vise

Then take your drill with the cup hook and place the hook like so in the folded portion of the wire…

Cup Hook Twirling

Pulling up slightly with the drill start to allow the wire to twirl. The hook will probably catch a bit more wire here than you would like but keep twirling with the drill moving slowly until you get the hang of it. The wire will be very twisted when it’s done but not so twisted that it breaks or twirls over on itself. This took me a few tries before I felt comfortable. AND WEAR YOUR SAFETY GLASSES! You don’t want things spinning through the air to hit you in the eyes!

So here is the pay off…

After Drilling

A messy tree like thing…but wait! Take your scissors or, I used a needle tool, and brush out the fibers. I found it best to work in one direction. Then using your scissors trim into a tree shape. Keep trimming…and trimming….and trimming and a tree will appear!

sisaltree4trimwide


Many Sisal Trees

Miraculous! All of a sudden you really have a mini sisal Christmas trees….but they’re beige. And now the real fun begins!

Don’t hate me but I’m not going to show you until tomorrow!

See you back here then!

Susan