One of the things that keeps me from this blog is always some kind of decision. What should I talk about? What will anyone be interested in reading? How much should I show? Maybe a peek, a tutorial, a personal look at something? This goes on for long enough, and enough decisions are made on everything else, that I never get into the blog at all. Anybody else have this problem?
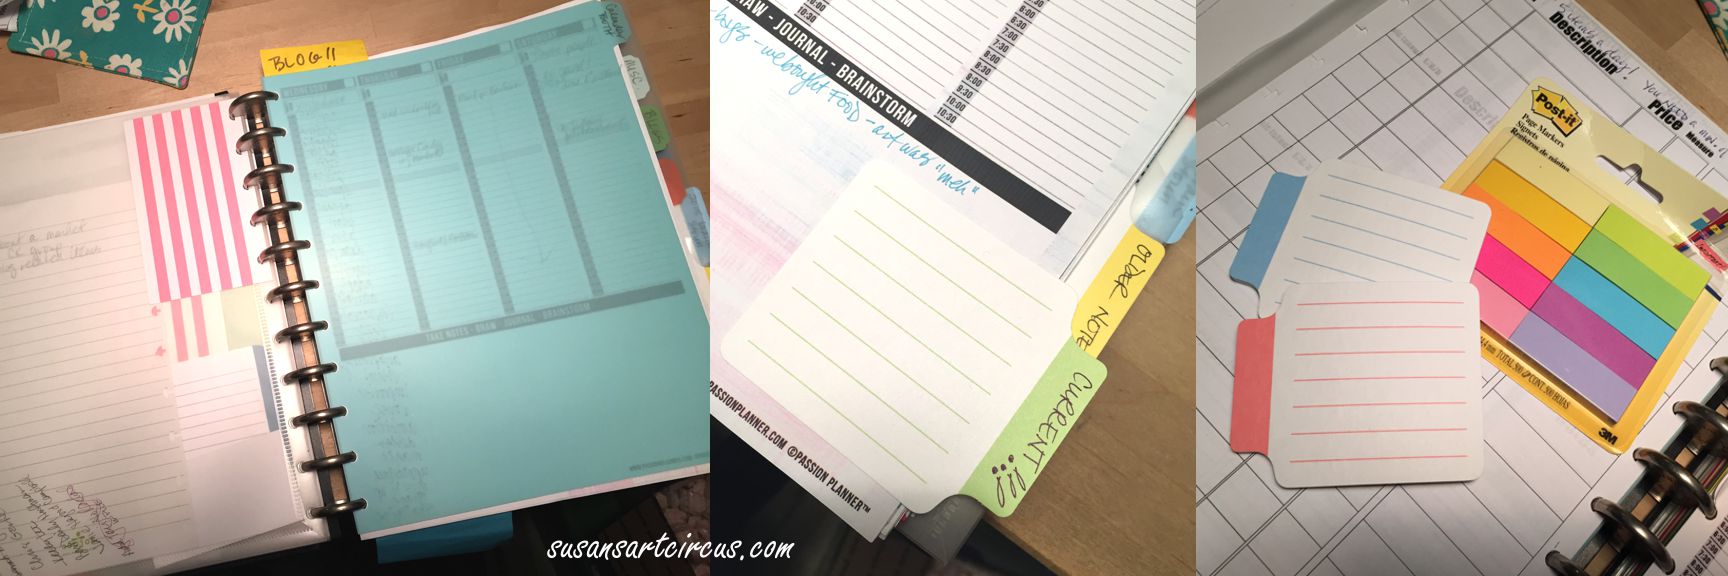
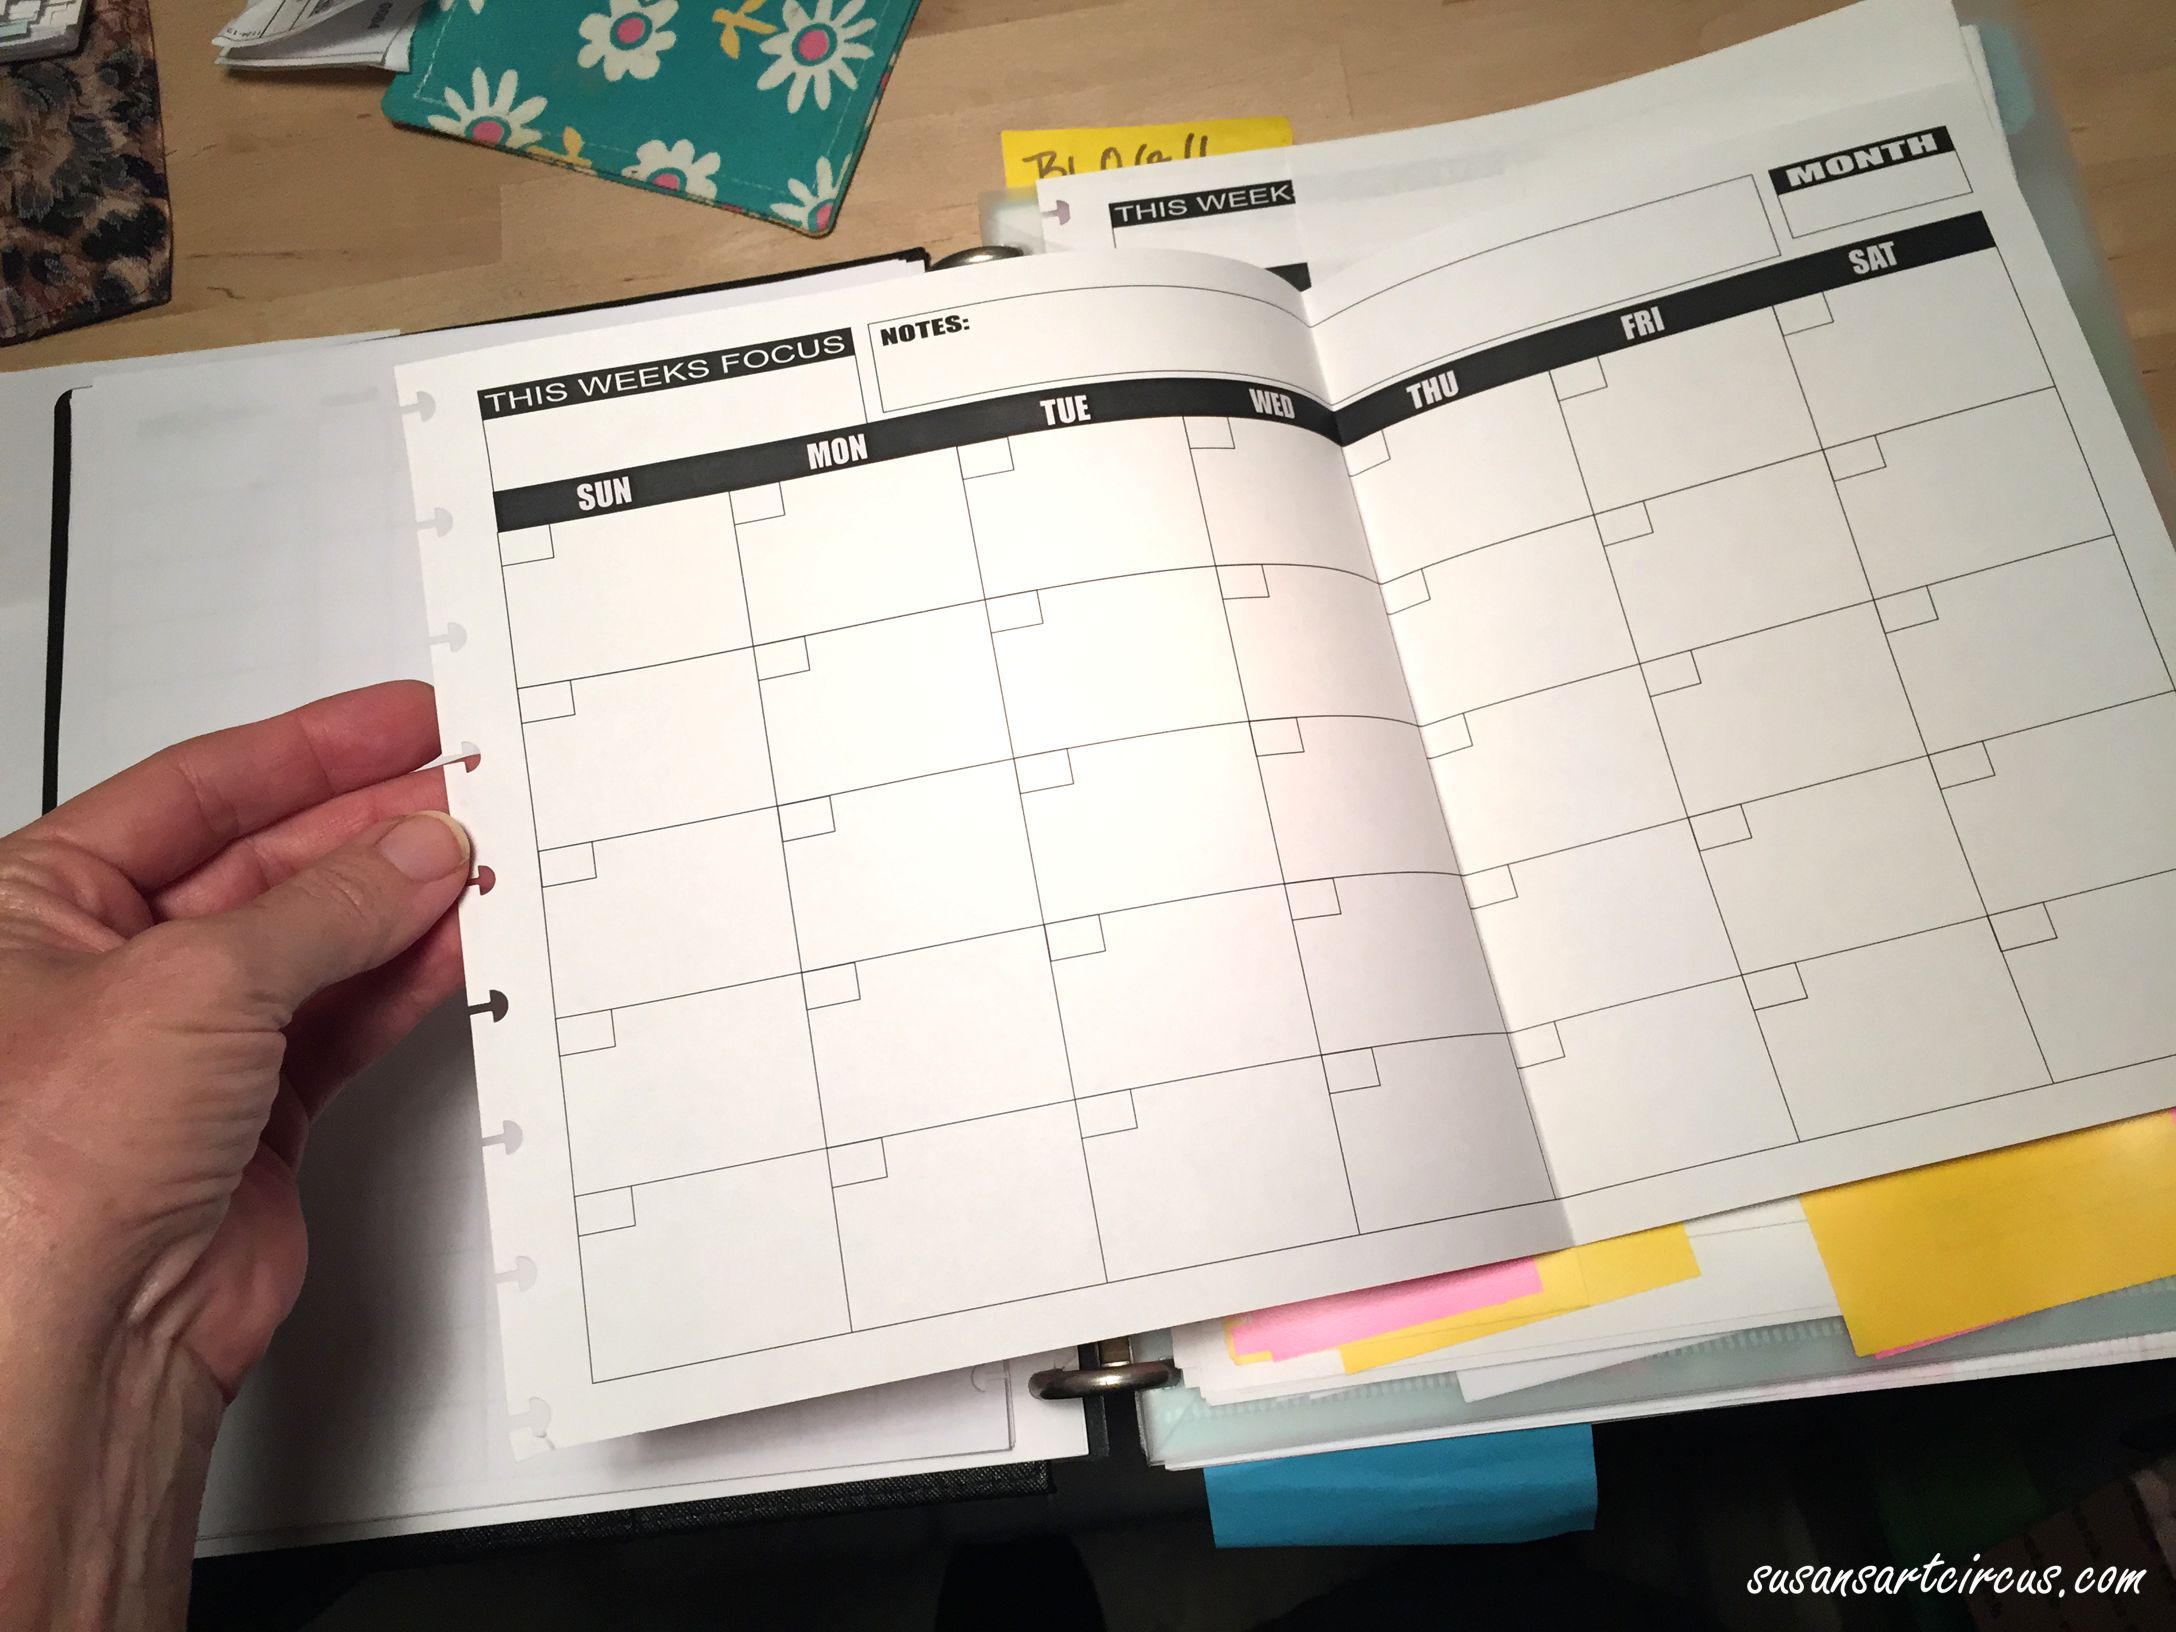
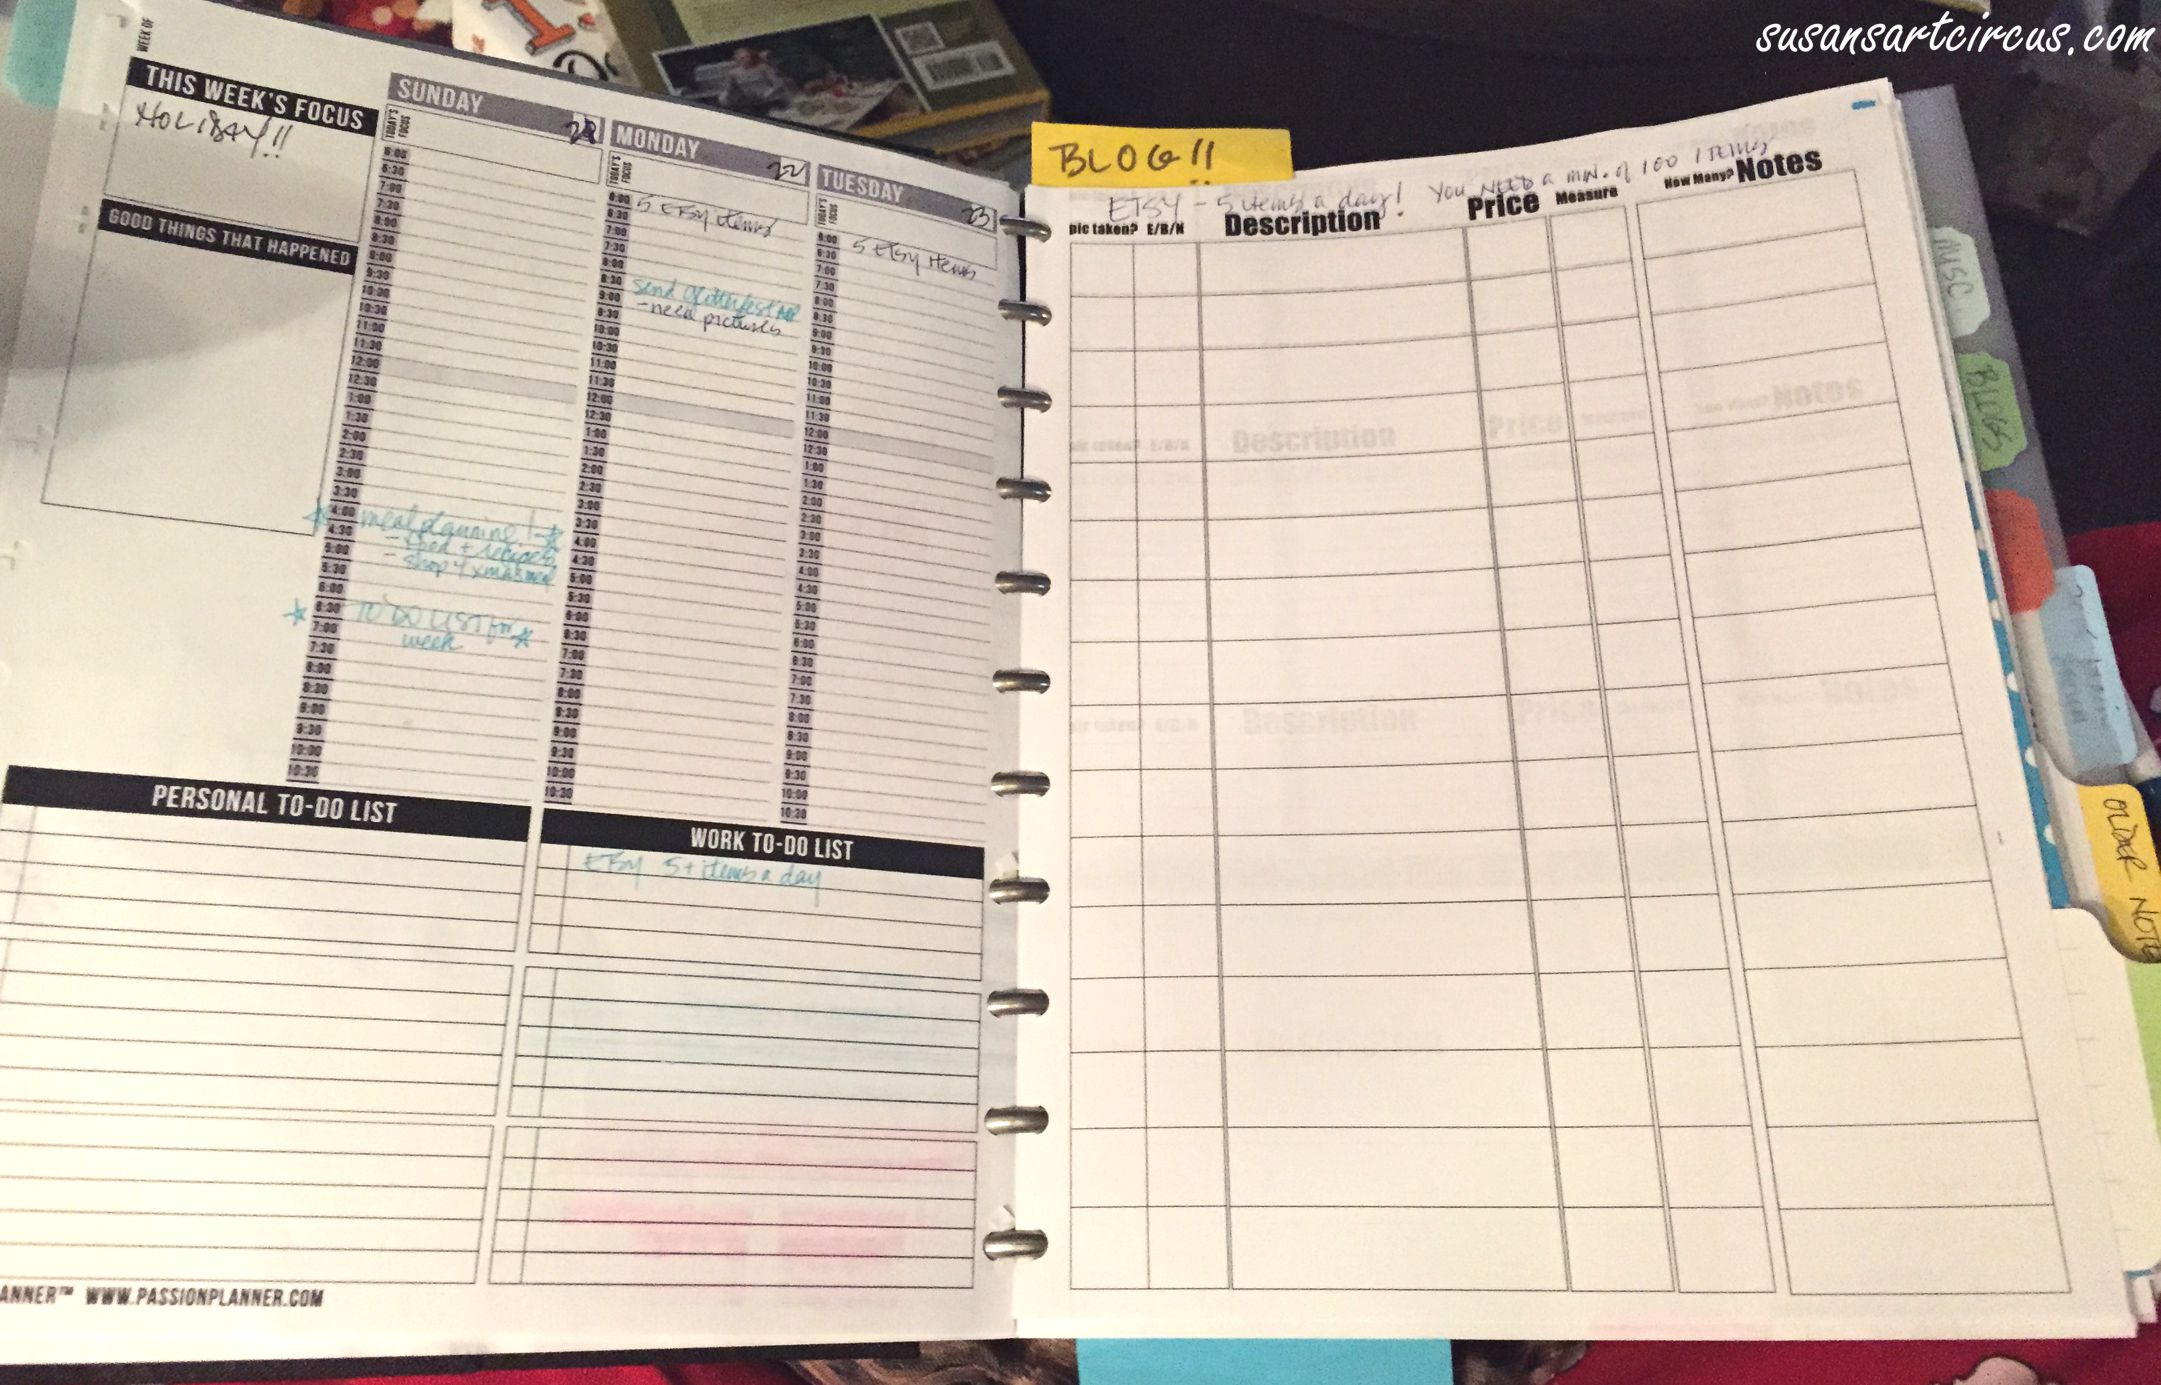
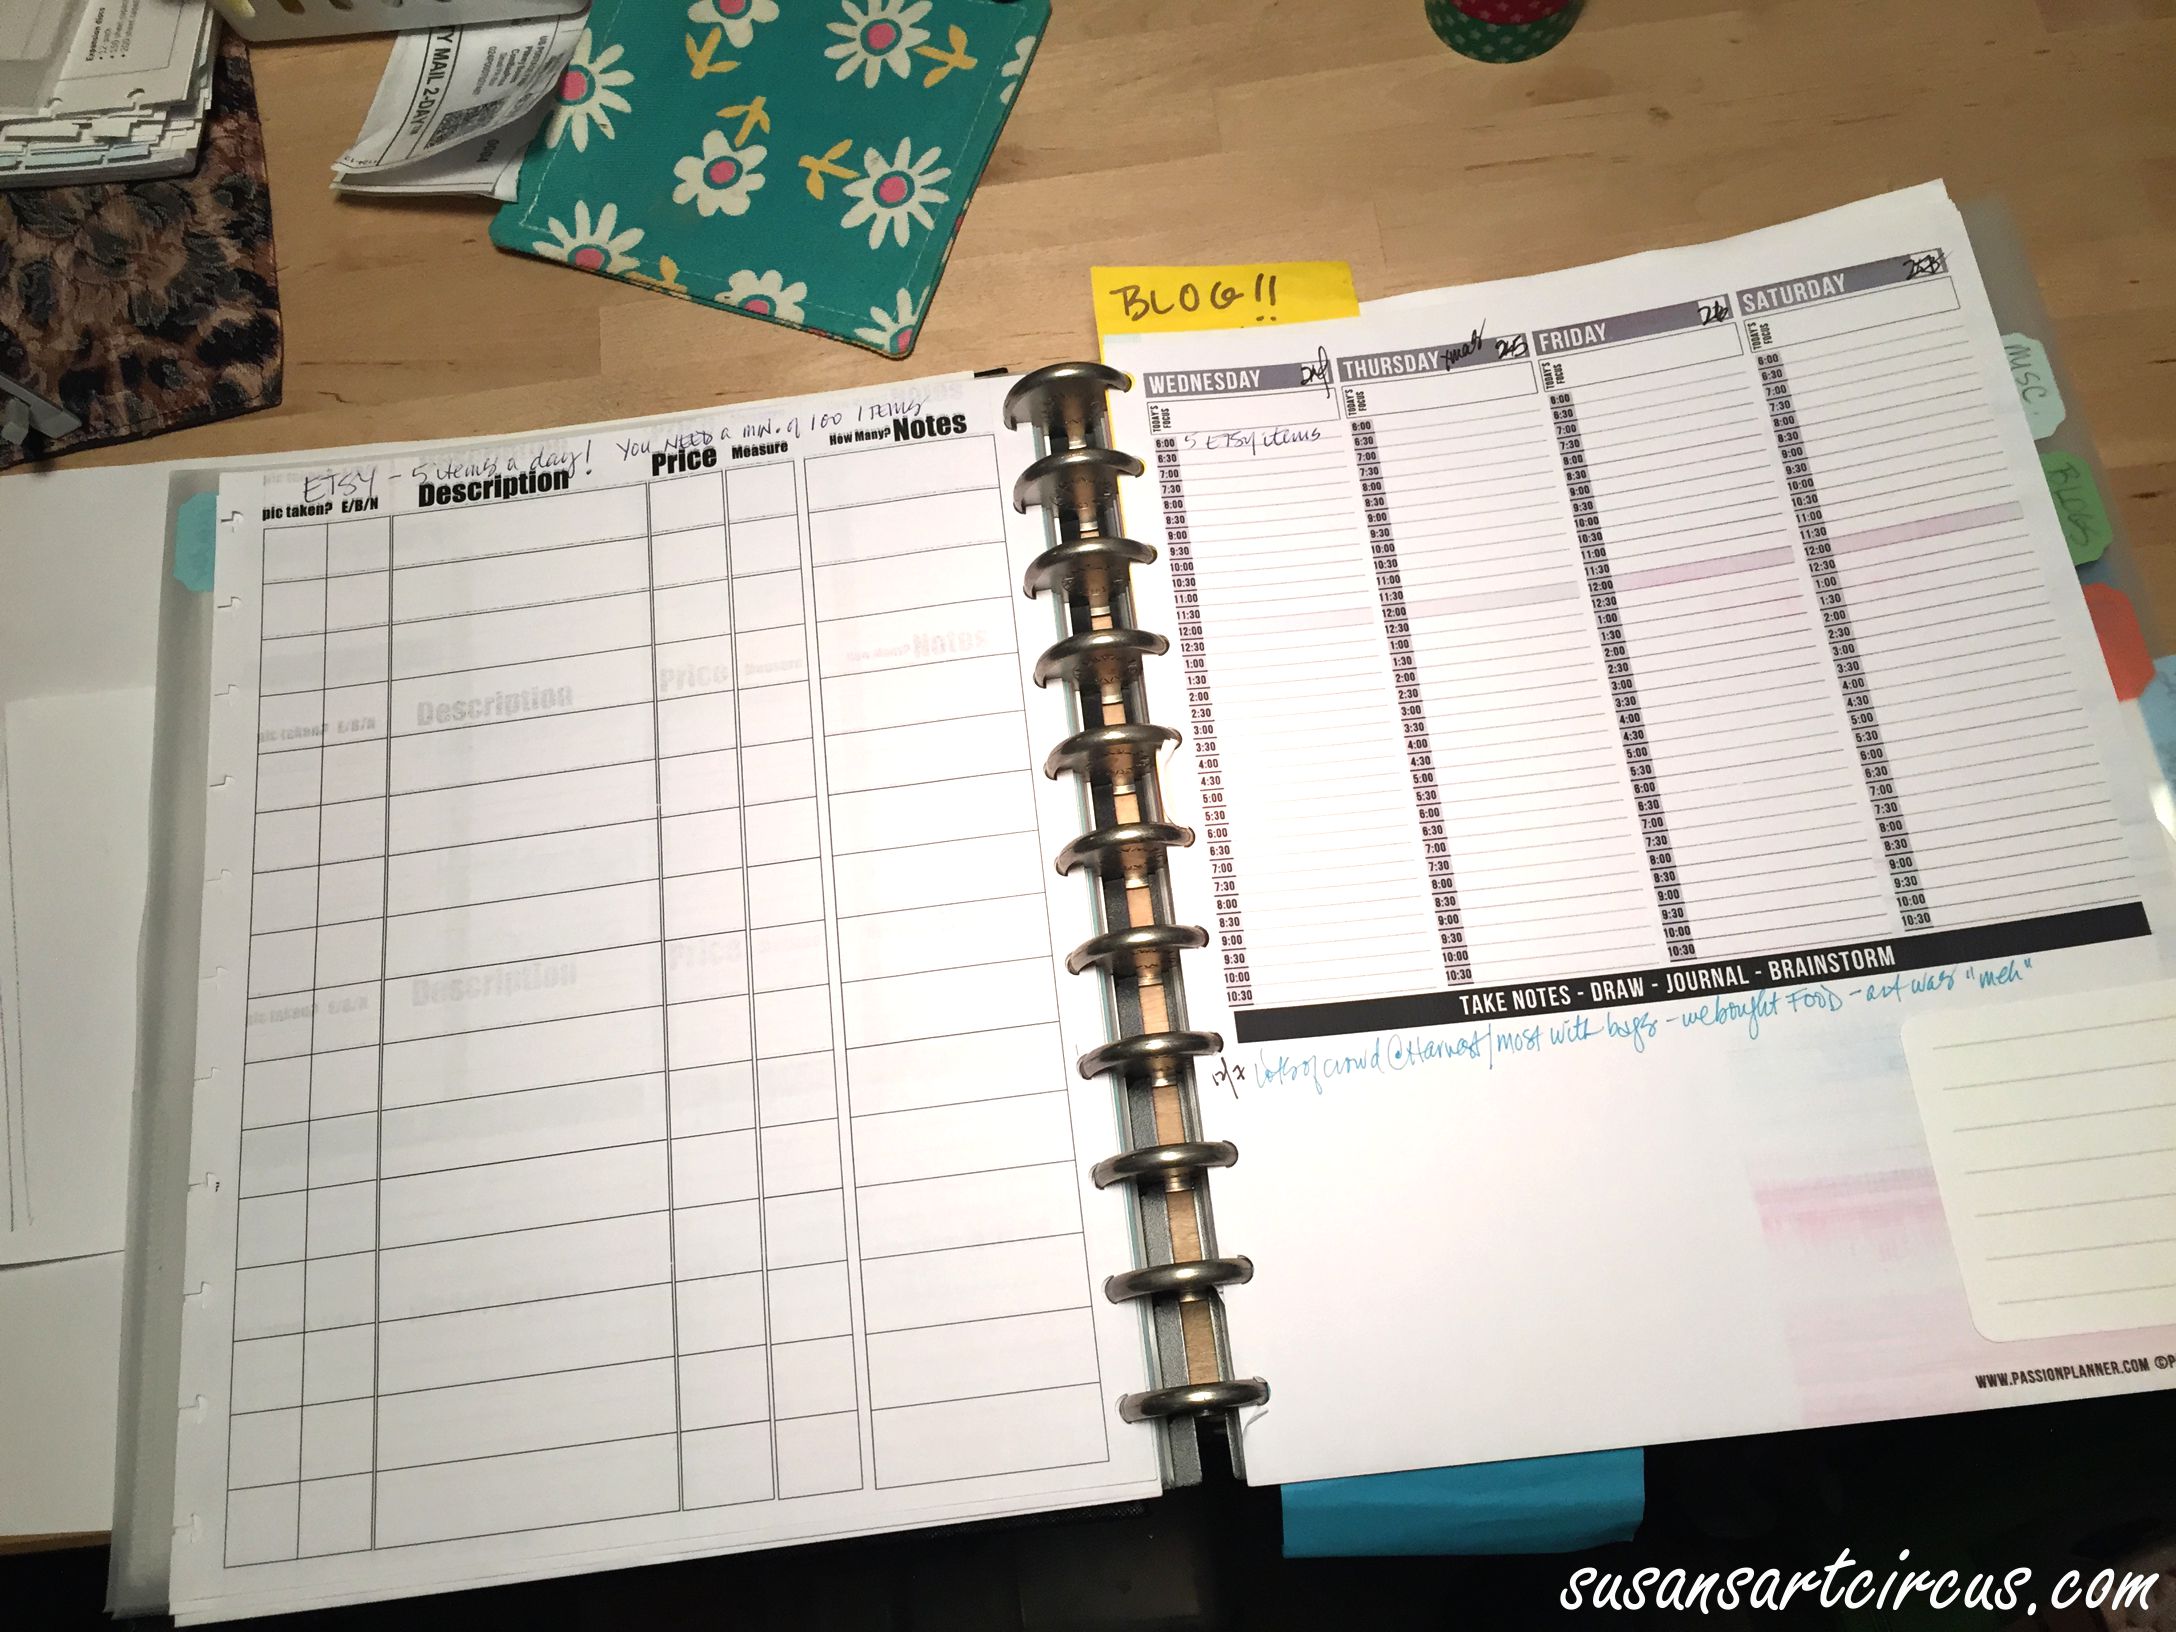
Then there’s always the “to do” list. Finish designing the stuff on my desk, prep for this weekend’s show, run errands, get change at the bank, order supplies, fill out your calendar, re-arrange your desk, mail out your orders, check social media, schedule social media, delete 900 e-mails, try to put out a newsletter, do tomorrow’s to do list, etc, etc, etc…
Then there’s the family “to do” list…collect all the laundry, call the Doctor, cook breakfast, go grocery shopping, wash the dog, advise child #1, clean the bathroom, wash the car, take a shower, drop the kids at sports, call your Mother, sweep the floor, wash the other dog…ad nauseum..

…you get the picture. More decisions. On everything.
But do you see “write on the blog” anywhere? Blog doesn’t show up, does it?
Not first…or in the middle…or at the end. Too many decisions and I can’t decide where to put it.
Sooo….time to make one more decision…what the hell am I finally doing here? Well…I guess I decided it was long enough. That I needed to try this again.
For how long and how often? No clue and I don’t know.
What will I bring my self to write about? Well…art…creativity…daily life stuff…basically I will be winging it and post things that tickle my fancy dependent on what day it is.
So about those decisions…I think I just made one.
To quit.
Until next time,
Susan